Design Guidelines:
- The kit must be open source and DIY-friendly. No element that should require special manufacturing (including expensive or relatively inaccessible processes like 3D printing or laser cutting).
- The specific needs and physical limitations (deteriorating vision and fine motor skills) of an older audience must be taken into account.
- The kit should include the same basic elements of other electronic toolkits (a microcontroller, inputs and outputs, necessary cables, and instructions).
- The cost of the kit must be lower than Arduino starter kits offered by major hobbyist retailers (less than $50).
Kit Contents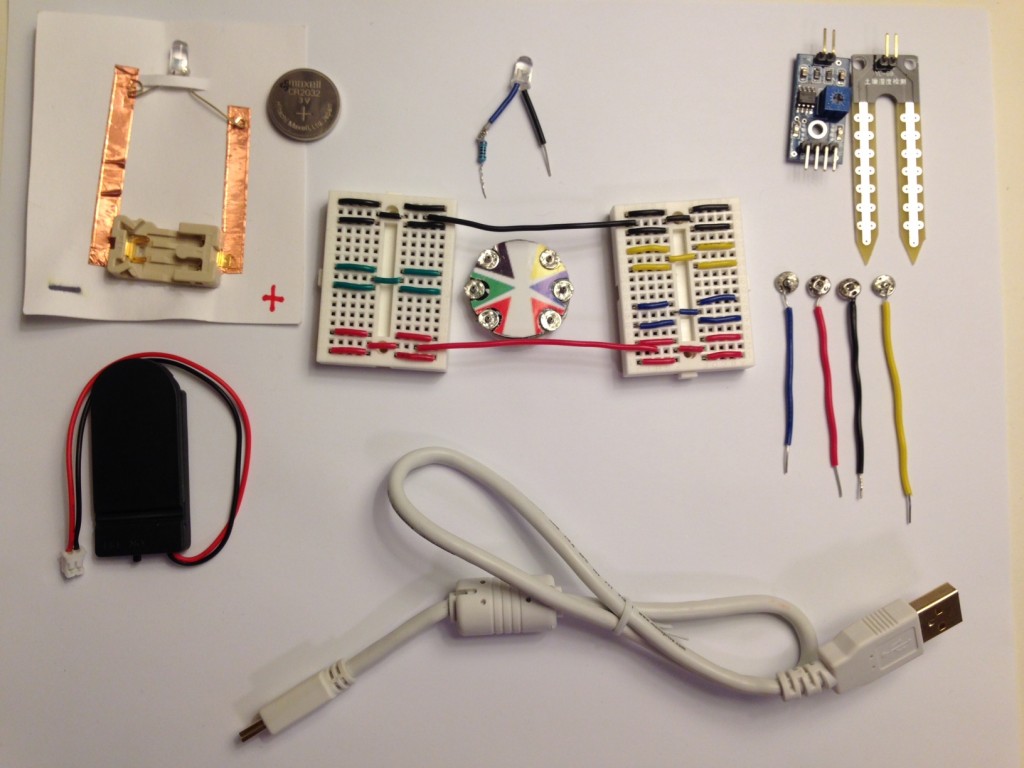
Each participant was provided with a kit that contained:
- USB cable and hub
- Adafruit Gemma microcontroller (a starter pack is now available!)
- Coin cell battery pack with batteries
- LED with resistor attached
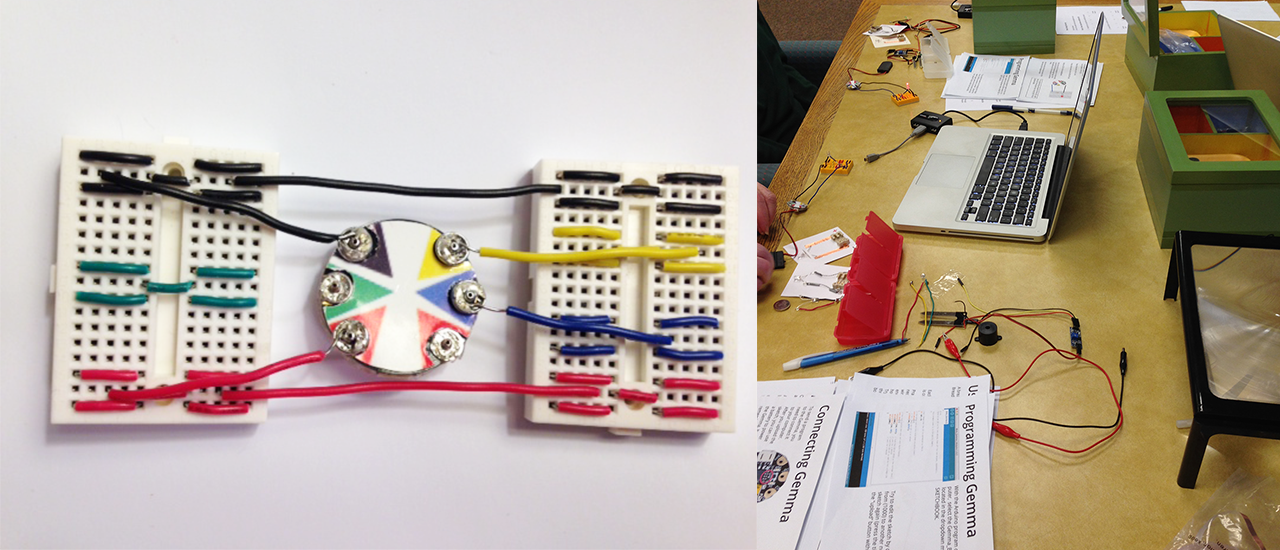
- Breadboard
- Moisture sensor
- 22 gauge wire with snaps soldered to one end
- Moist paper towel or house plant
- Cards with simple circuits (battery holder, copper tape, LED) to complete
- Booklet
- Small wooden box for storage
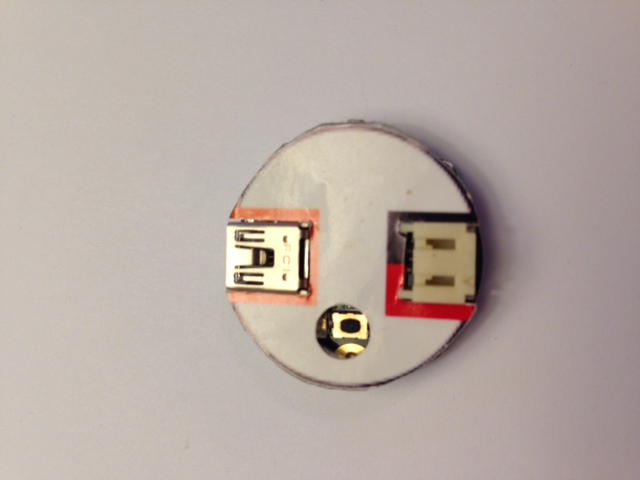
To recreate the modifications in this kit, you’ll need a soldering iron and solder, a wire stripper, and double-sided tape. Solder the “male” side of a snap to each of the 6 pads on the back of the Gemma. (Check out this tutorial on how to solder the snaps.)

Print out the covers for the front and back of the Gemma. Cut them out and use a hole punch to create half circles for the snaps to fit comfortably around the cover. Attach to the back of the Gemma, carefully matching up the black “wedge” with the GND pin. Repeat the procedure for the front cover, again using a hole punch to cut out a space for the reset button.
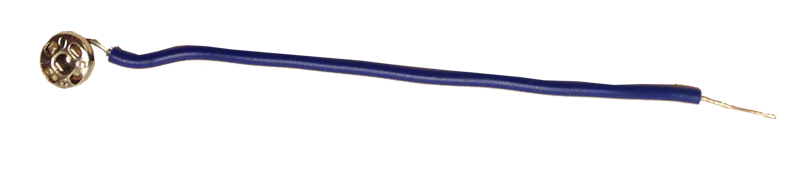
Next, create the wires with snaps on the end. Strip away about 1/2 inch of insulation on the wire.
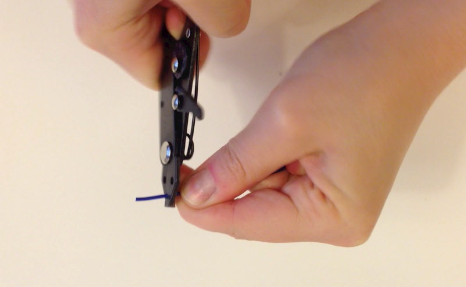
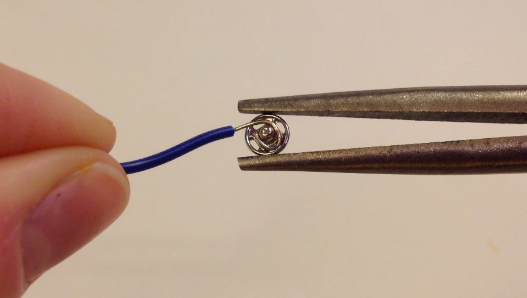
Using a needlenose pliers, twist the end of the wire into a small circle shape, so that the wire fits neatly into the female half of the snap. Solder the wire in place.
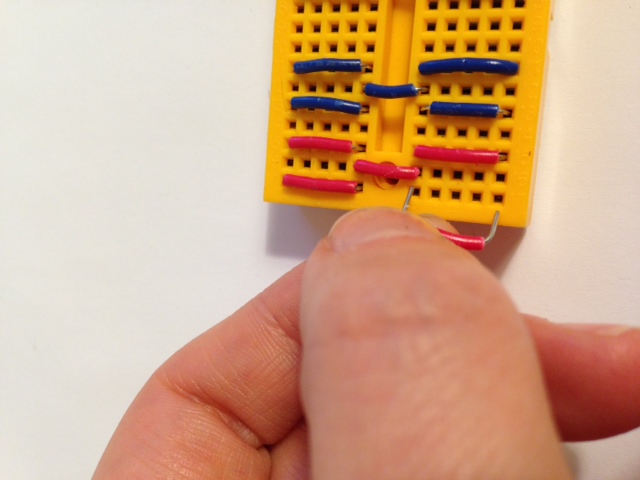
To create the breadboard, use the wire stripper to cut short lengths of wire in each color, leaving about 3/8 inch insulation in the center. Bend the “legs” down and insert.