Author Archive

The Voicing Hole.

Wednesday, February 6th, 2013

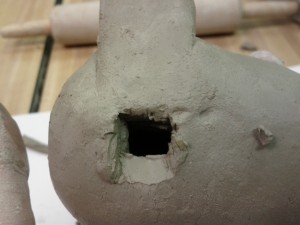
The absolute most time consuming/frustrating/dangerous part of making a sweet potato clay ocarina is the voicing hole. Tuning the instrument can be difficult, but with enough time and the right techniques and tools, it’s much more of a precise science than the voicing box.

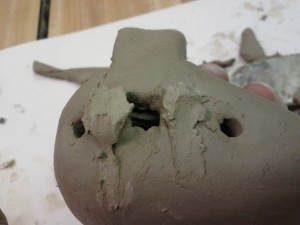
To make the box, one must cut out a small hole that matches where the air stream is coming from the mouthpiece and then cut a wedge, so it divides the air stream (somewhat) perfectly. This must be done while the clay is still malleable, the ocarina is in two pieces (so structurally unsound) and often must be done and redone several times throughout the whole process.
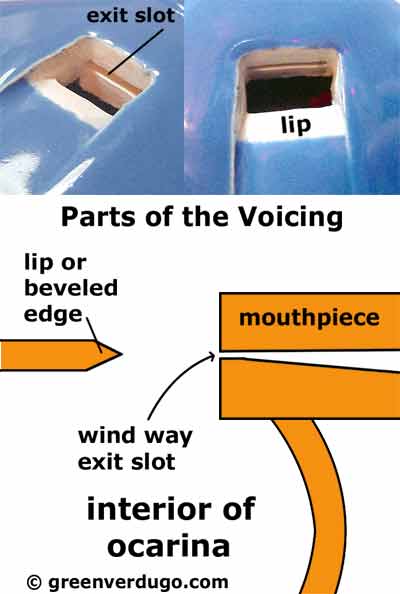
In order to test if it’s working, one must put the tools down, make a temporary seal (place the two halves together) then blow. Sometimes one can manipulate the mouthpiece, other times the ocarina is too delicate, and will break.


If I were to move completely away from actually doing this, I would propose two plastic shells be used, one with a hole for a mouthpiece like part. This must be rectangular. The user would try to put the mouthpiece in alignment with the voicing wedge as perfectly as possible.


The user can test how good the connection is by putting the mouthpiece hole in front of an LED that is turned on. The light transmits through the hole to a photo resistor on the underside of the wedge that is calibrated for the room. The photoresistor will make a second LED brighter or darker based on the amount of light it receives.


Too much or too little light make the light go out (just like if it were the ocarina, it would make no sound). Because there’s not a definite “you did it right” feedback in the actual process, the led getting slightly brighter and softer is the perfect analogy. A user can only tell if they’ve gotten it right by a subjective sense. It’s very obvious when it’s making sound, but whether the sound is getting better with each adjustment is a skill that takes a trained ear and many hours to determine.
Process of making an Ocarina.

Wednesday, January 30th, 2013

One day at around three in the morning I decided I’d learn how to make an ocarina.  After spending a few hours reading about how to make one, I went to the Georgia Tech craft center.  Since then I’ve made several, but have only fired and tuned a few, due to the enormous amount of time it takes to tune them.


Cultural Craft
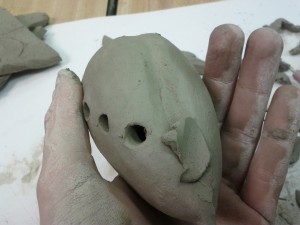
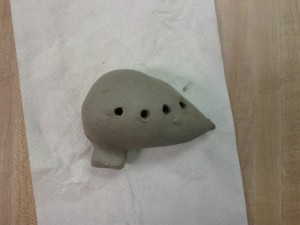
An ocarina is a wind instrument that uses both hands and a fingering system to play different notes.  Hand-made ocarinas are typically made out of clay or wood, and machine made ones are typically made with plastic.  Wooden ocarinas are typically shapped in a rectangular fashion, whereas the clay one I made are typically shaped like an egg with an attached mouthpiece.
 
Prior Knowledge
I know the general shape of a clay ocarina, and I’ve made a couple before.  I learned this from watching youtube videos, reading tutorials, and learning about the (very) basic physics of the voicing hole.  Additionally I’ve played wind instruments for the last 13 years, and know how to work a tuner.  Despite the videos and tutorials, the first time I tried to make an ocarina, I had no skills in using clay.  Fortunately, the people at the craft center when I went were kind enough to explain some of the basics of working with clay.

Goal
I’m making this for myself, but want to try to make a smaller ocarina.  I’ve typically made much larger ones which I’ve found are somewhat less finicky to get to make a sound.
Umbrella Plan

  • Finances:  All the blocks of clay at the student center are about 15$.  Everything else involved in the craft is free.
  • Materials: I went with a more grey type of clay.  They had several to choose from and I didn’t have great experiences with the brown or reddish clays, but had used the grey successfully before.
  • Skills:  I know how to use the tools that are below, as I’ve used them at the craft center for this specific purpose.  I know how to tune an ocarina basically, and very well with a tuner present.  I don’t really know how to make a wooden ocarina, so I’m going to be working on a clay one.

Begin Crystalization/Decisions
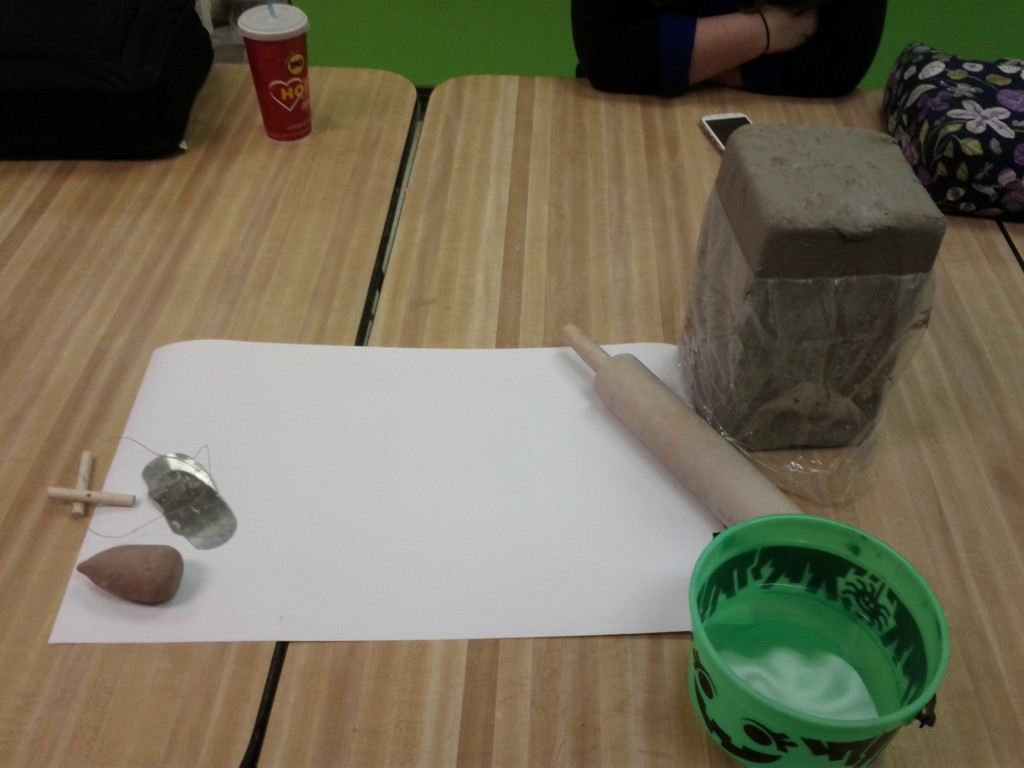
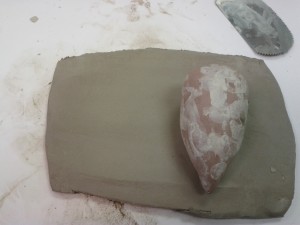
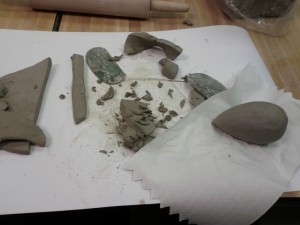
First I need to decide what tools I’ll use.  I pick out some of the clay tools, then decide upon which pre-made mould ( an egg shaped lump of hardened clay that will form the inside of the ocarina) I want to use.

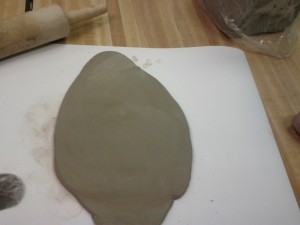
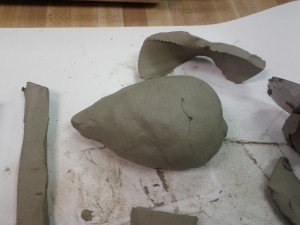
The clay is cut from the block, then kneaded to get rid of the bubbles and flattened with a rolling pin. Then I cut the clay and form it around the mould I’ve made. If the clay doesn’t feel even around the mould, I’ll add more. Next is shaving off more clay to make it less lumpy.  It’s always difficult to determine when to stop–the more I shave off, the less structurally sound the end product will be (and the harder the next steps will be) the less I shave off, the more uneven the ocarina is, which can cause problems in firing.

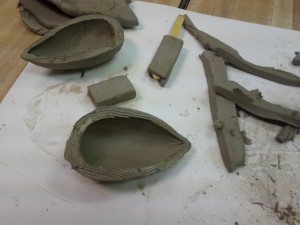
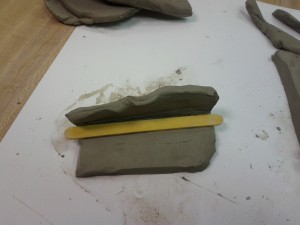
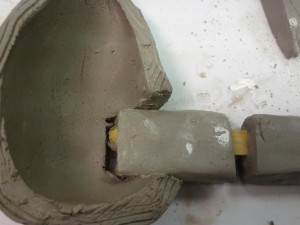
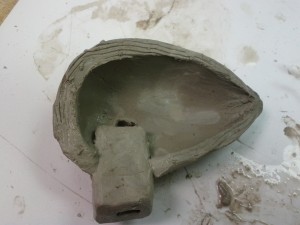
Once I’ve got a basic mould set up, I cut the ocarina in two, and decide upon a “bottom” half.  I construct and attach the mouthpiece.  If the hole for the mouthpiece isn’t big enough, I have to make it bigger and recut.  If the hole cut for the mouthpiece is too big I have to add more clay. A small square hole is cut where the popsicle stick meets the shell.


The hardest part comes in making the wedge that splits the air from the mouthpiece to create the sound. This often takes at least half an hour of evaluating, making decisions about how to fix it, and proceeding from there. Often the sides will not be straight enough, or the actual wedge will need to be reformed, or realigned.

The last bit is putting the two halves together, sealing it, smoothing out the edges with more clay, and then cutting the finger holes. During this whole step the wedge will need to be realigned, reshaped, and sometimes the entire ocarina is unsalvageable.

 
Final Analysis.

Since this is just a simple ocarina for myself, whether or not it played was my final analysis. I wasn’t too interested in tuning it this time, as I’ll do that later once it’s hardened more.