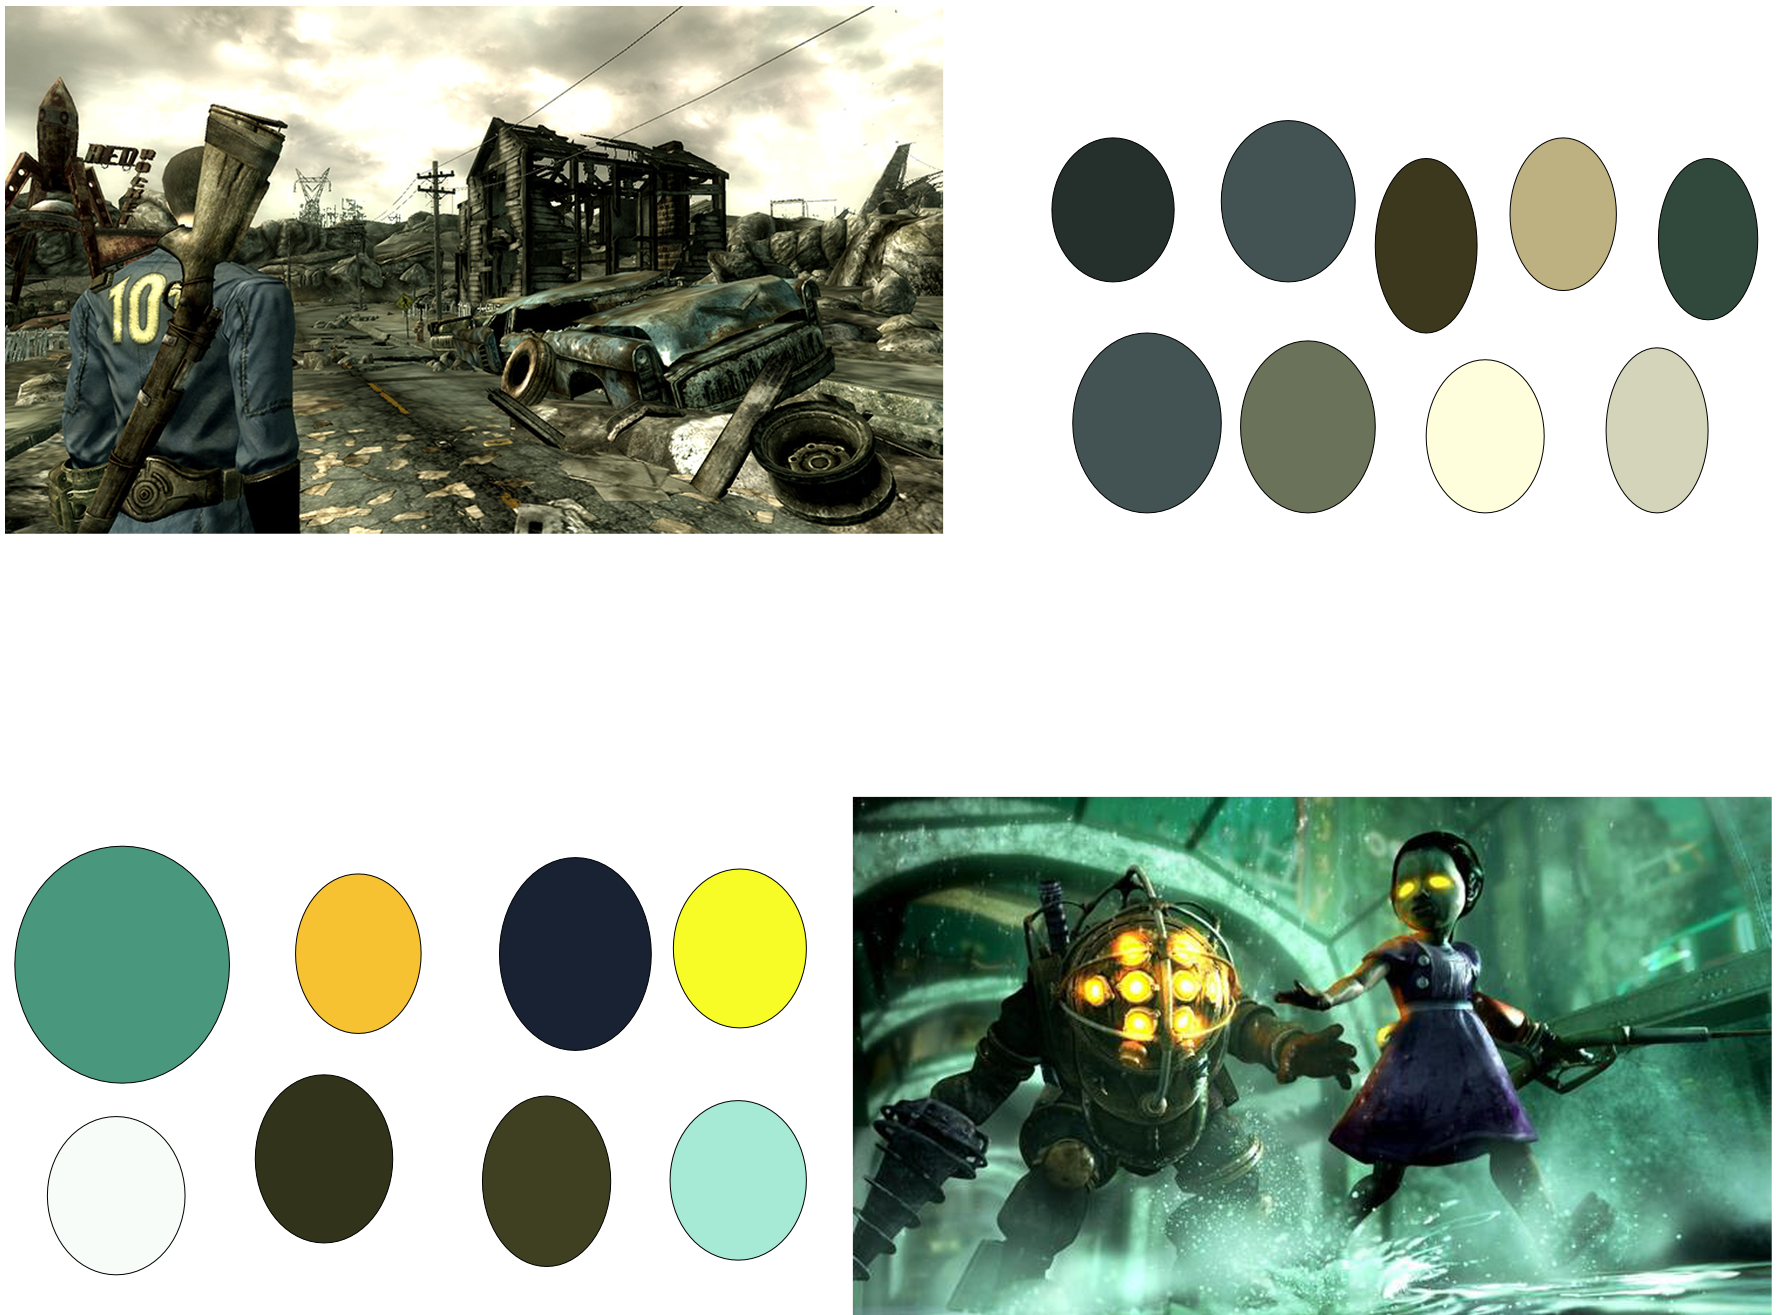
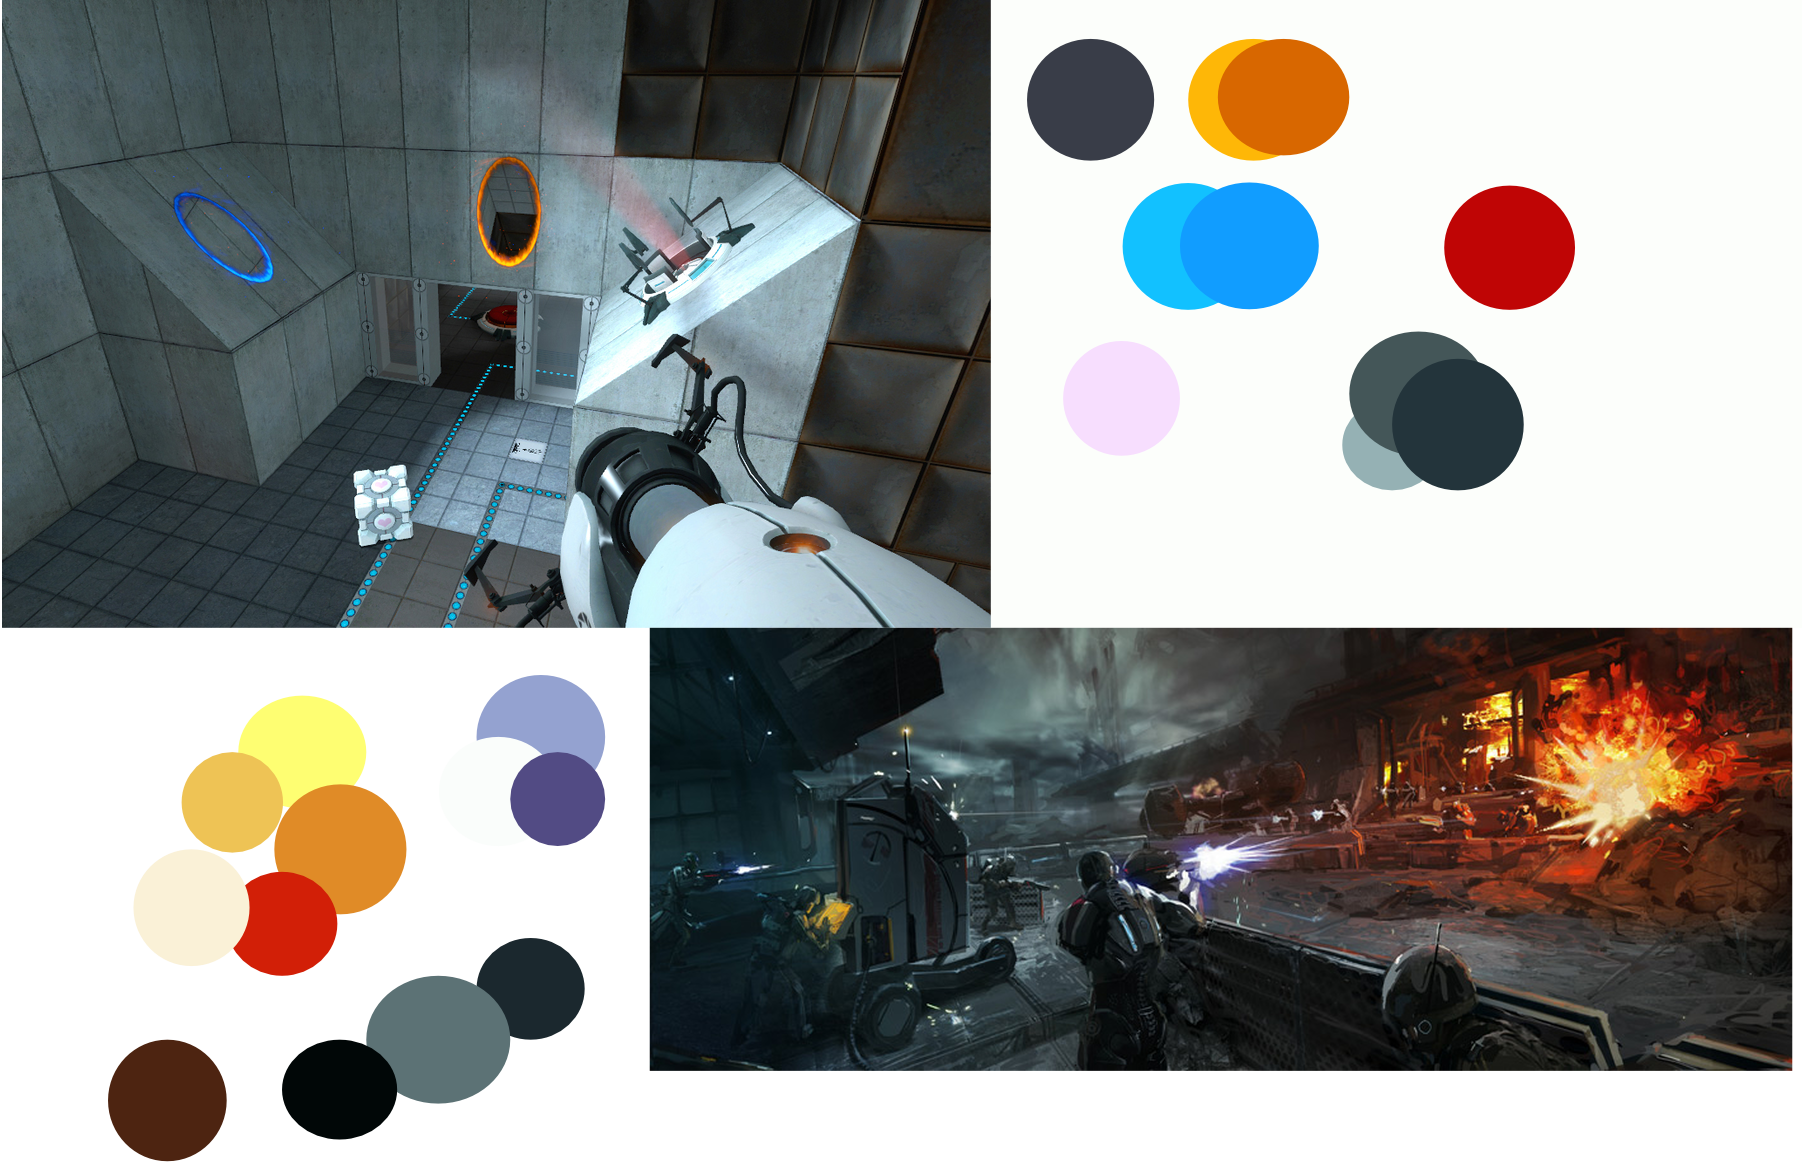
Intro to Physical Computing using Clay
Saturday, December 5th, 2015Intro to Physical Computing using Clay -Critical Review
Motivation and Original Idea:
Inspiration:
“The materials and tools we use as well as the approaches we take to design, prototype and build technology greatly influence how we think about technology, the collection of people who think about technology, and the look and feel of the technology itself.”[1]
This quote was a huge source of inspiration for my project throughout as I aimed to use clay as a material to lower the learning curve for Physical Computing.
To answer the questions as to Why teach Physical Computing? , this video captures the essence of that very well:
https://www.youtube.com/watch?v=lHC10q_a7Nc
Concept Development:
Physical Computing has three main elements which are:
Input Output and Processing
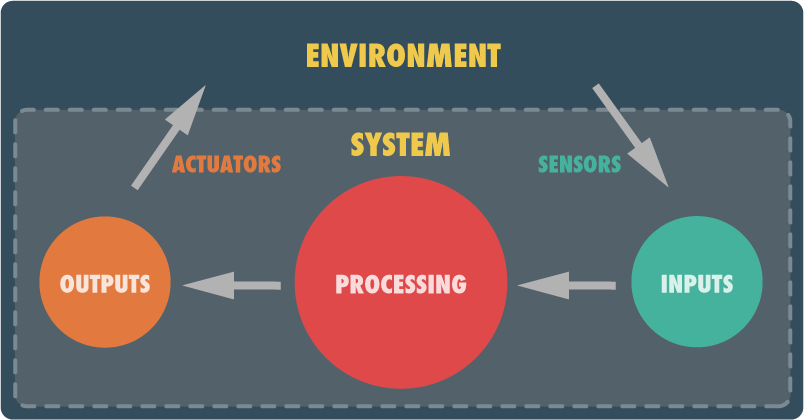
Image Source: http://tangiblejs.com/posts/getting-started-with-physical-computing-in-javascript
But another main element of Physical Computing is the FORM. It is the form that gives meaning to the inputs and outputs of physical computing.
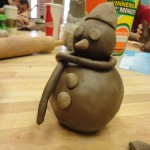
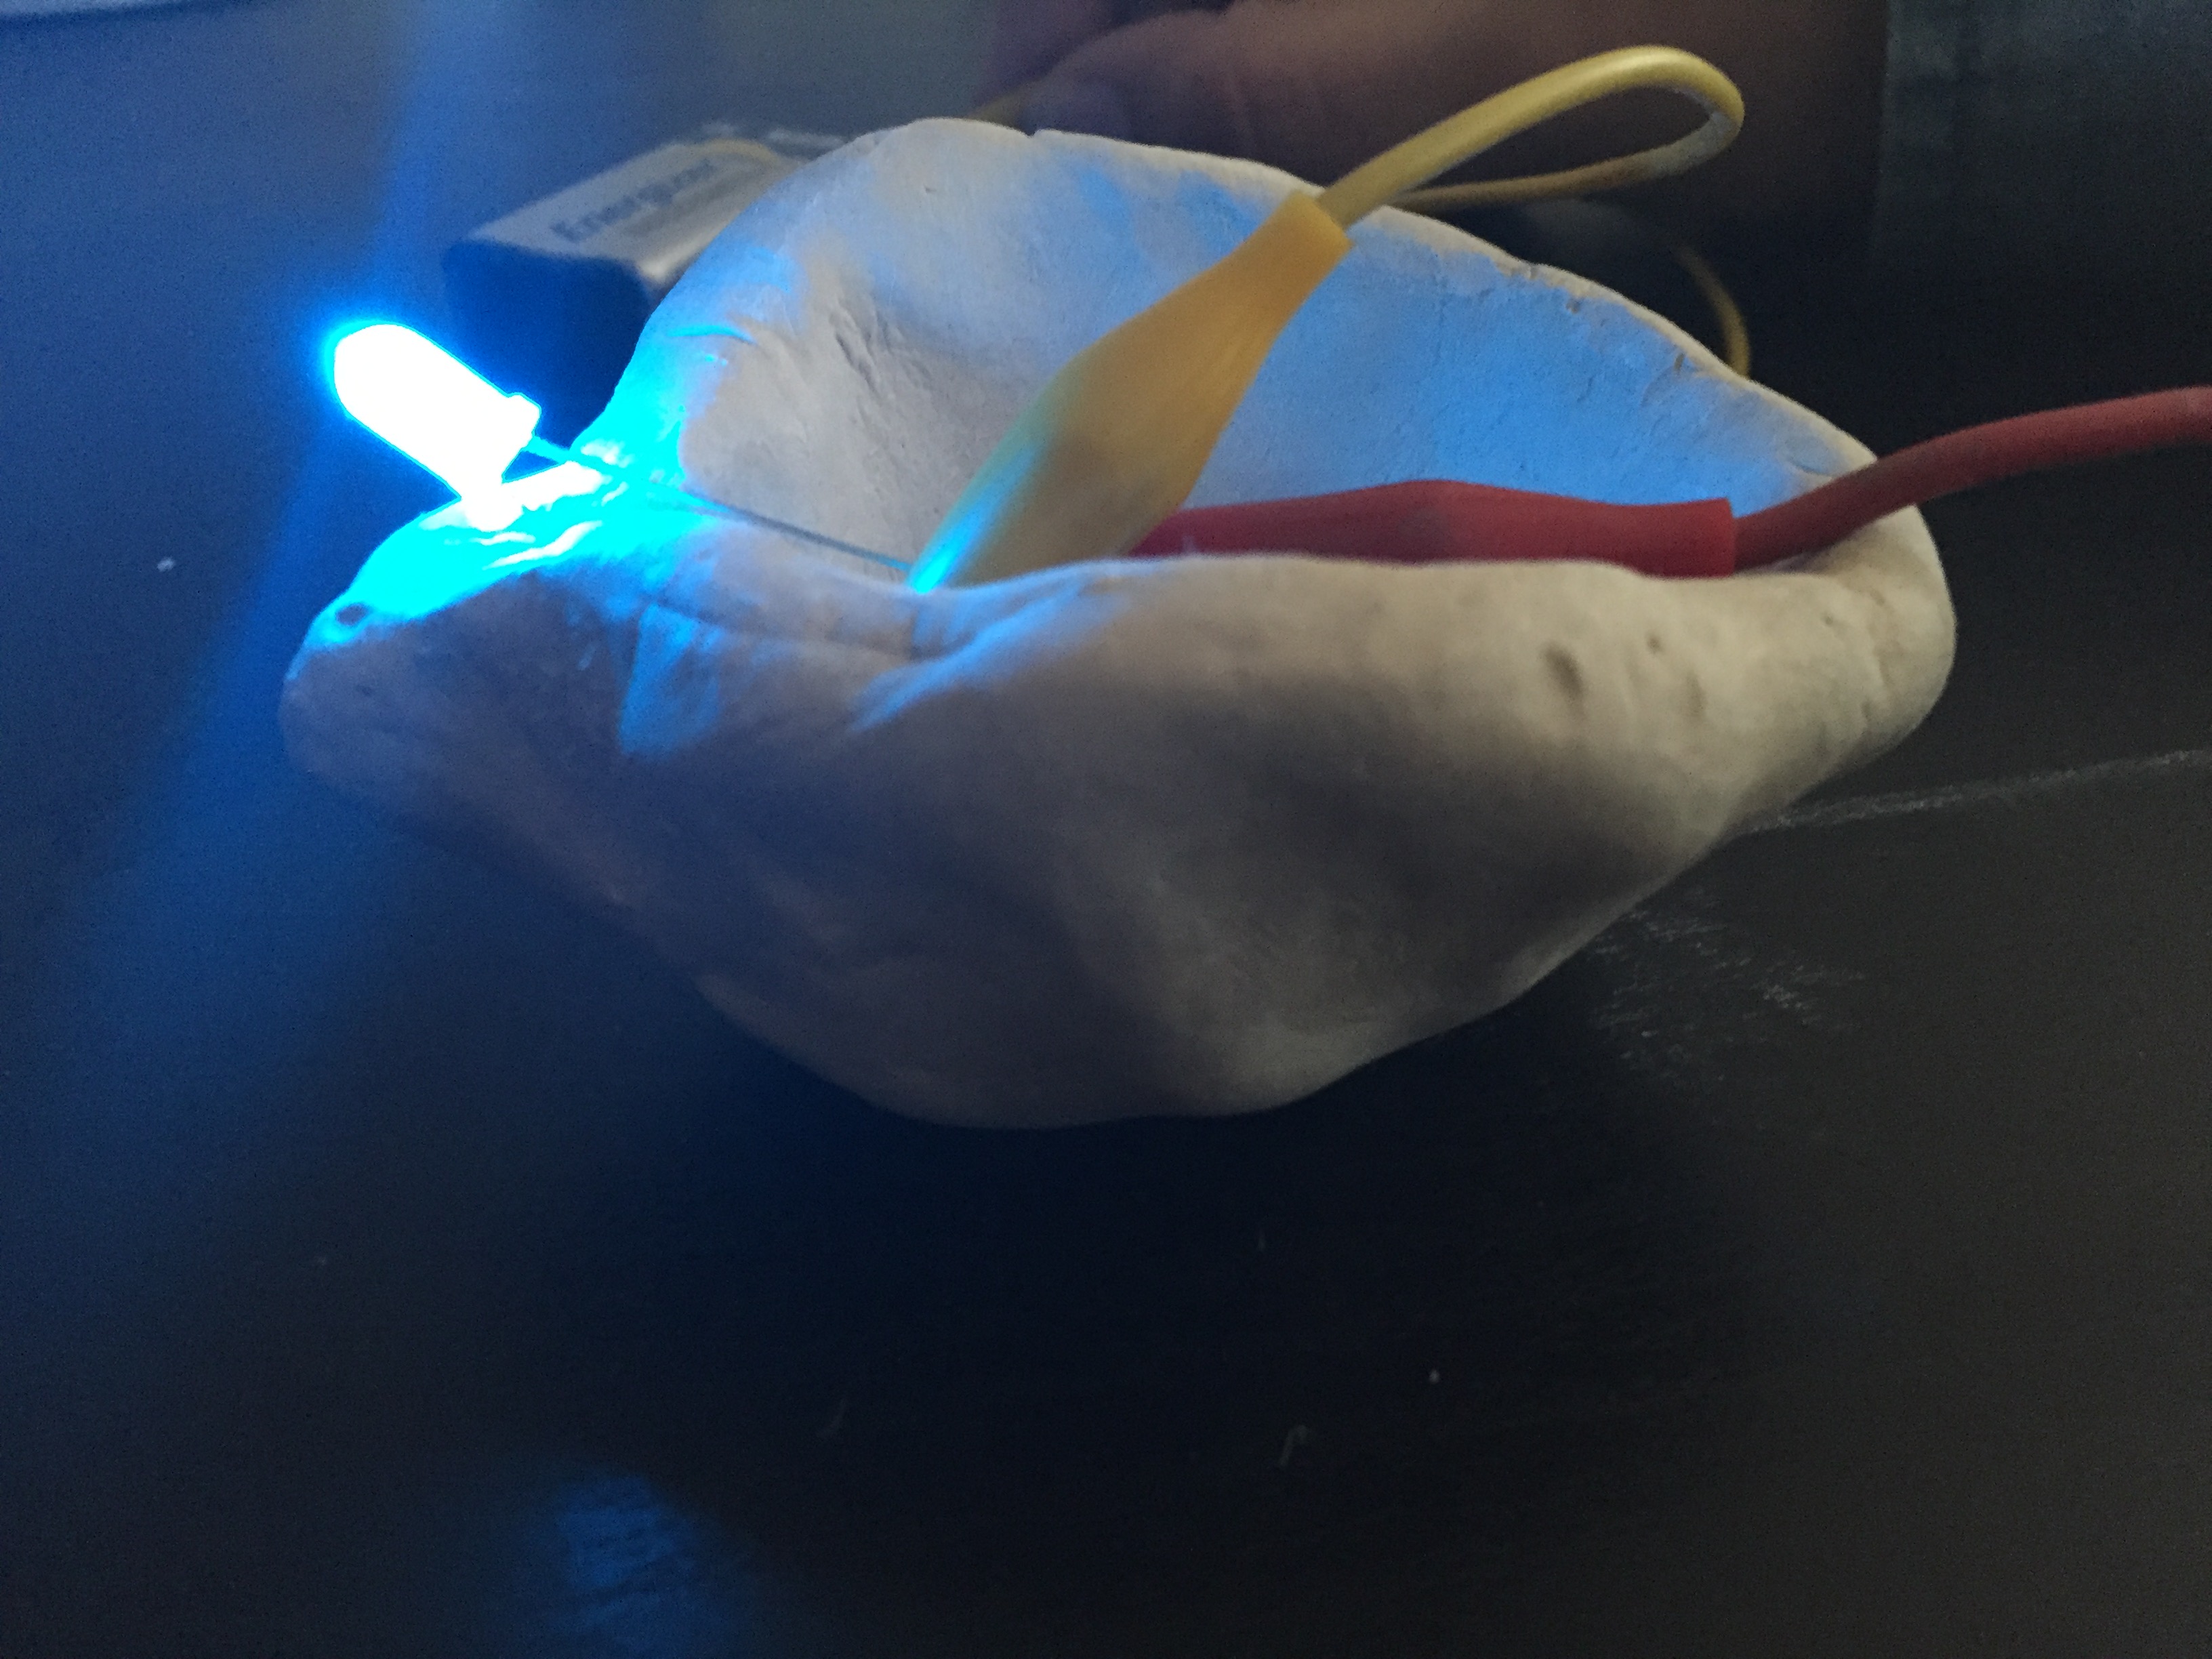
For eg. a glowing LED light by itself is not symbolic but if i cut-out a paper heart and stick it to the top of the LED, it starts to have some meaning.
Why Clay?
There are many ways to give form to such a project ranging from manual(sewing, paper craft, wood-working) to automated(3-D printing, Laser cutting) etc.
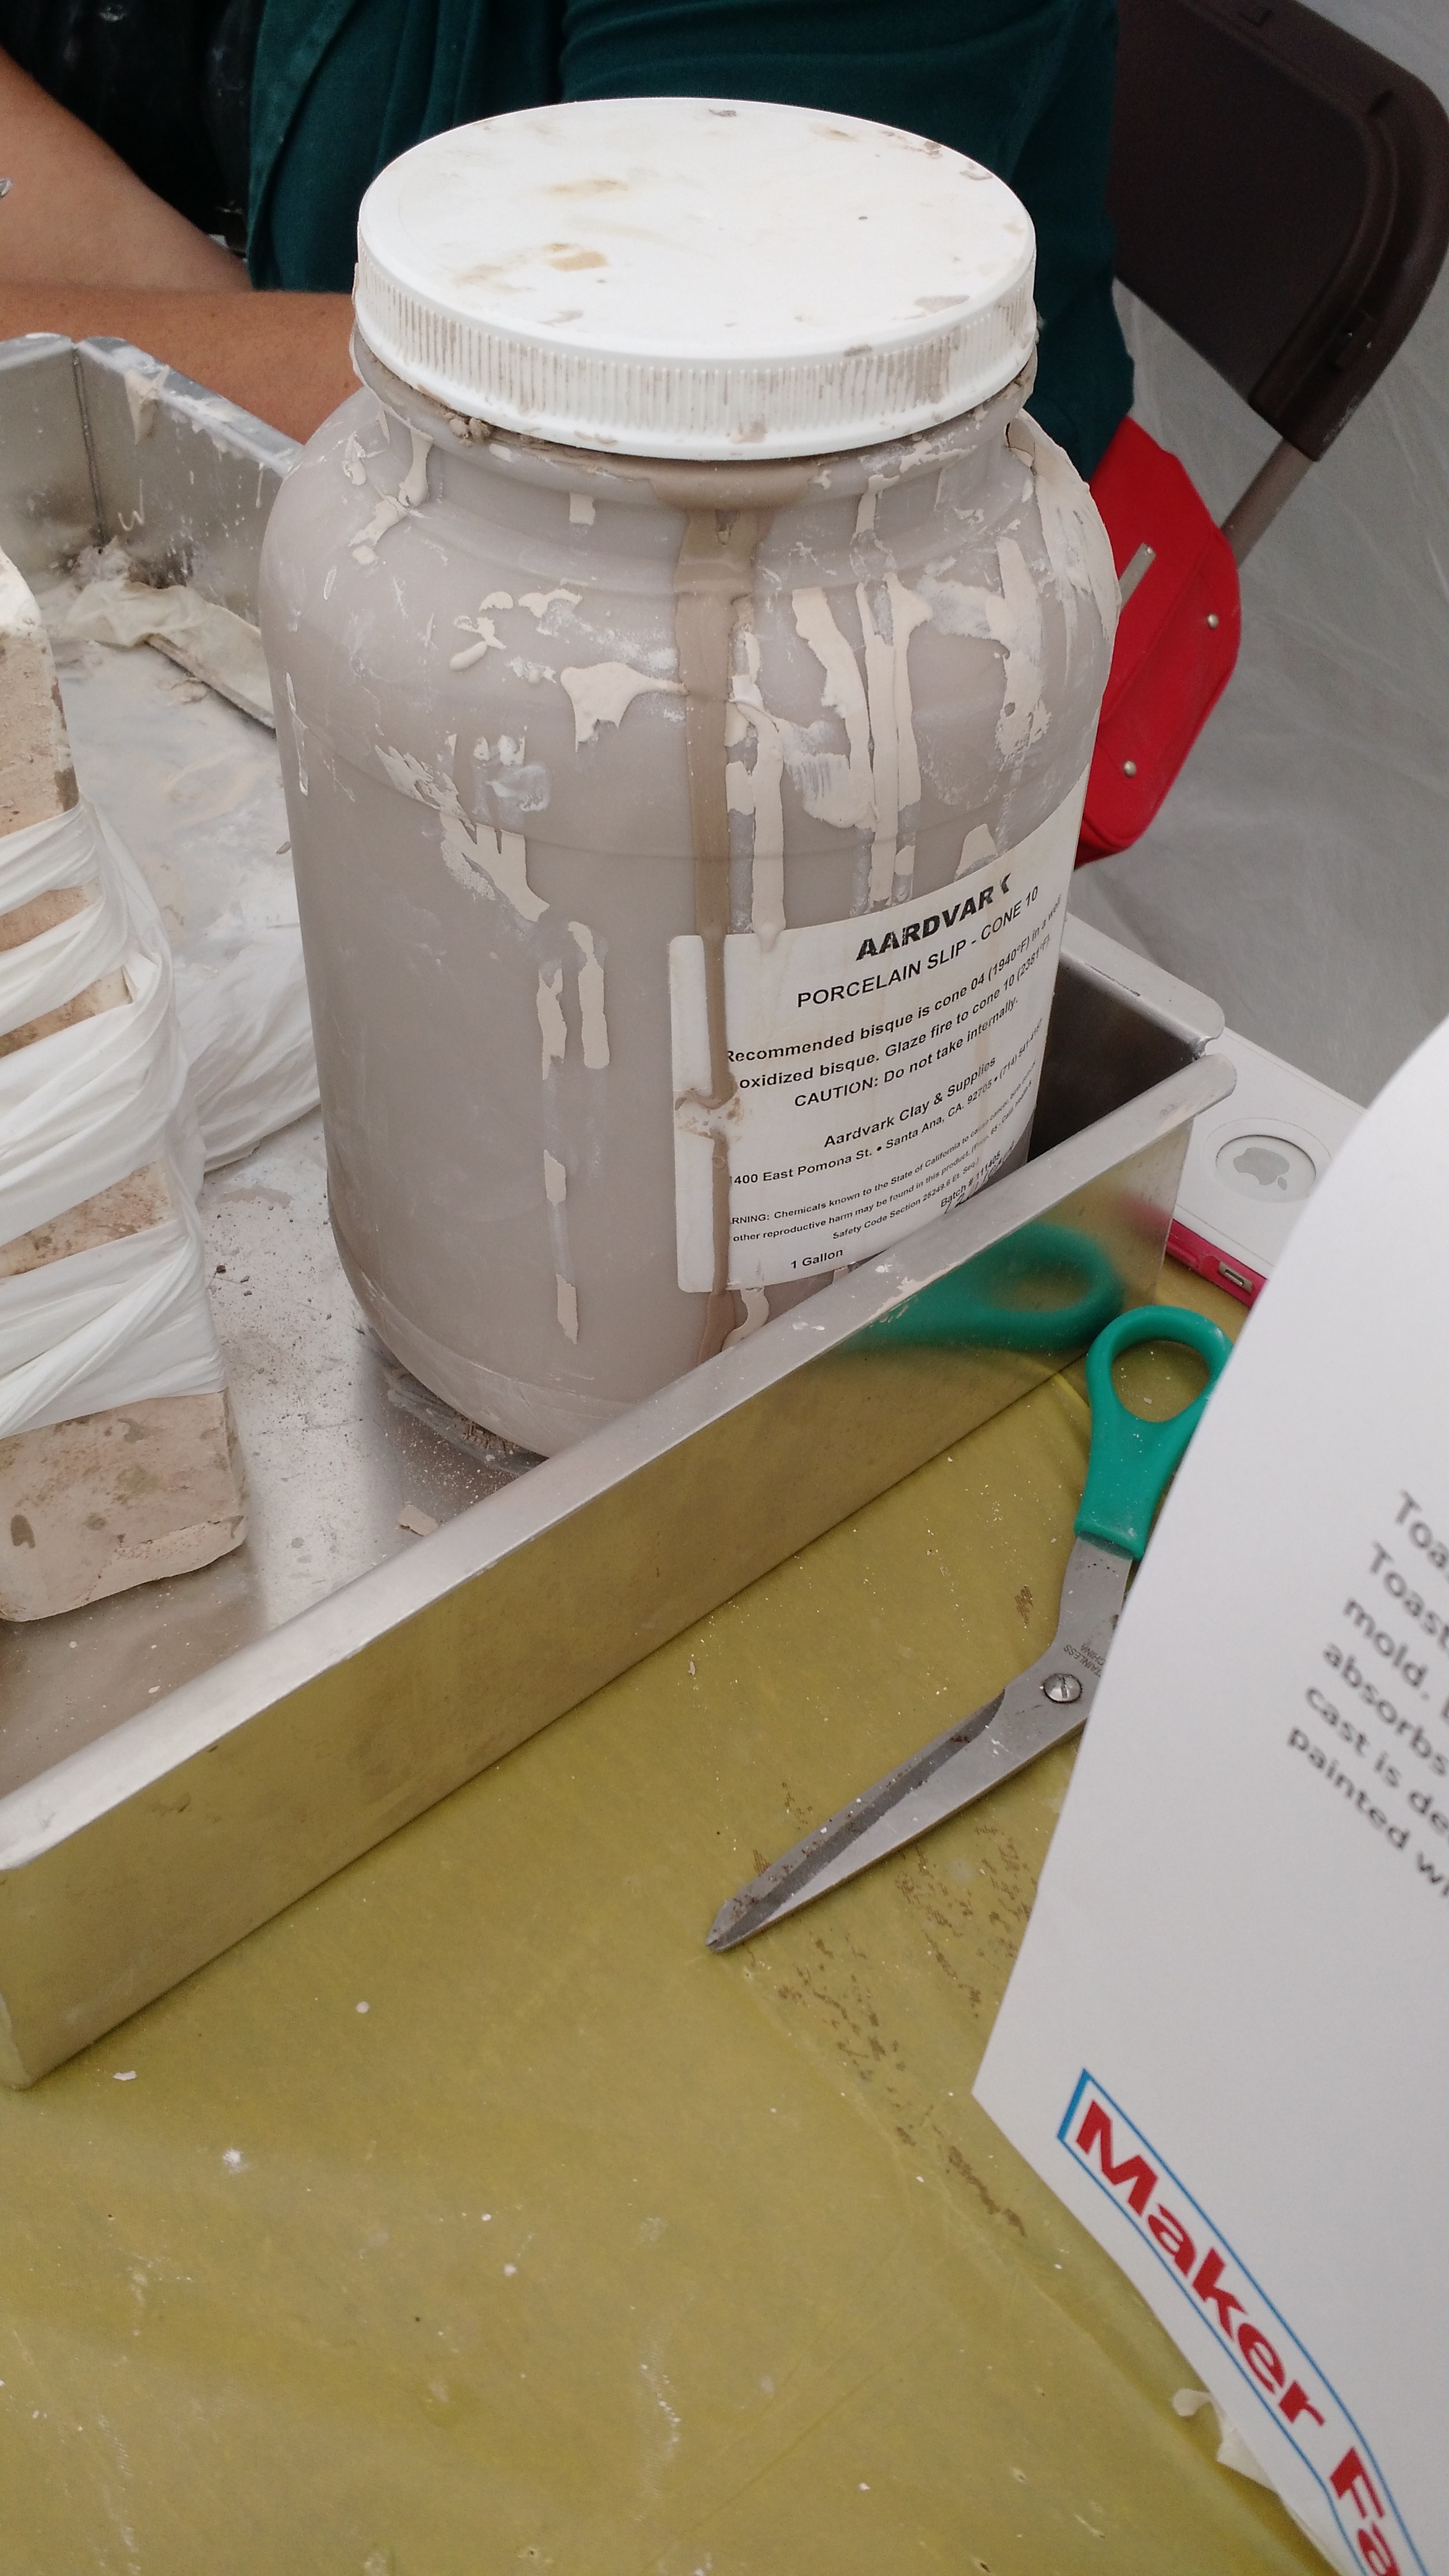
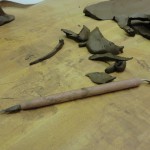
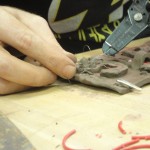
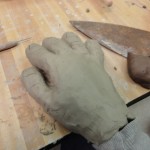
My exploration use Clay along with some other materials(pencil, magnets etc.) as a material because:
It is easily and cheaply available in most places
Easy to mould and shape
Can combine simple forms to each other to form complex forms
Can use tools such as knives, moulds, stamps etc.
It offers both malleability when it is wet and rigidity when it is dry
Can be painted on or drawn on when dry
Insulative(which is a very important property of any electronic circuit, the Yin-Yang complement of conductivity)
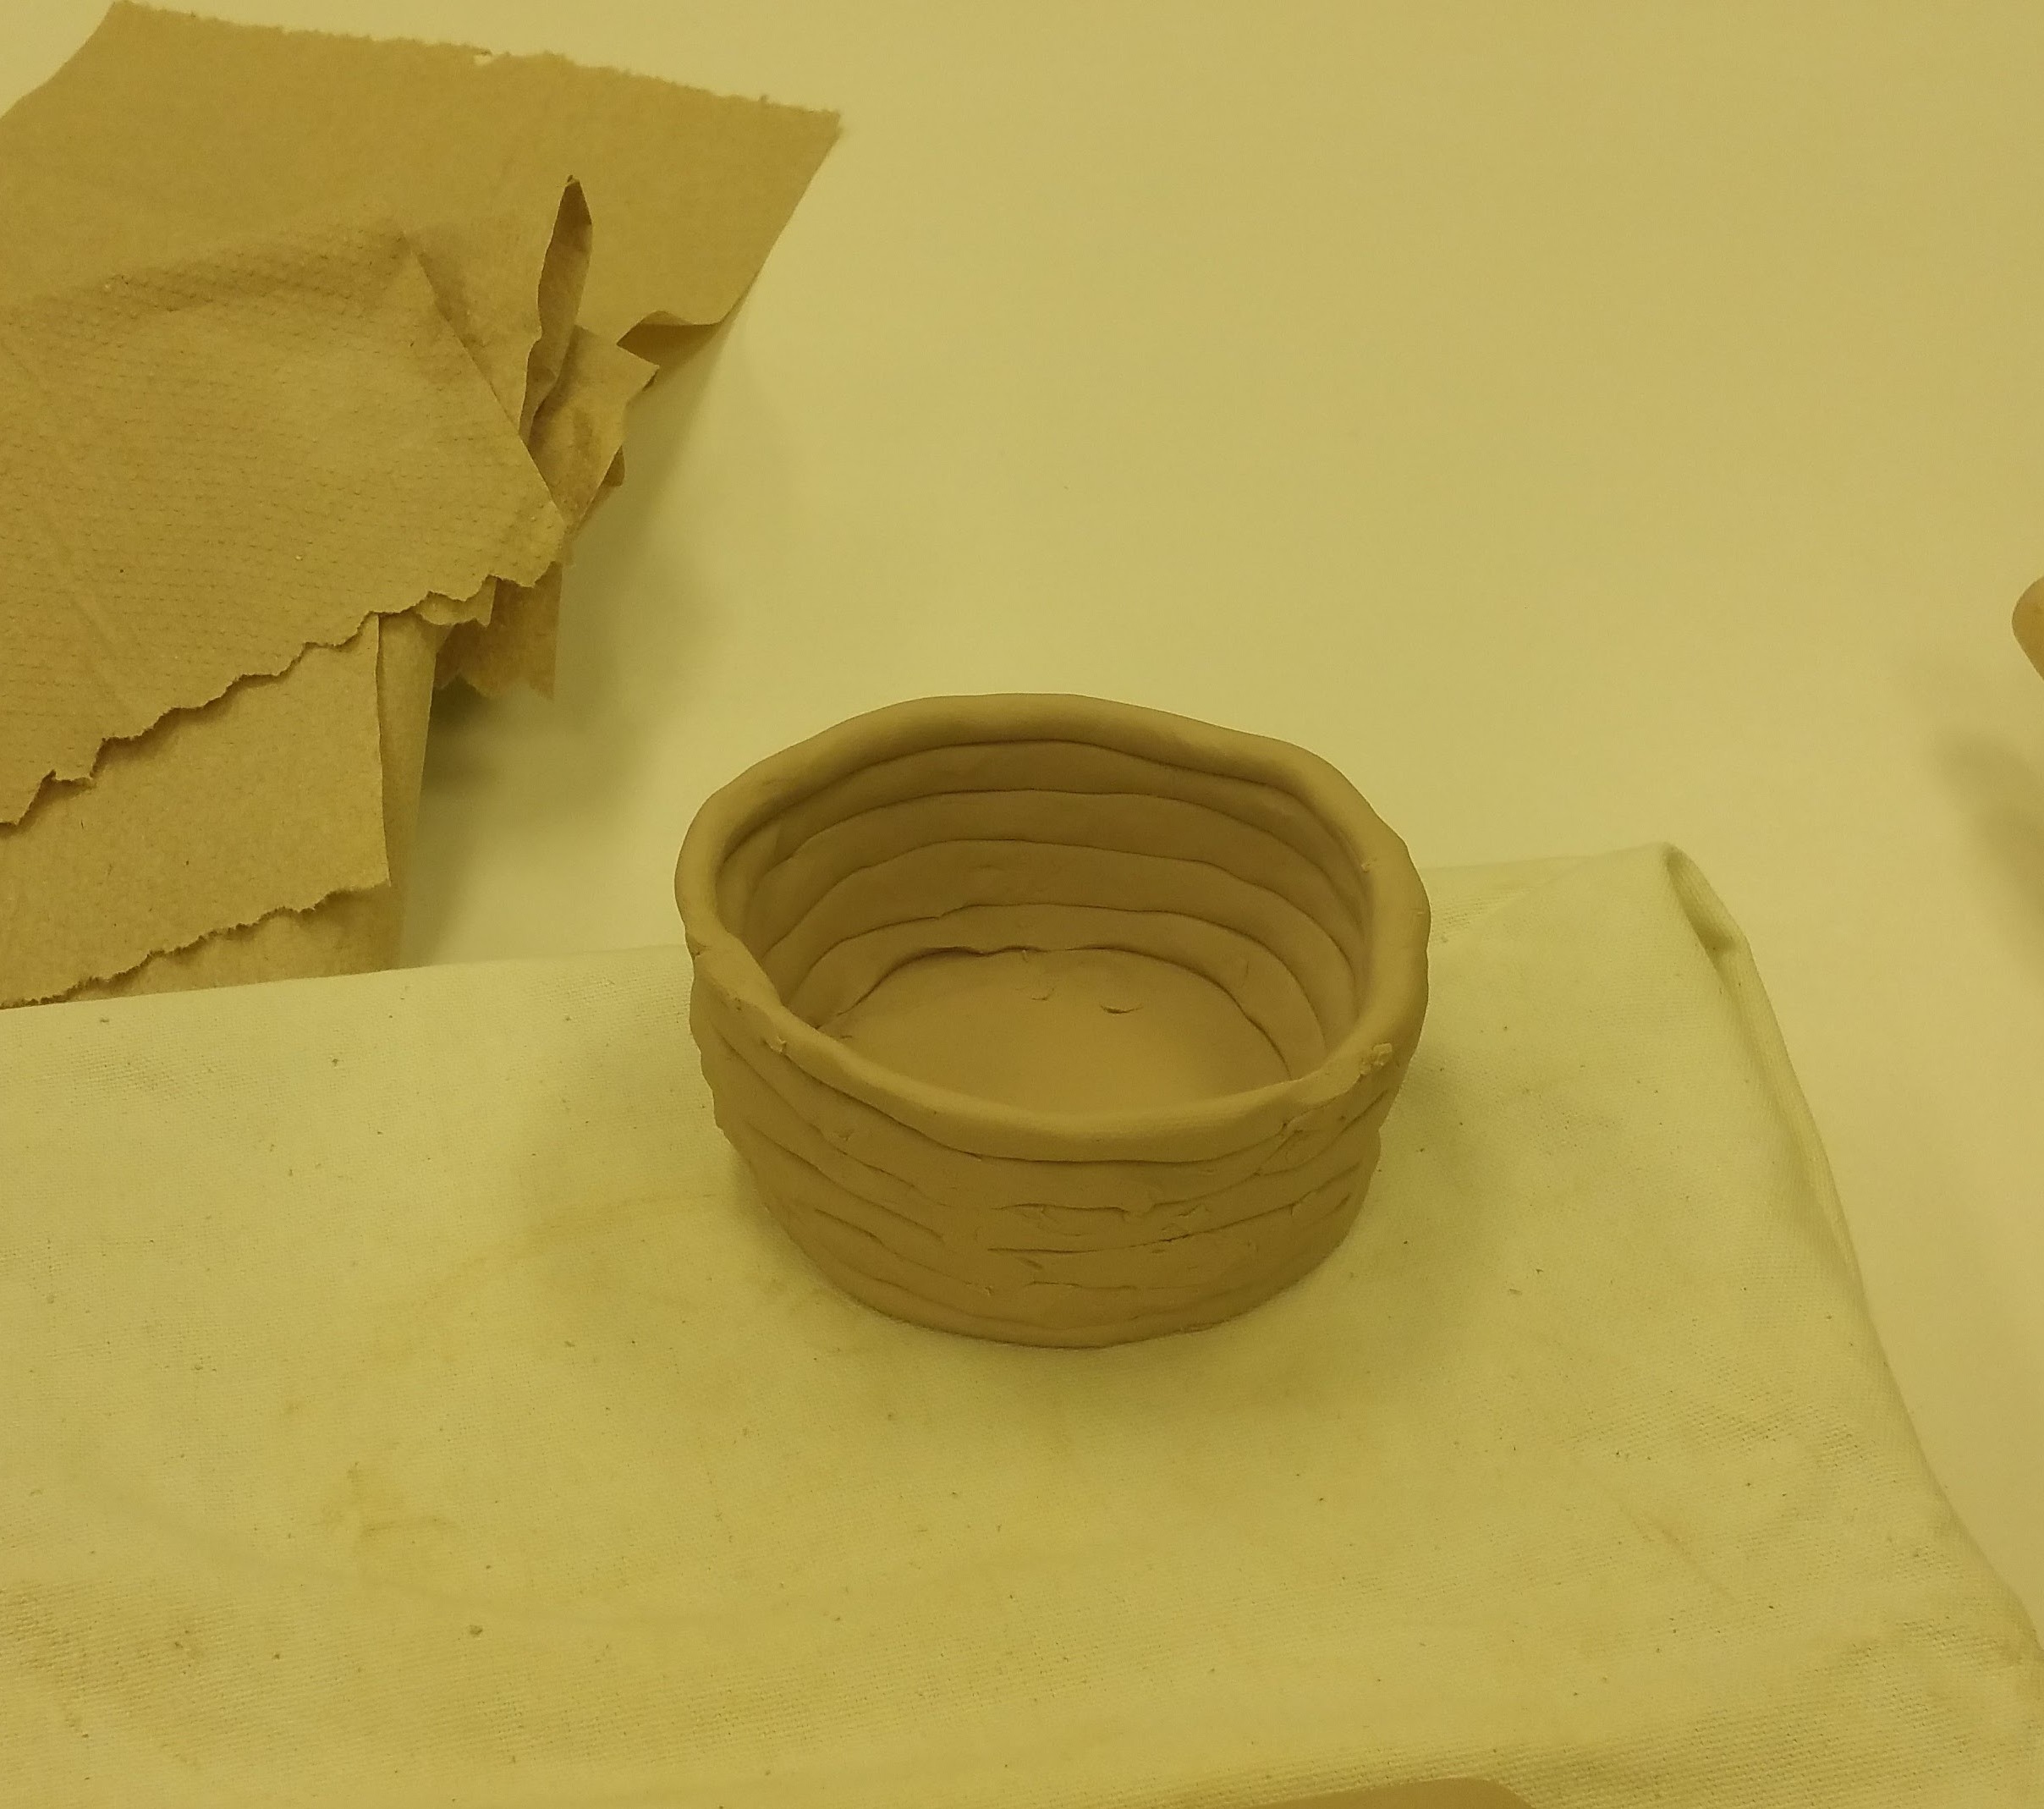
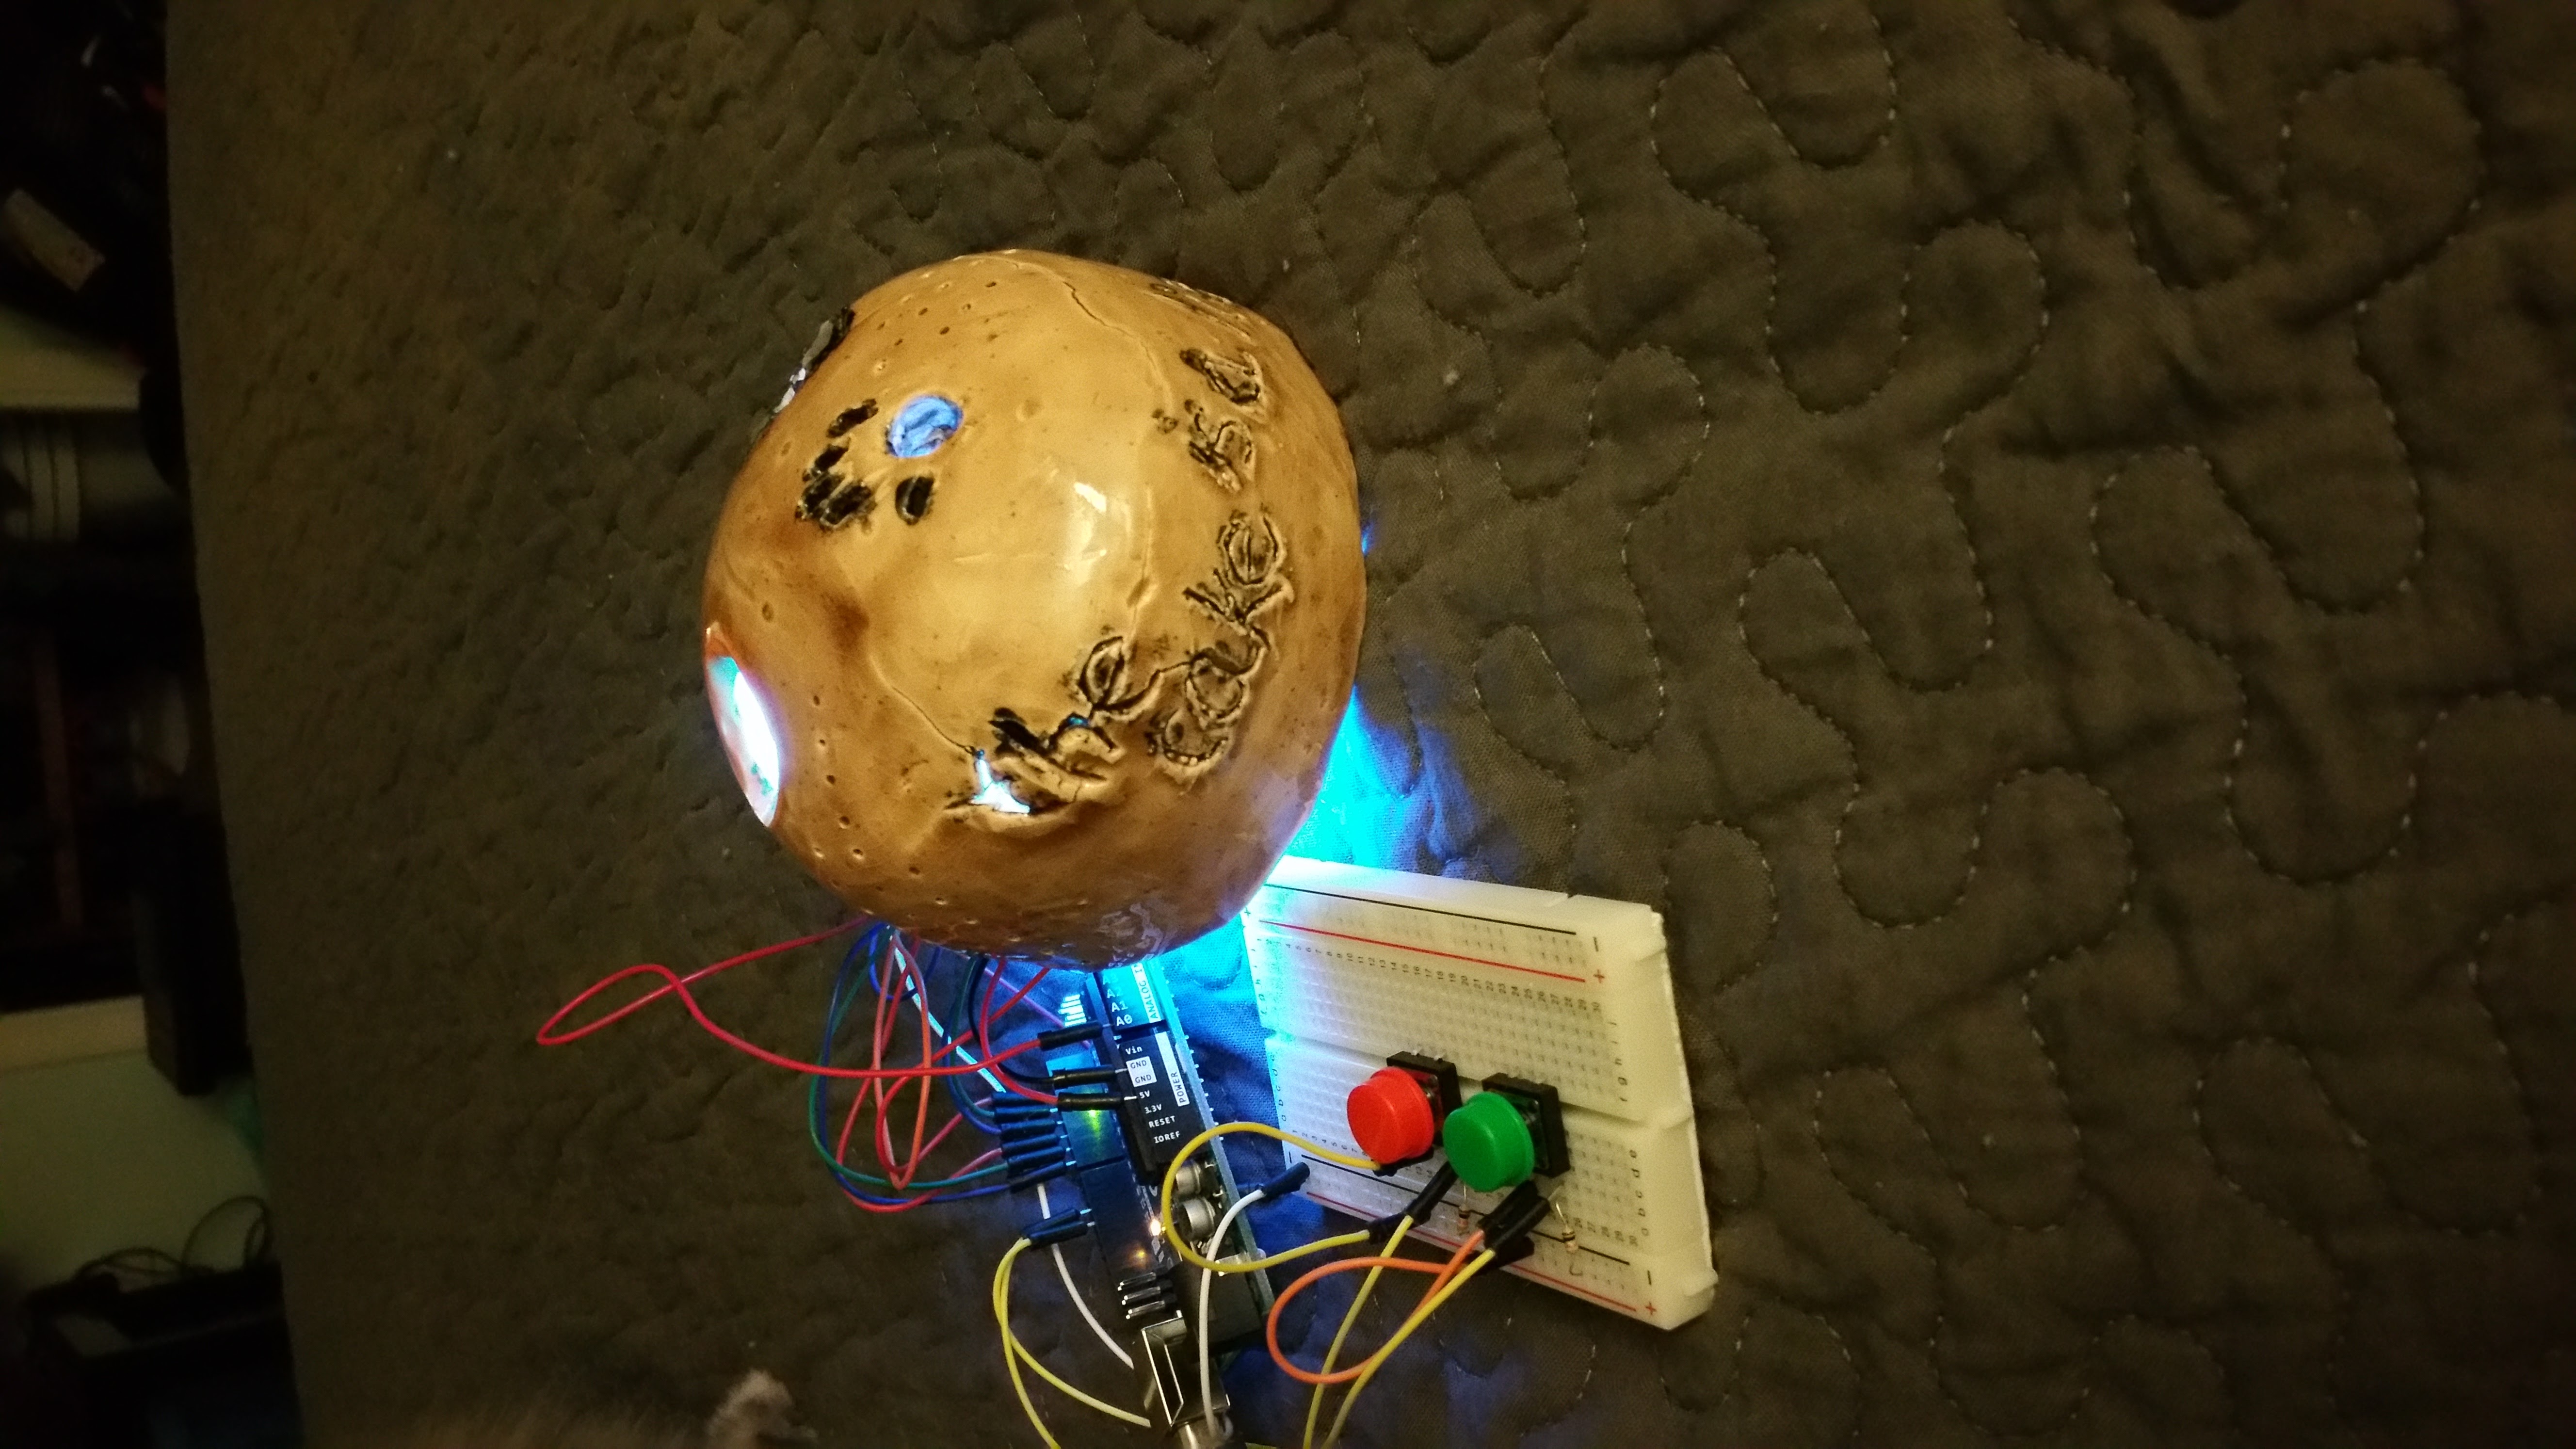
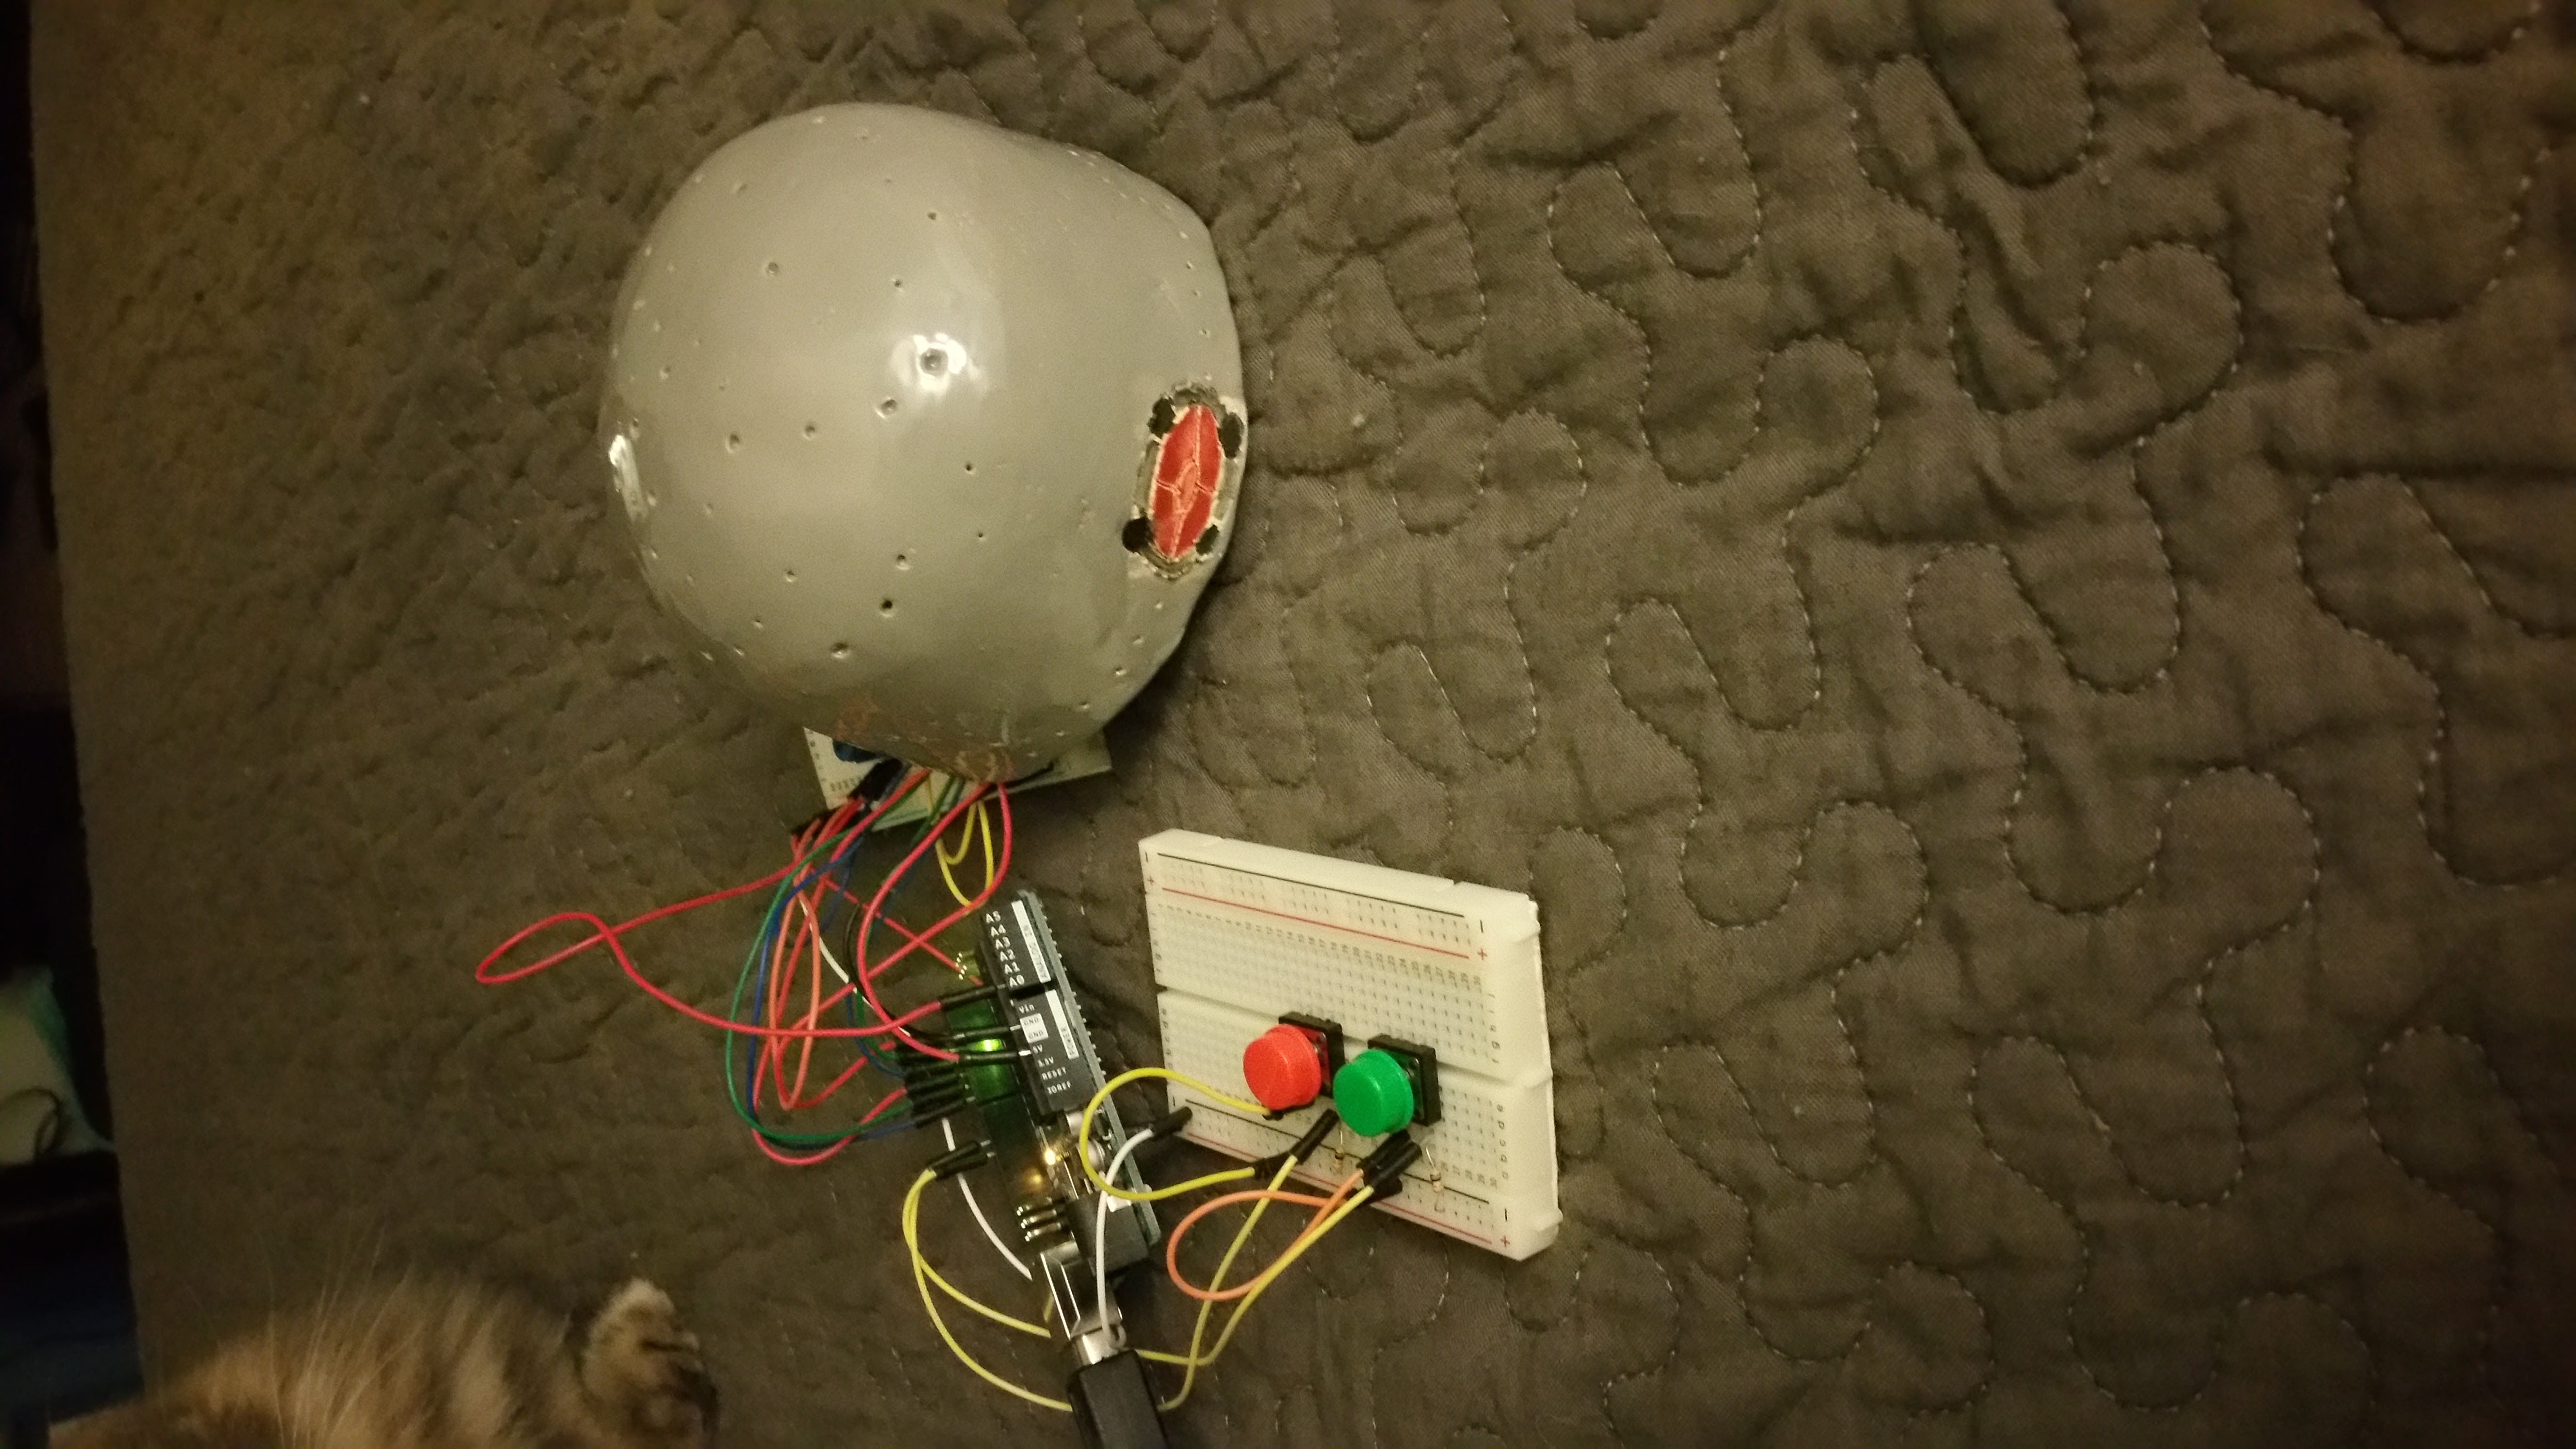
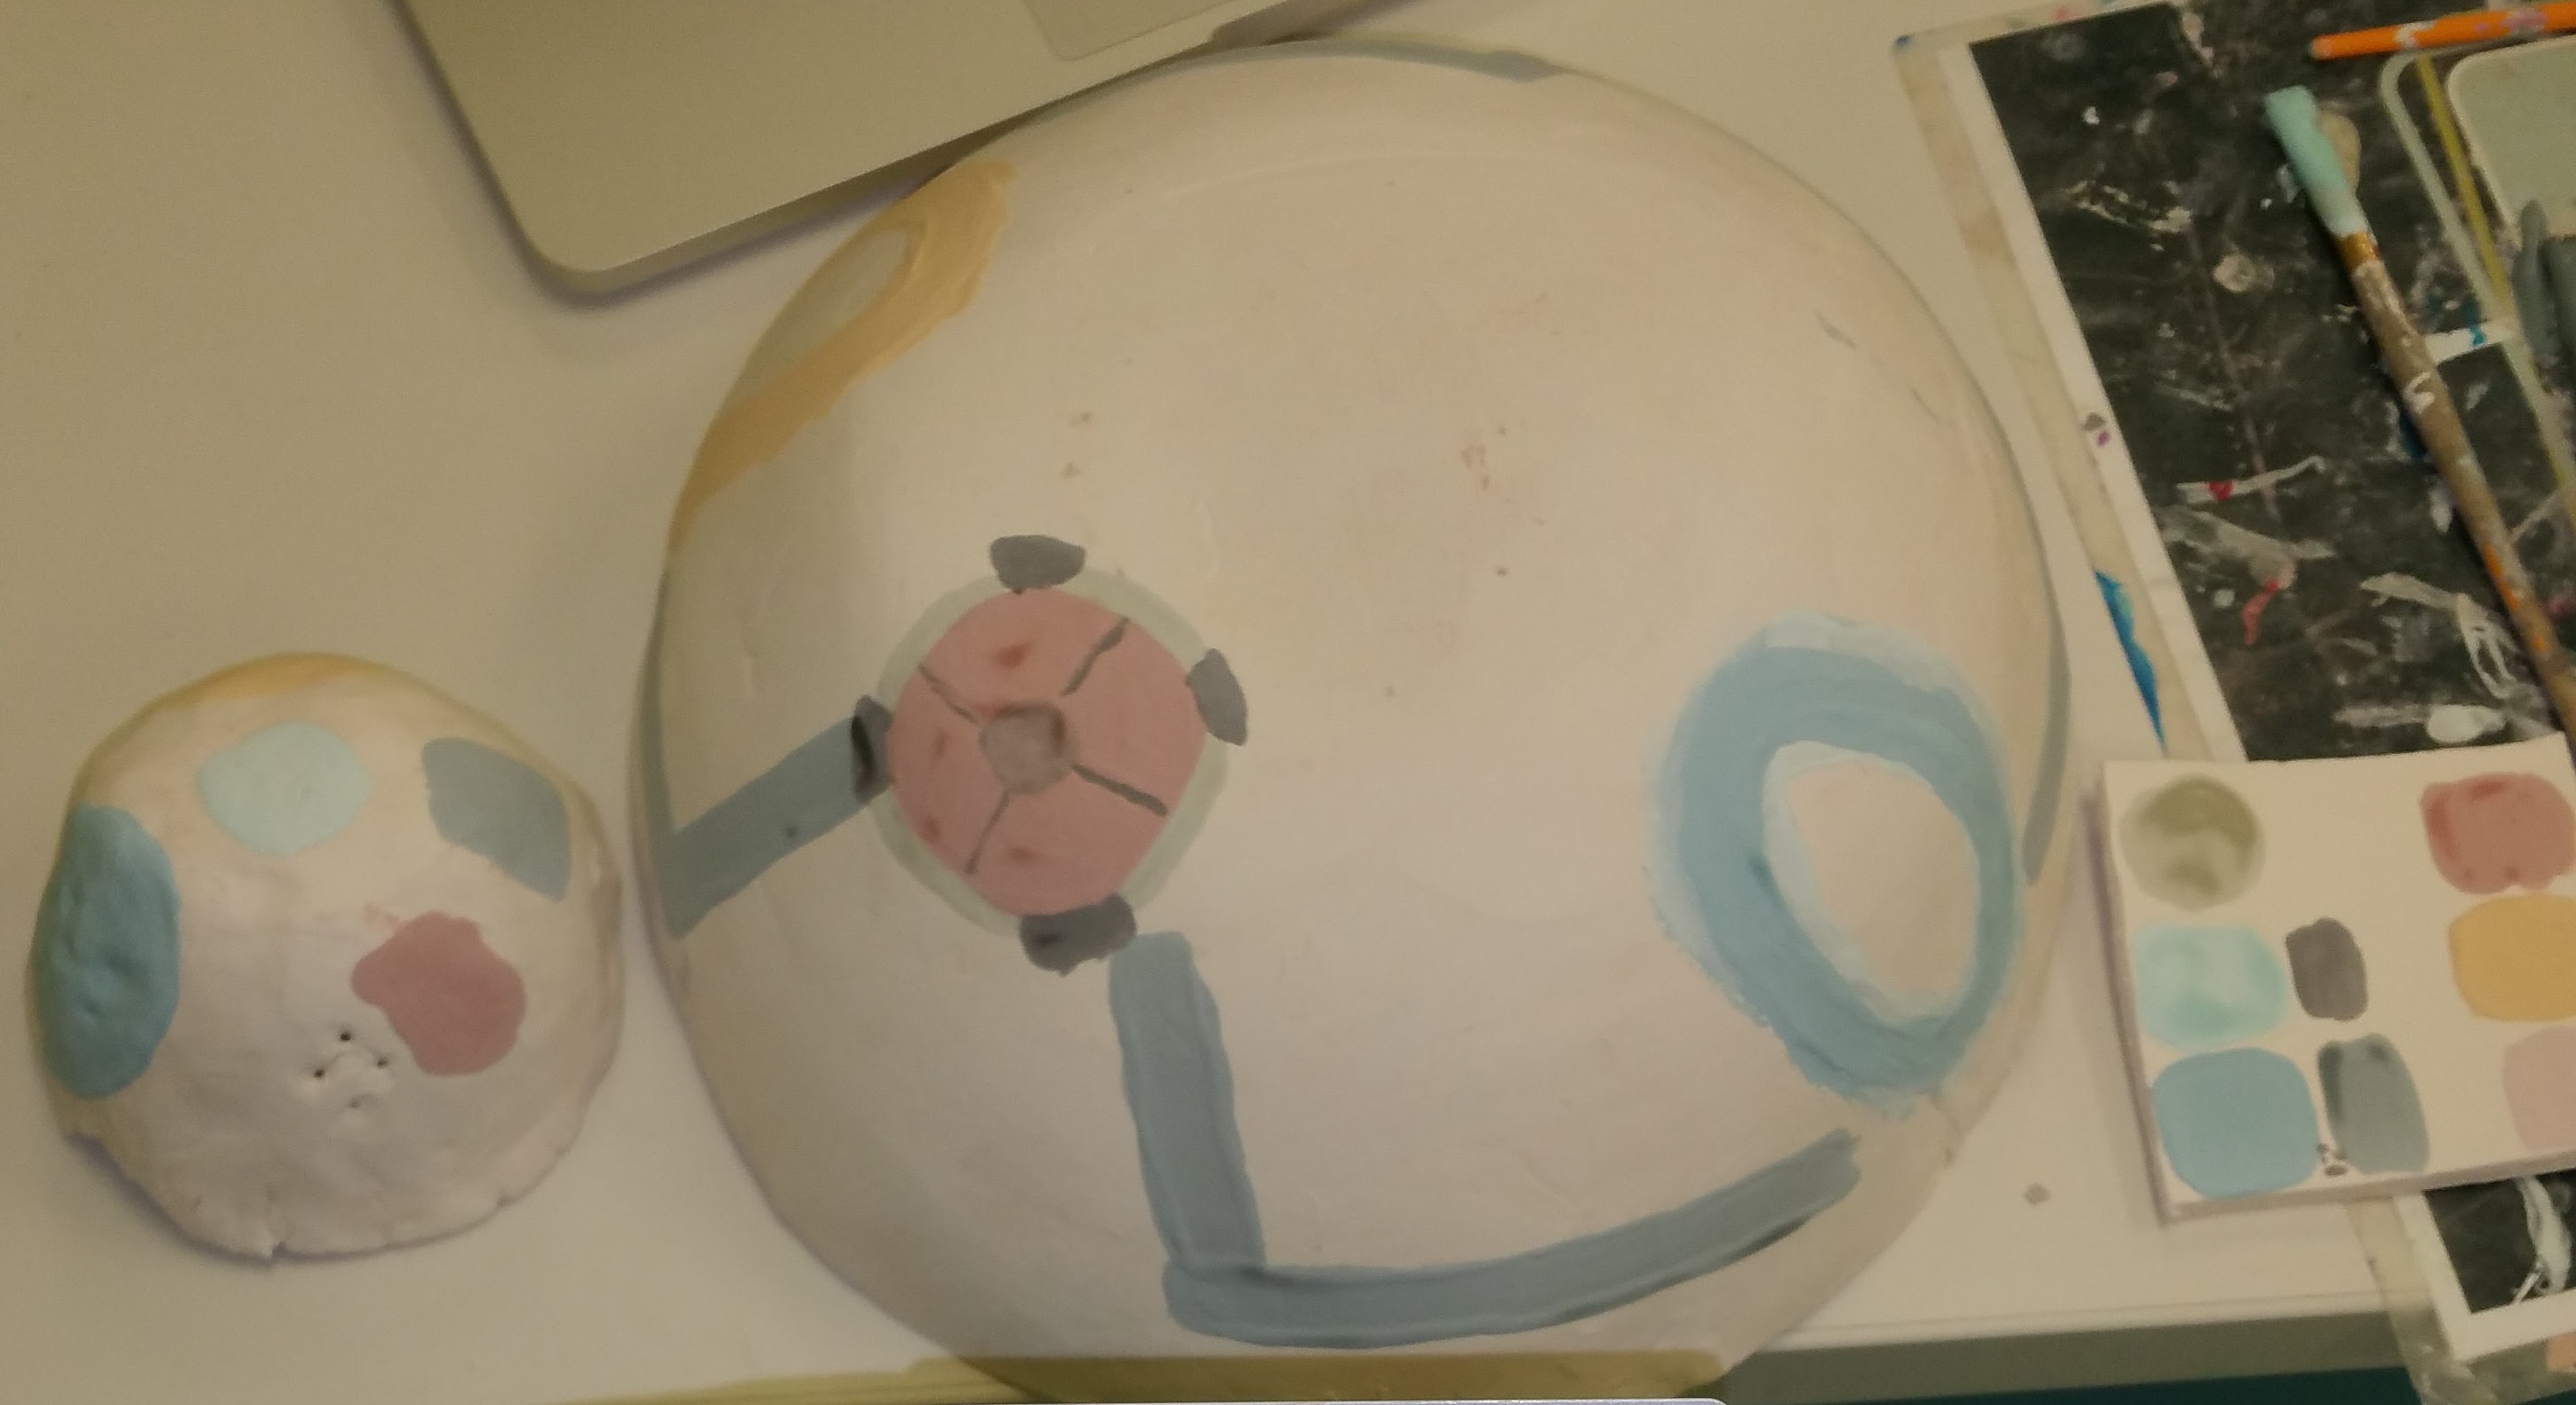
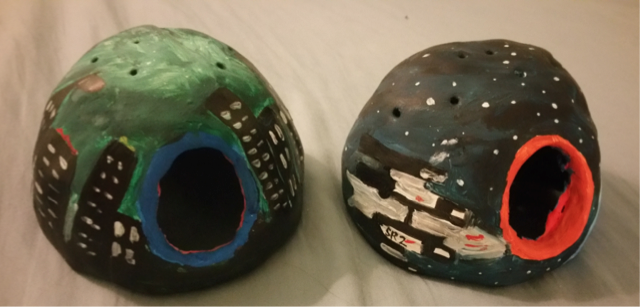
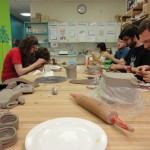
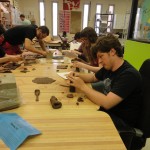
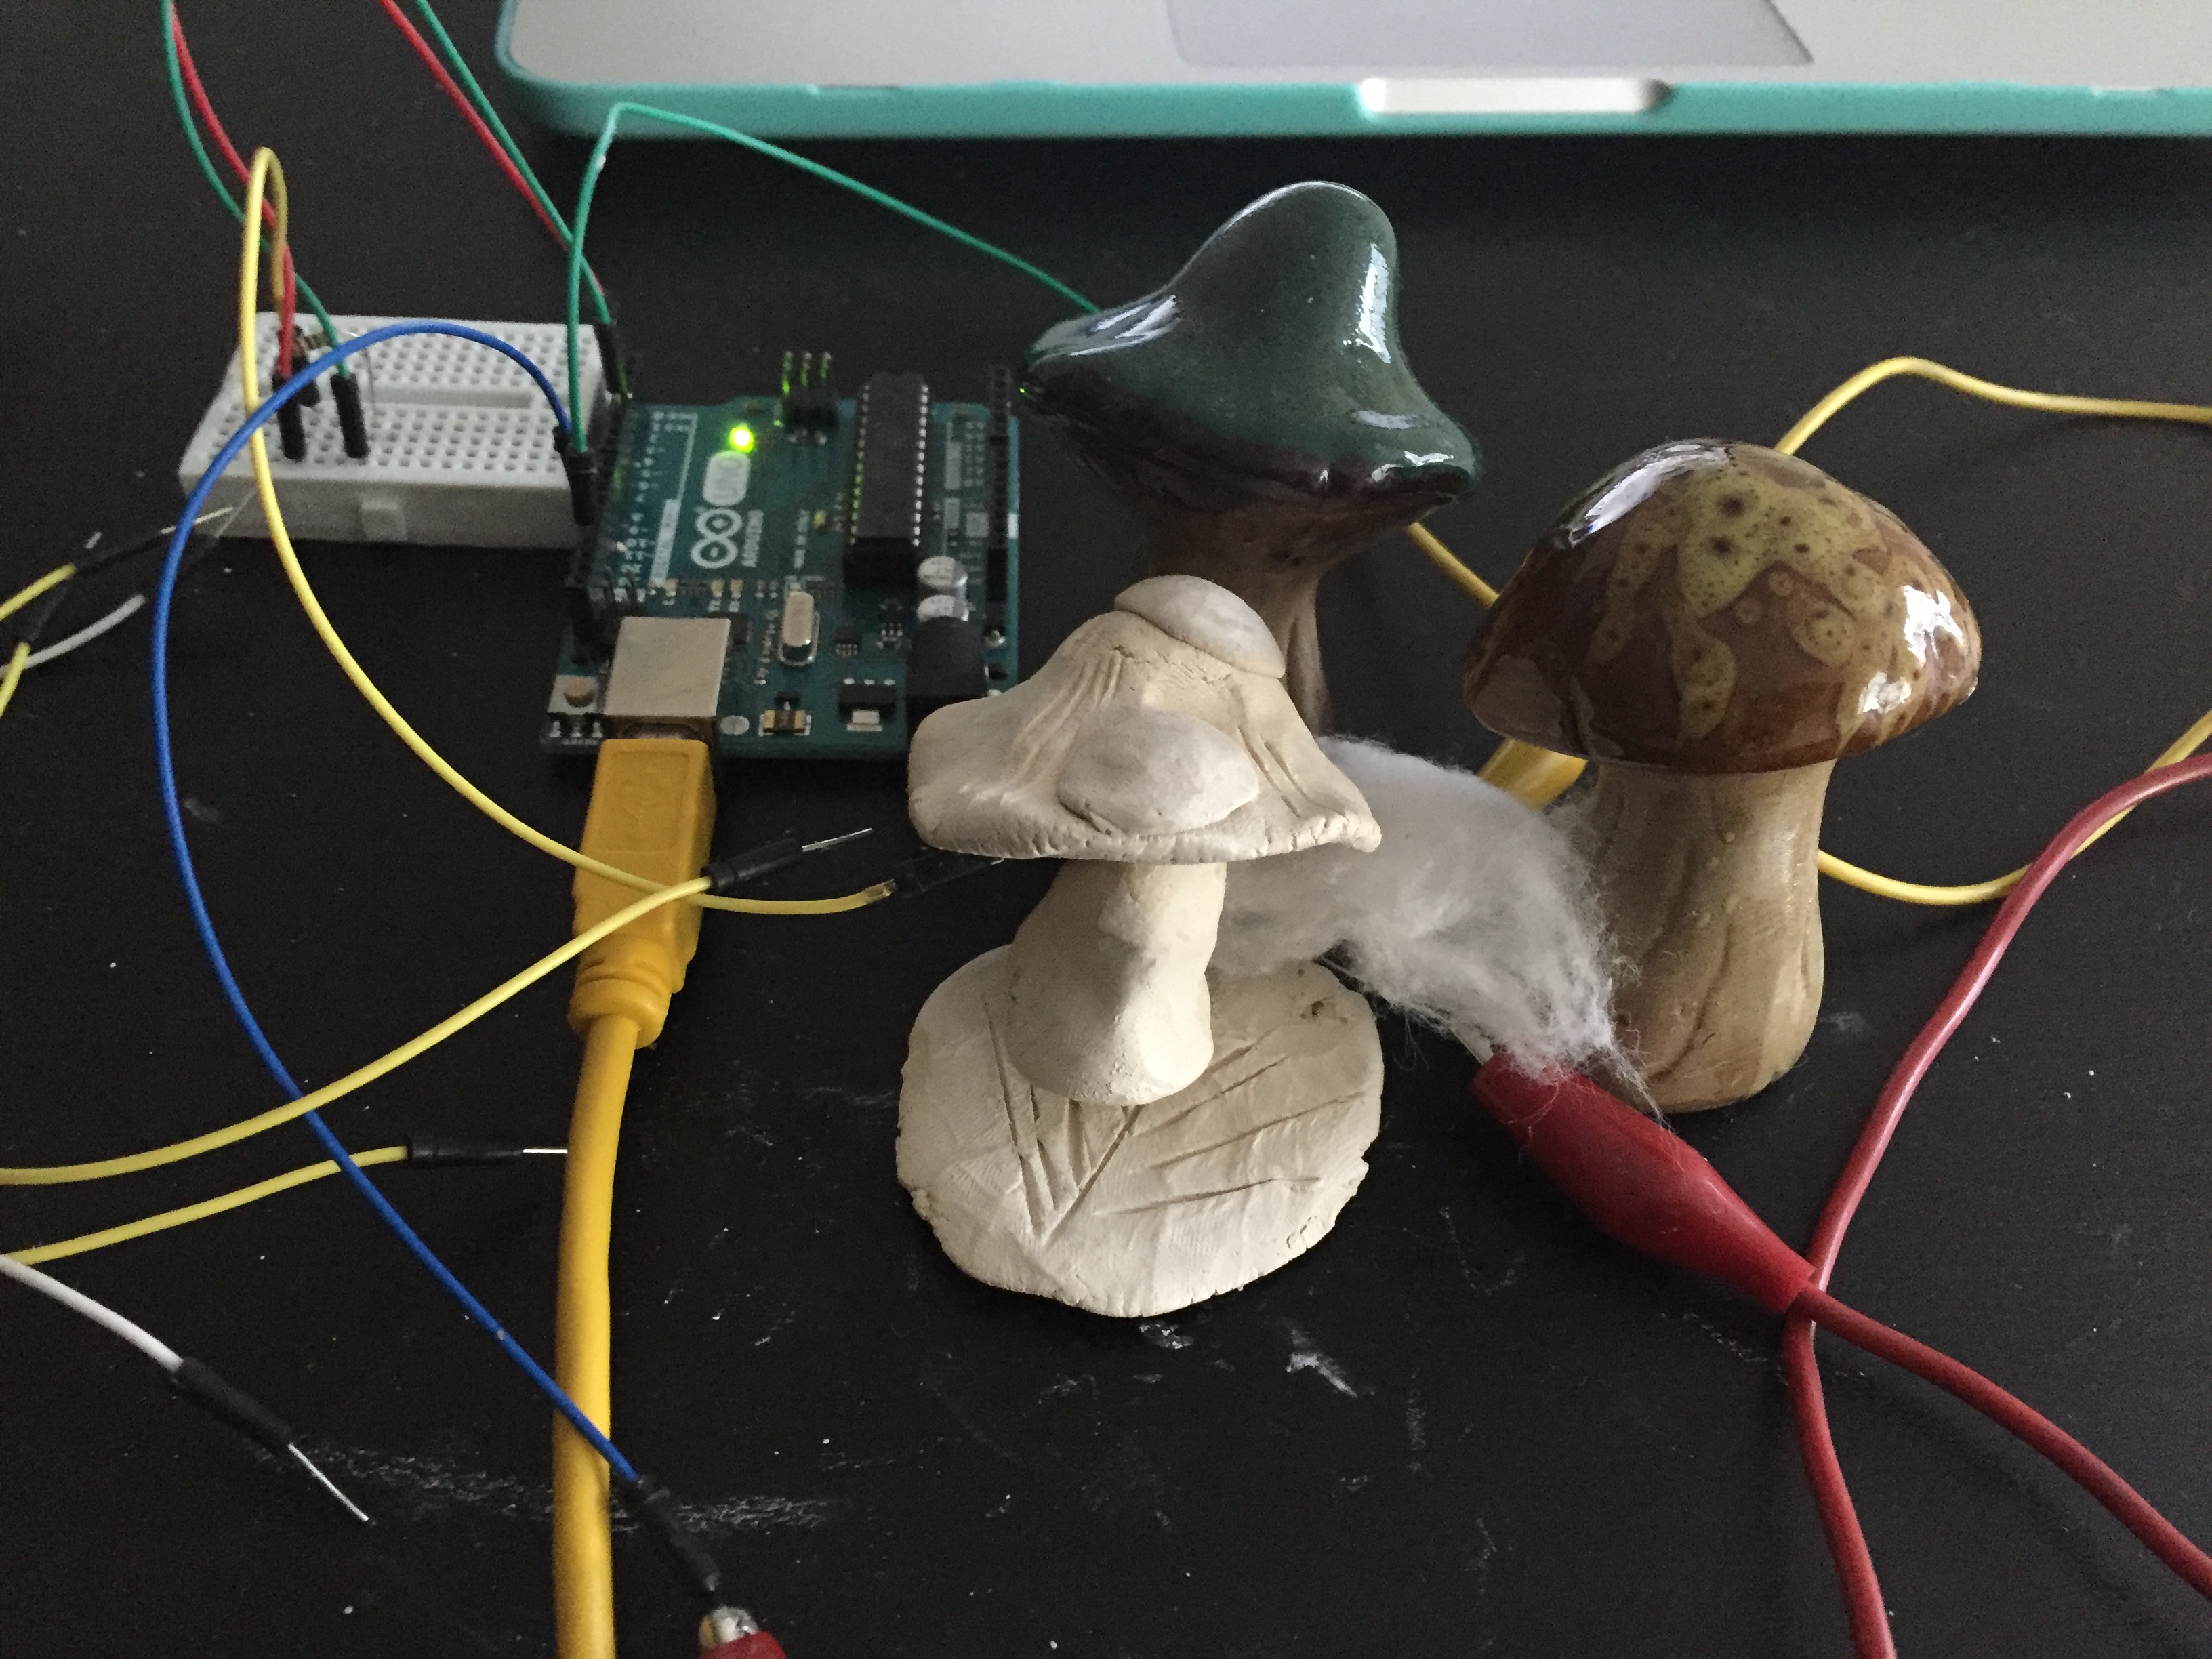
I developed a set of prototypes with clay that demonstrated the concept. The next question was how to present this information to my target audience which was middleschool/highschool kids.
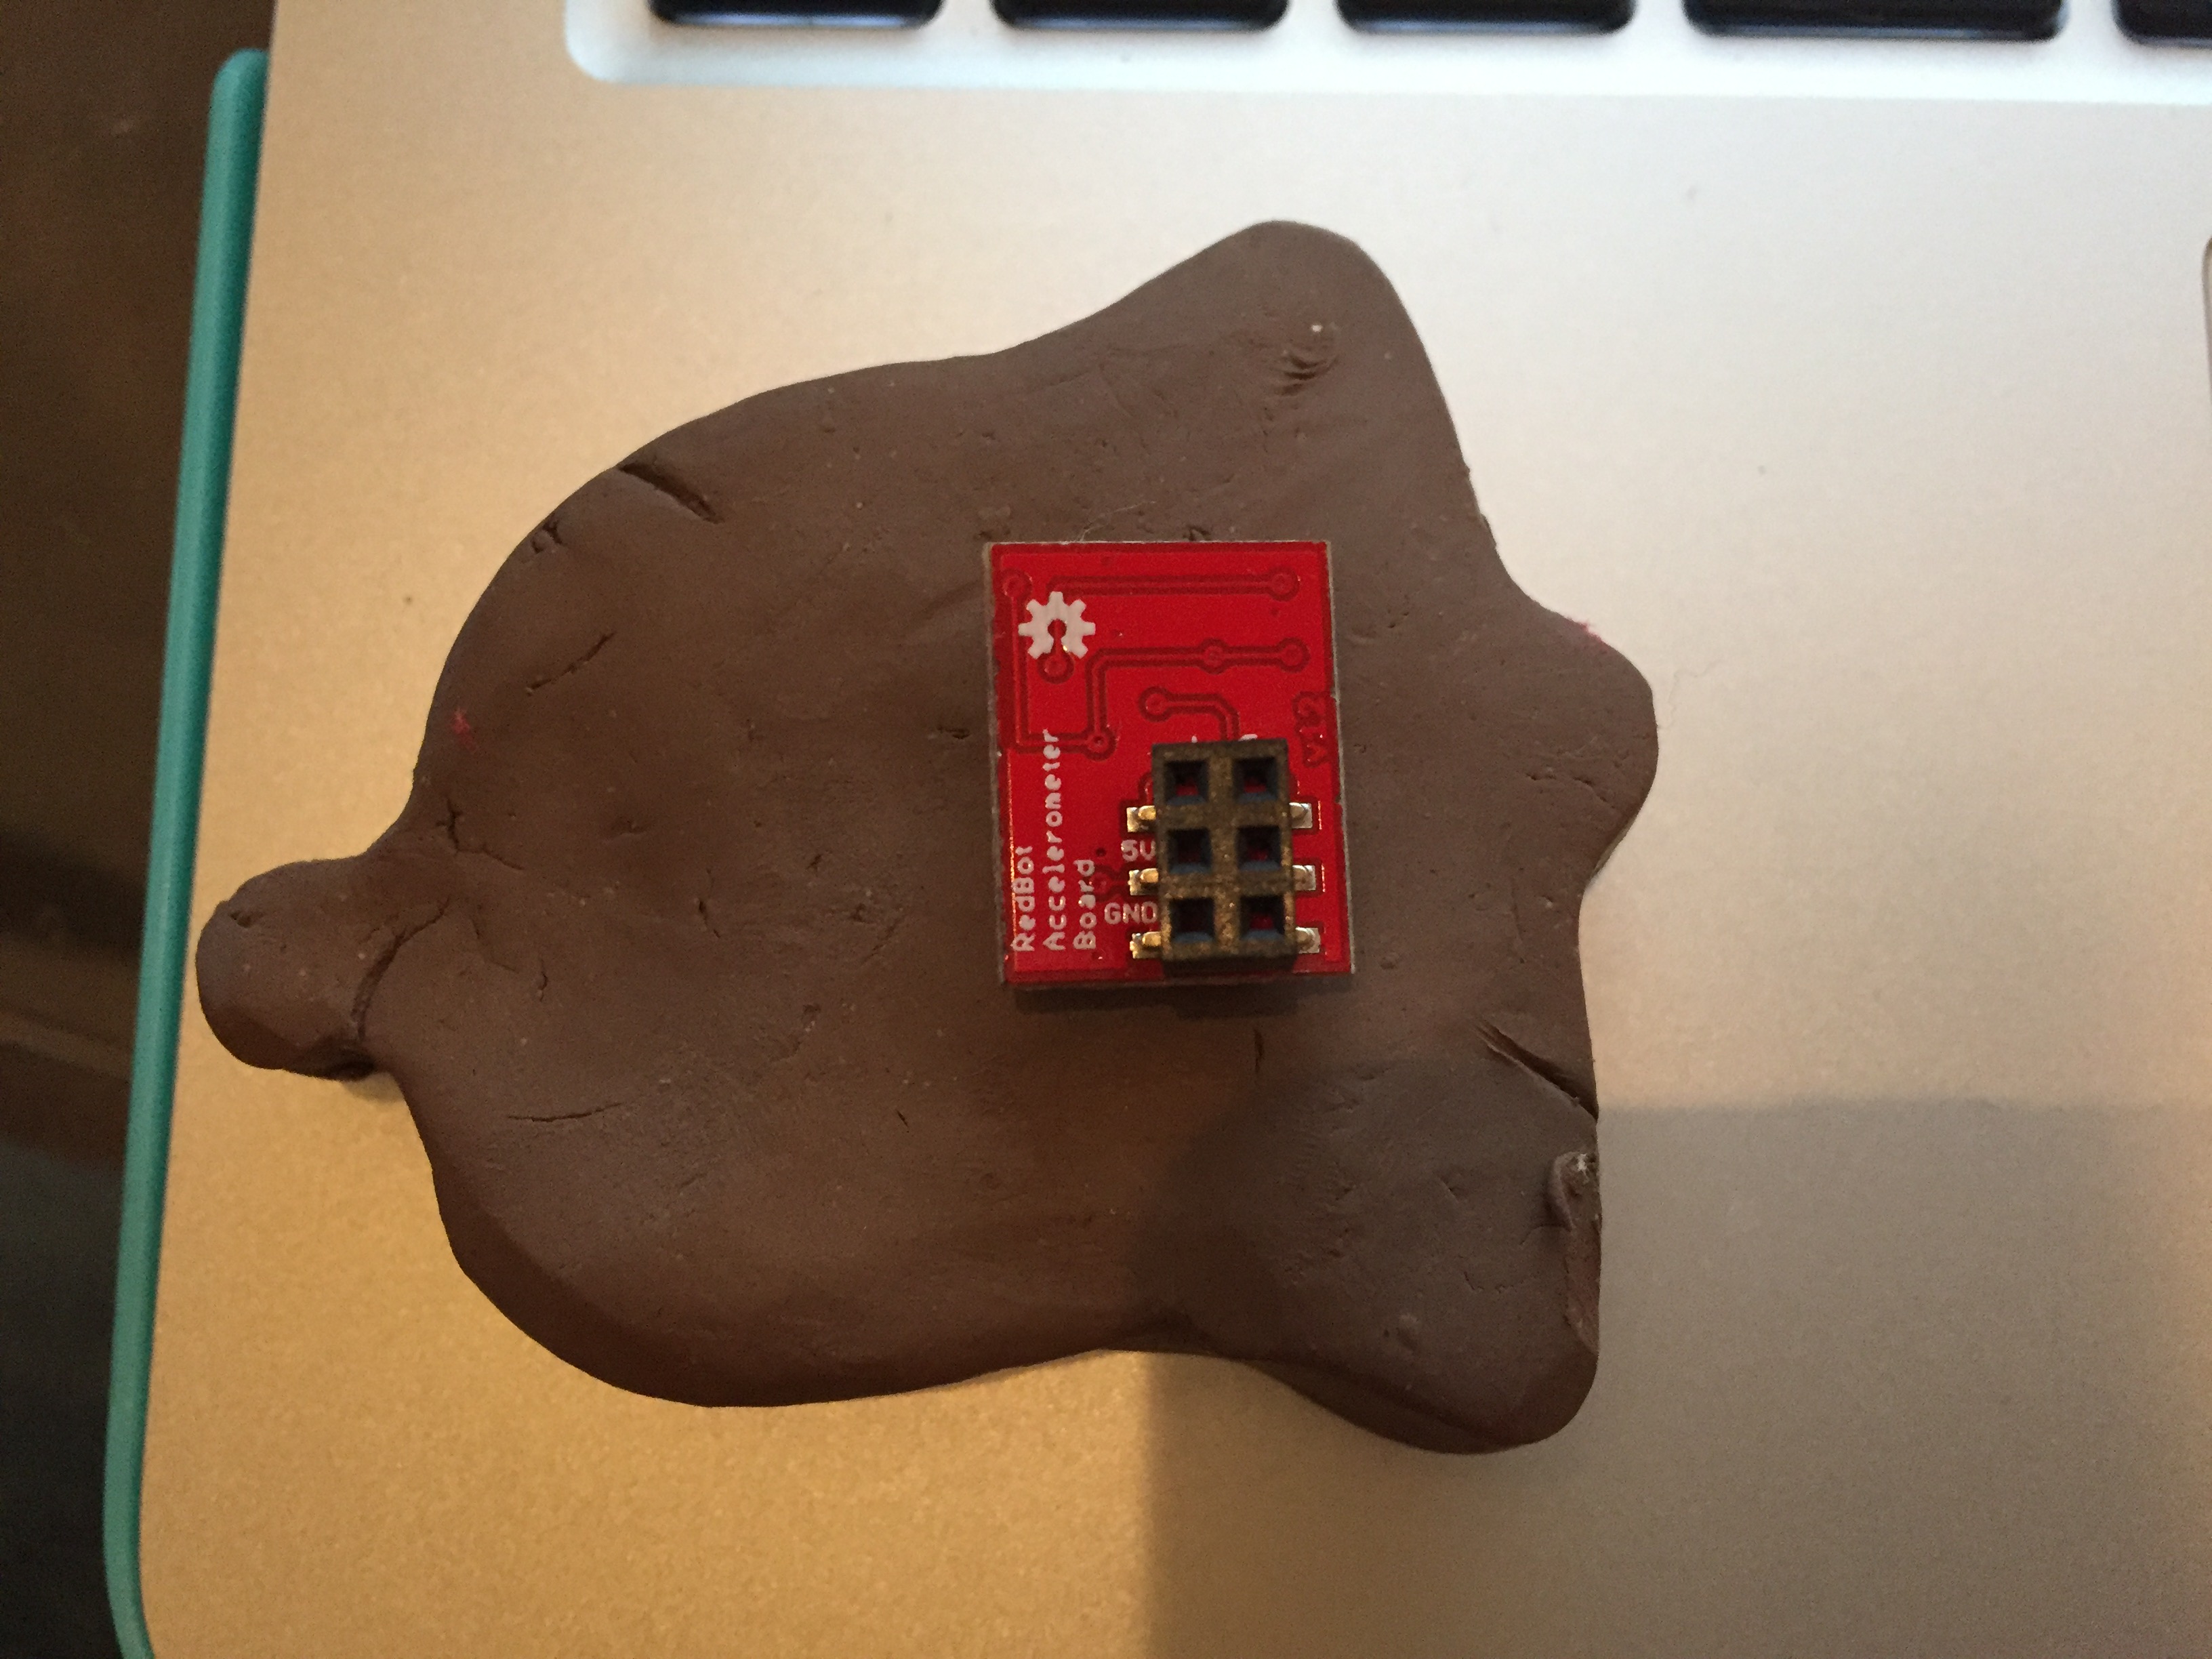
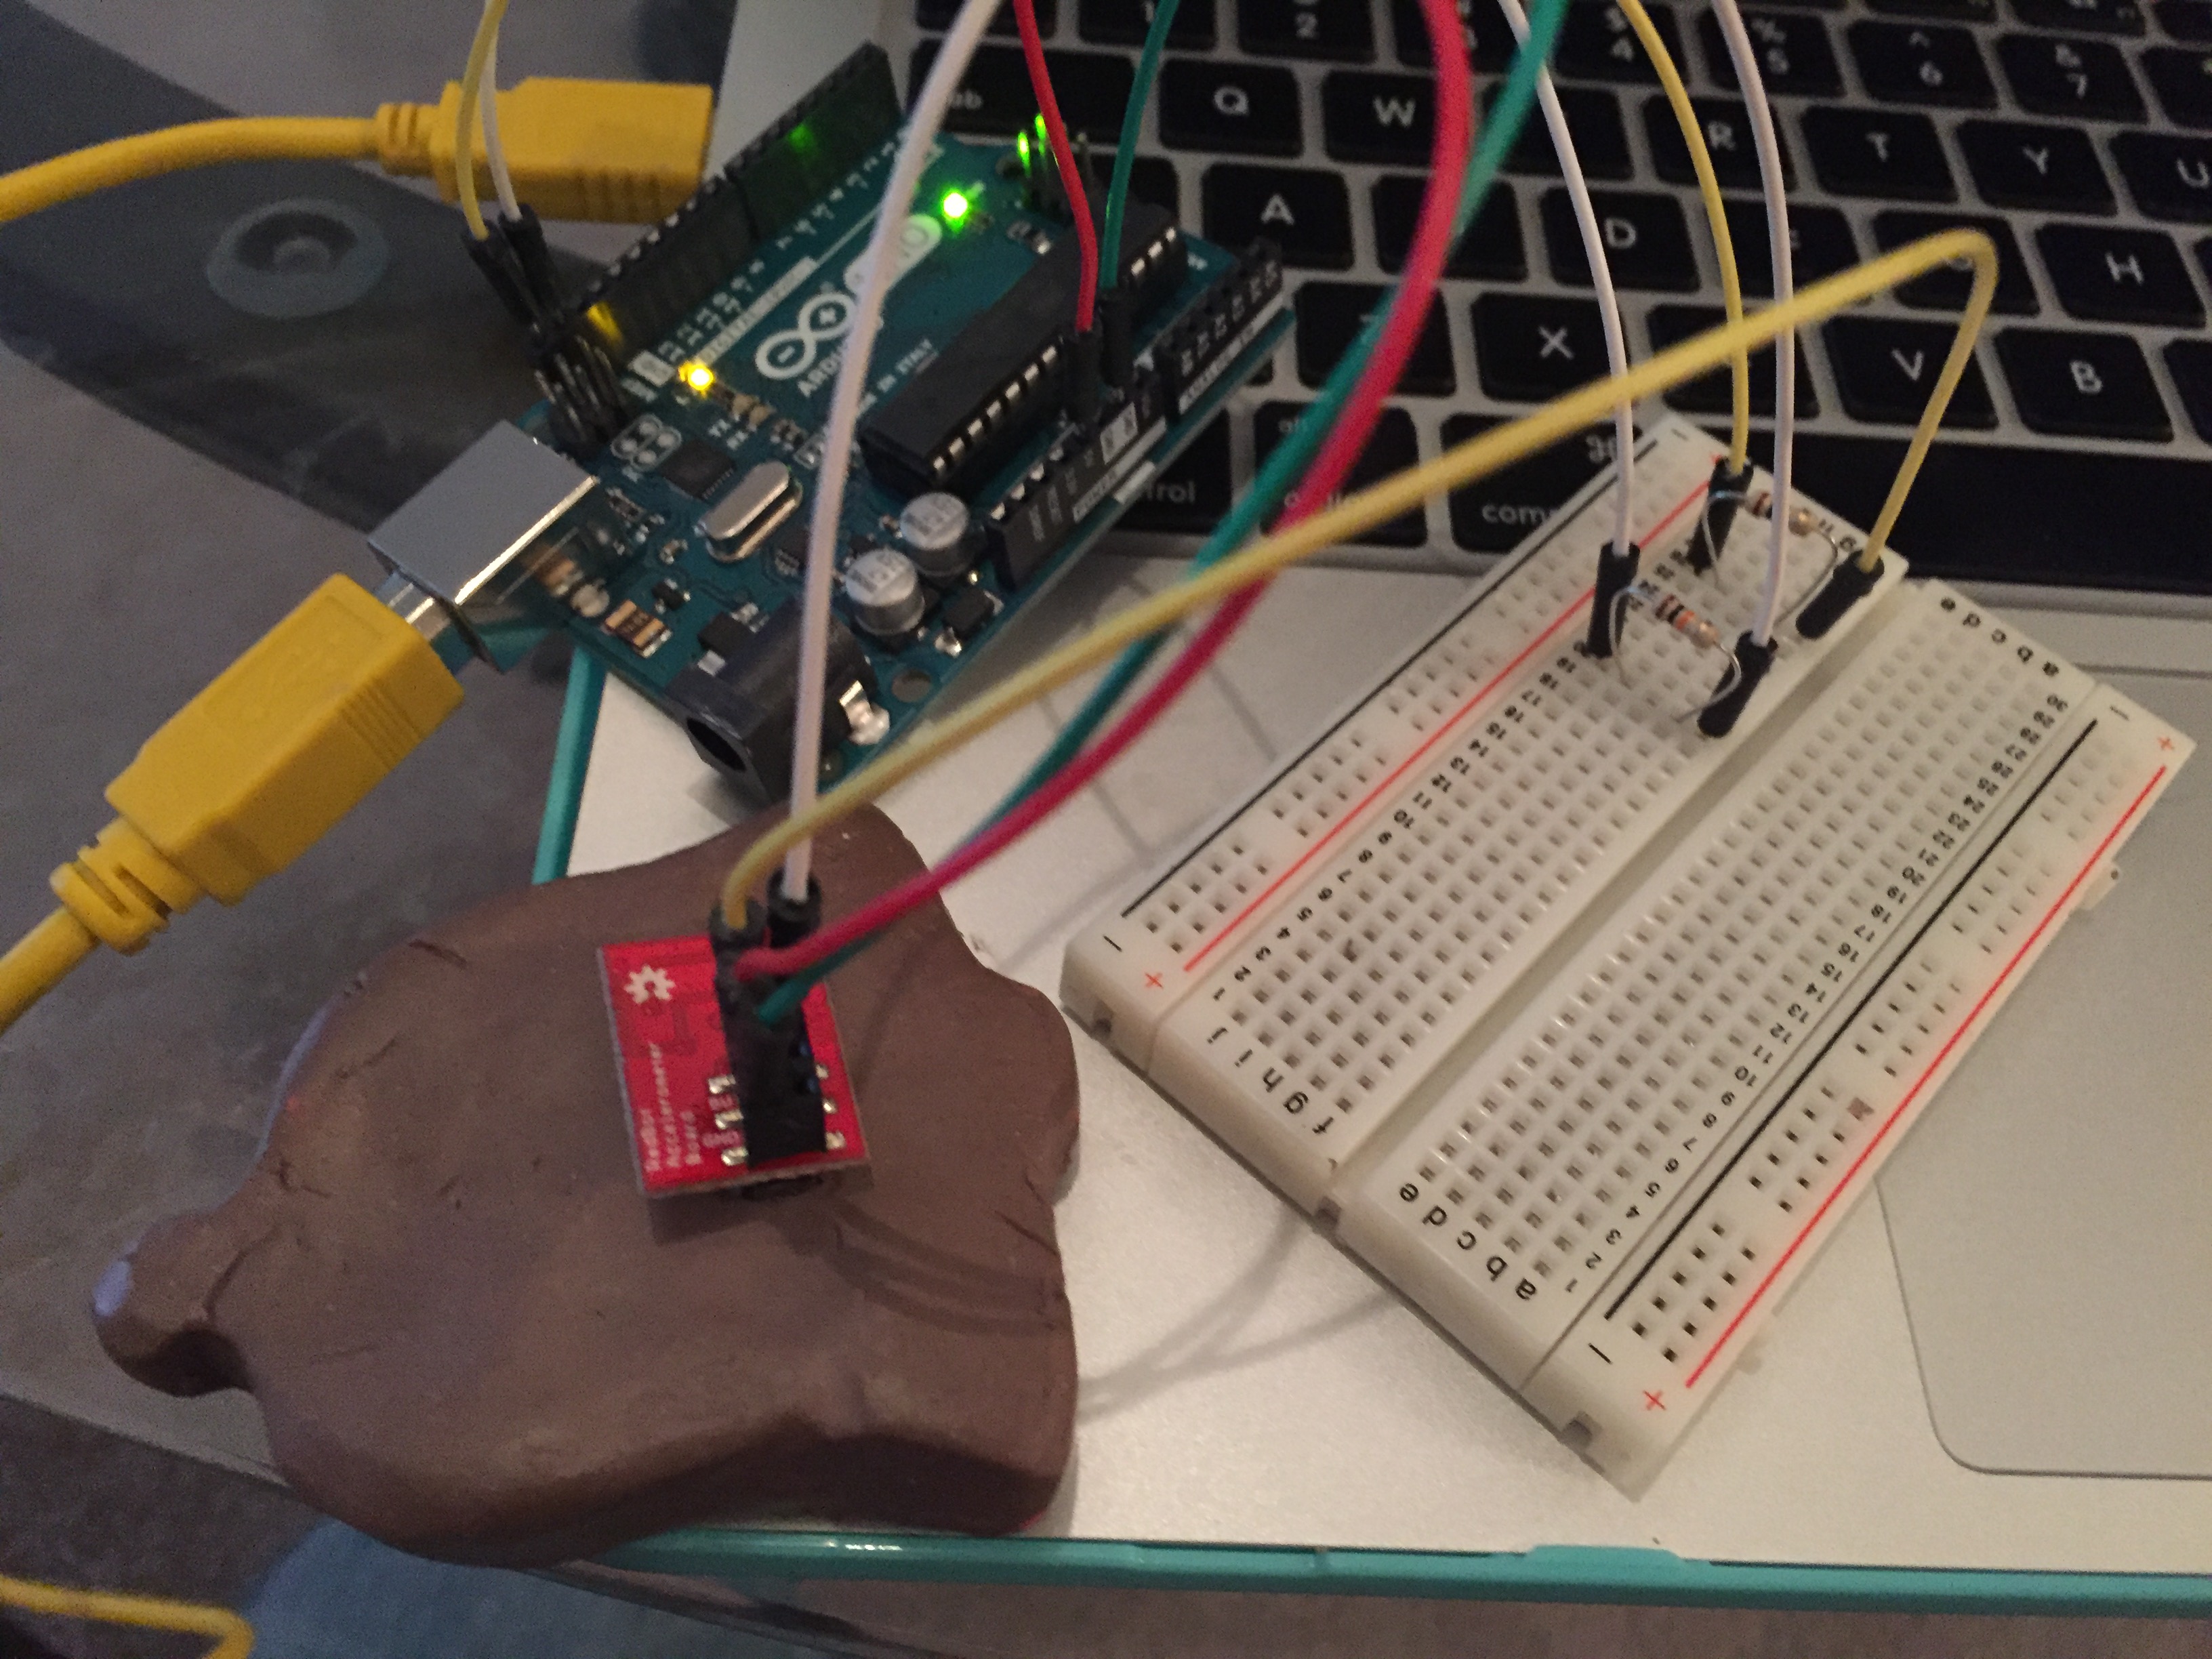
Early Prototype- Bell mounted on Accelerometer—Plays bell sound in Processing when change in reading detected
Design Approach:
- How to step students through some concepts of electricity and introductory sensing and actuation?(incremental lesson plan)
The idea was to have a set of in-class activities that would allow students to learn some intro concept. Once the students had some confidence in building circuits they would be able to make personalized projects.
(problem based approach + constructionism)
Implementation:
I designed a set of activities which can be found here:
- Getting Started with Electricity(what is resistance, how does it change with length/area of cross section of conductor)
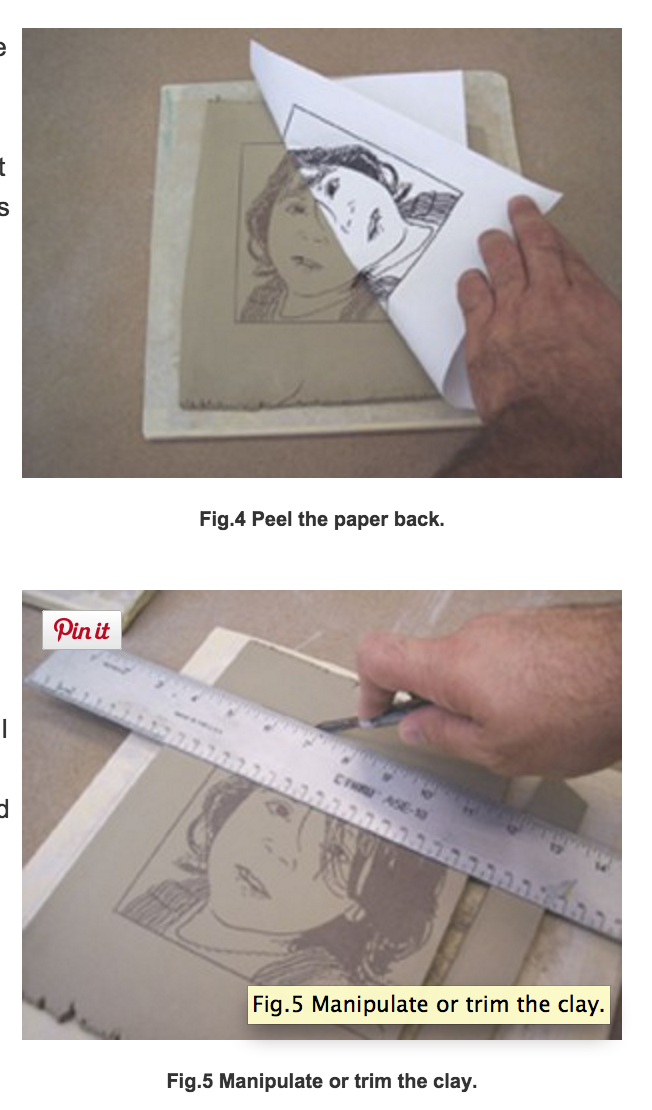
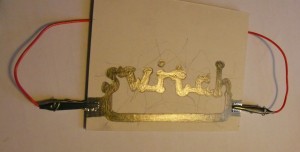
- Intro to Physical Computing (Digital input switch, Analog Variable resistor + Storytelling with form )
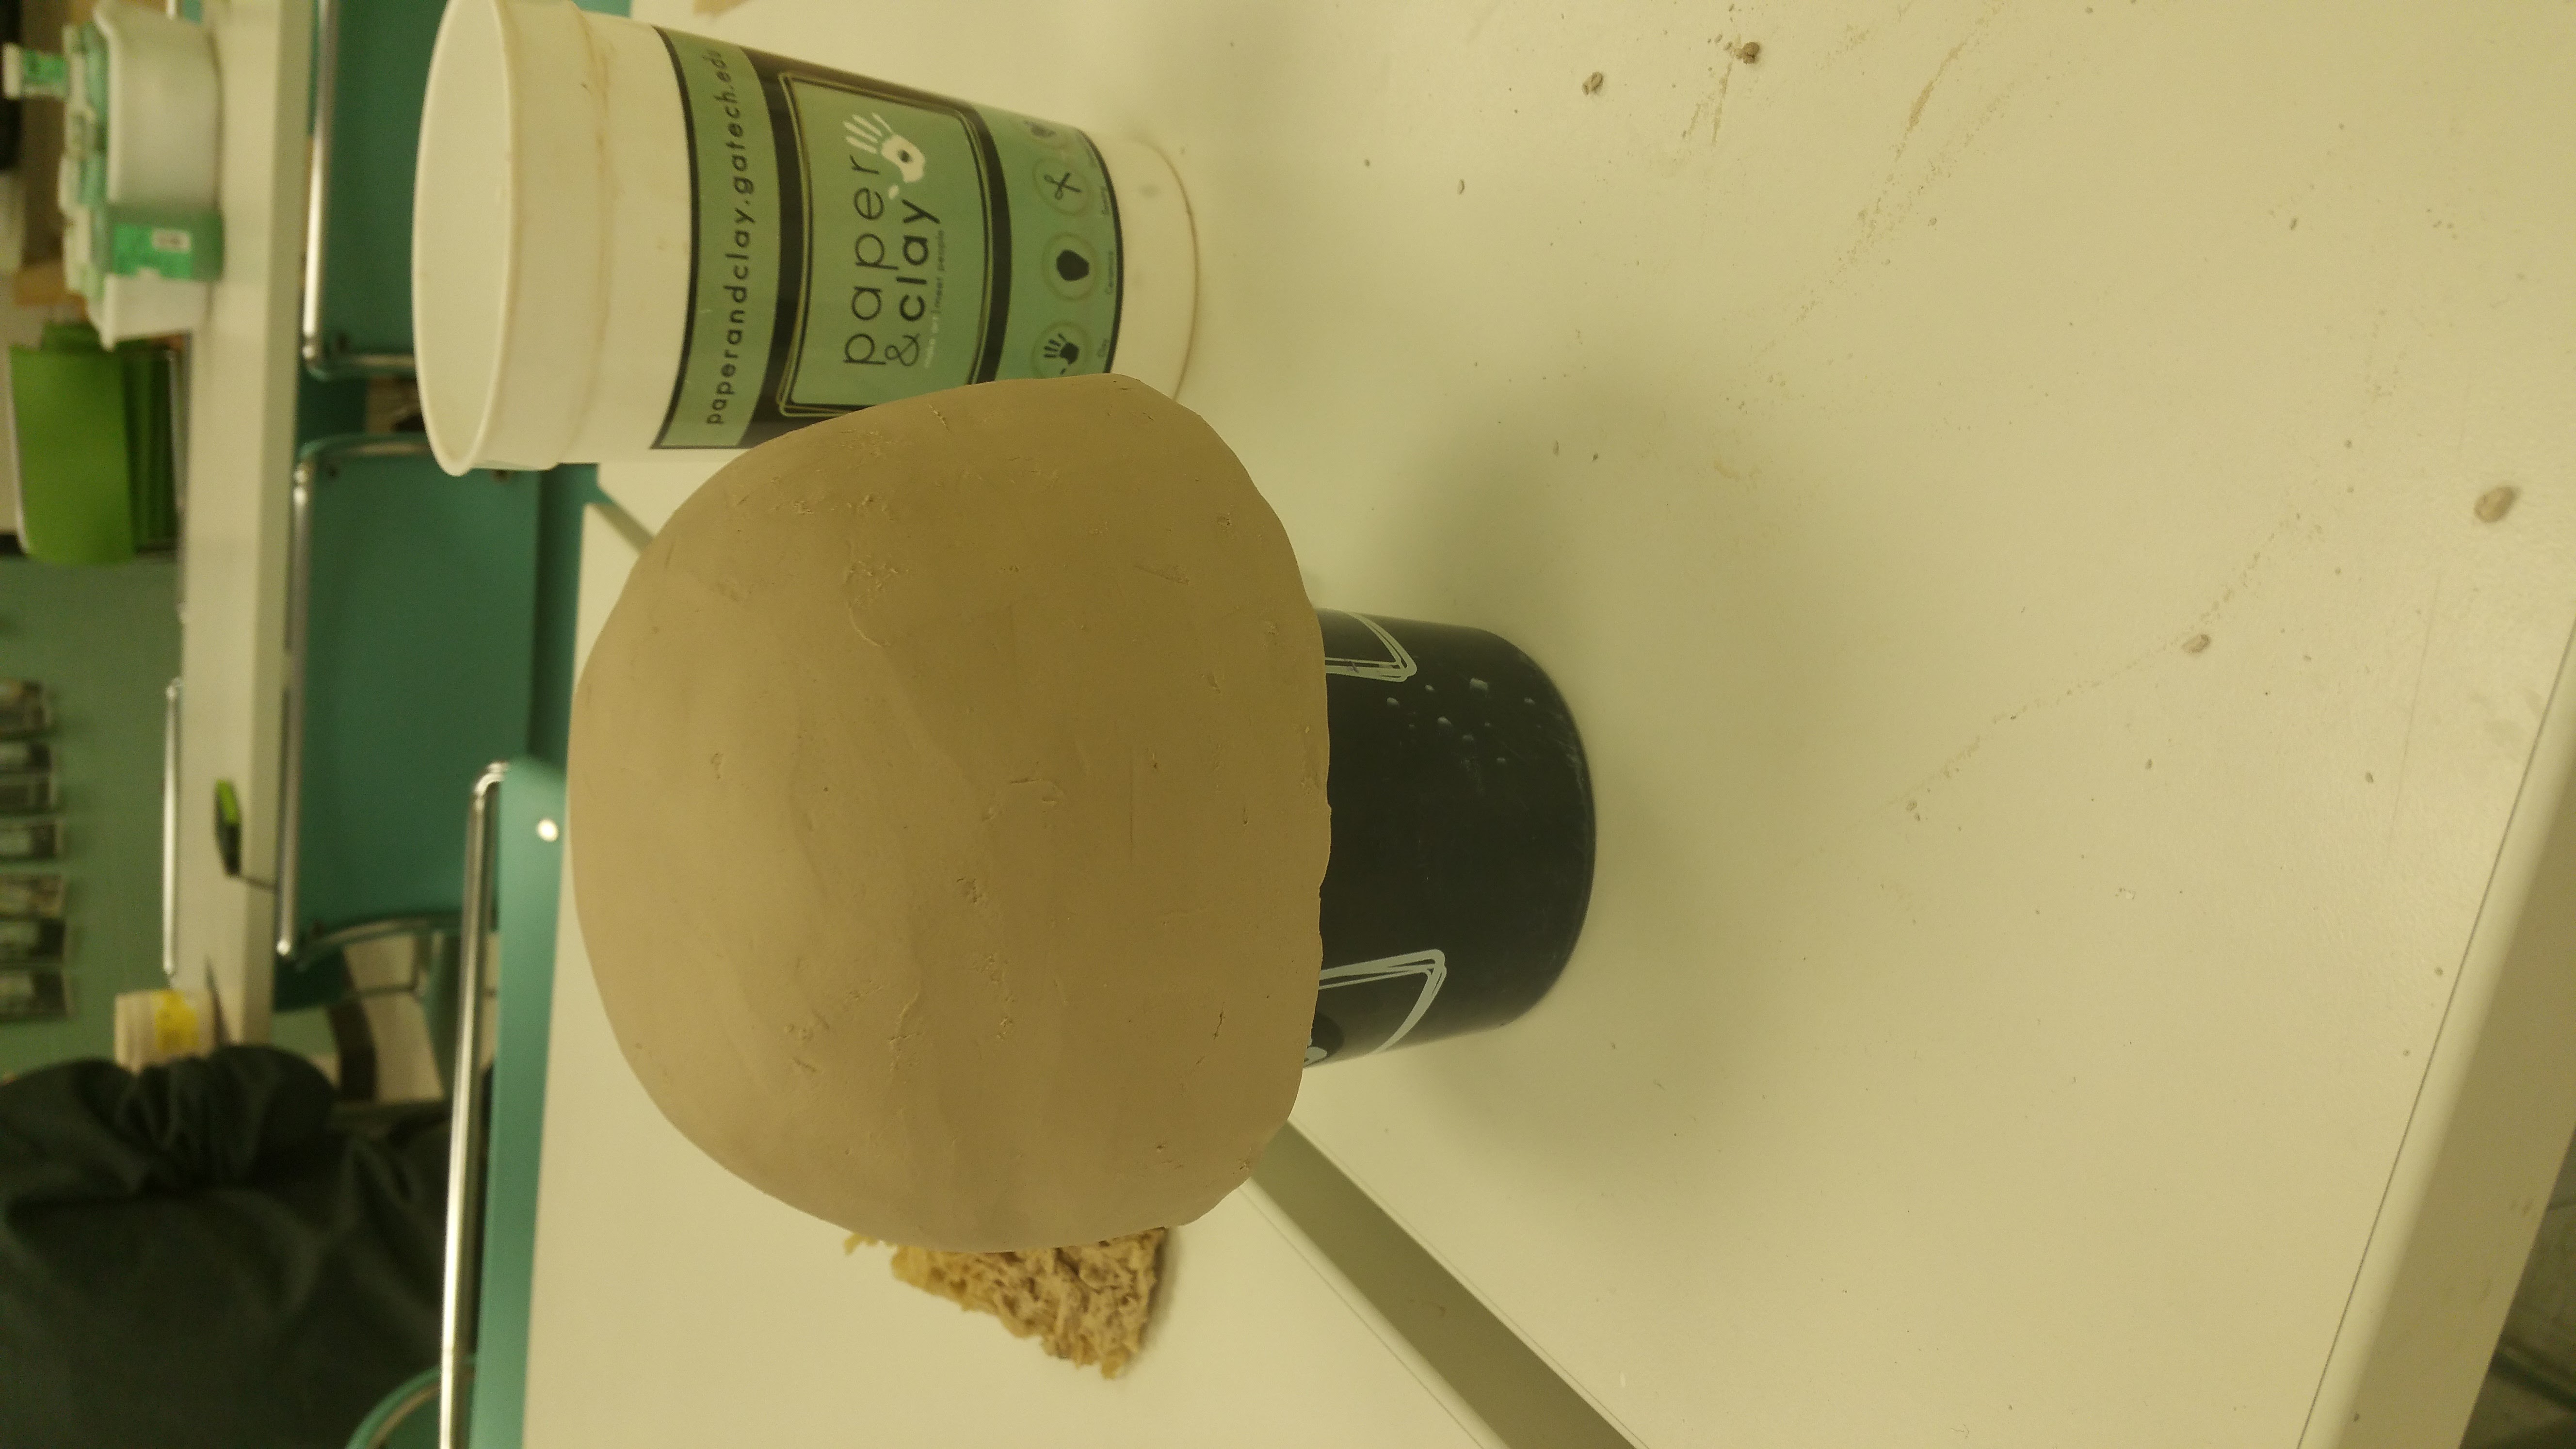
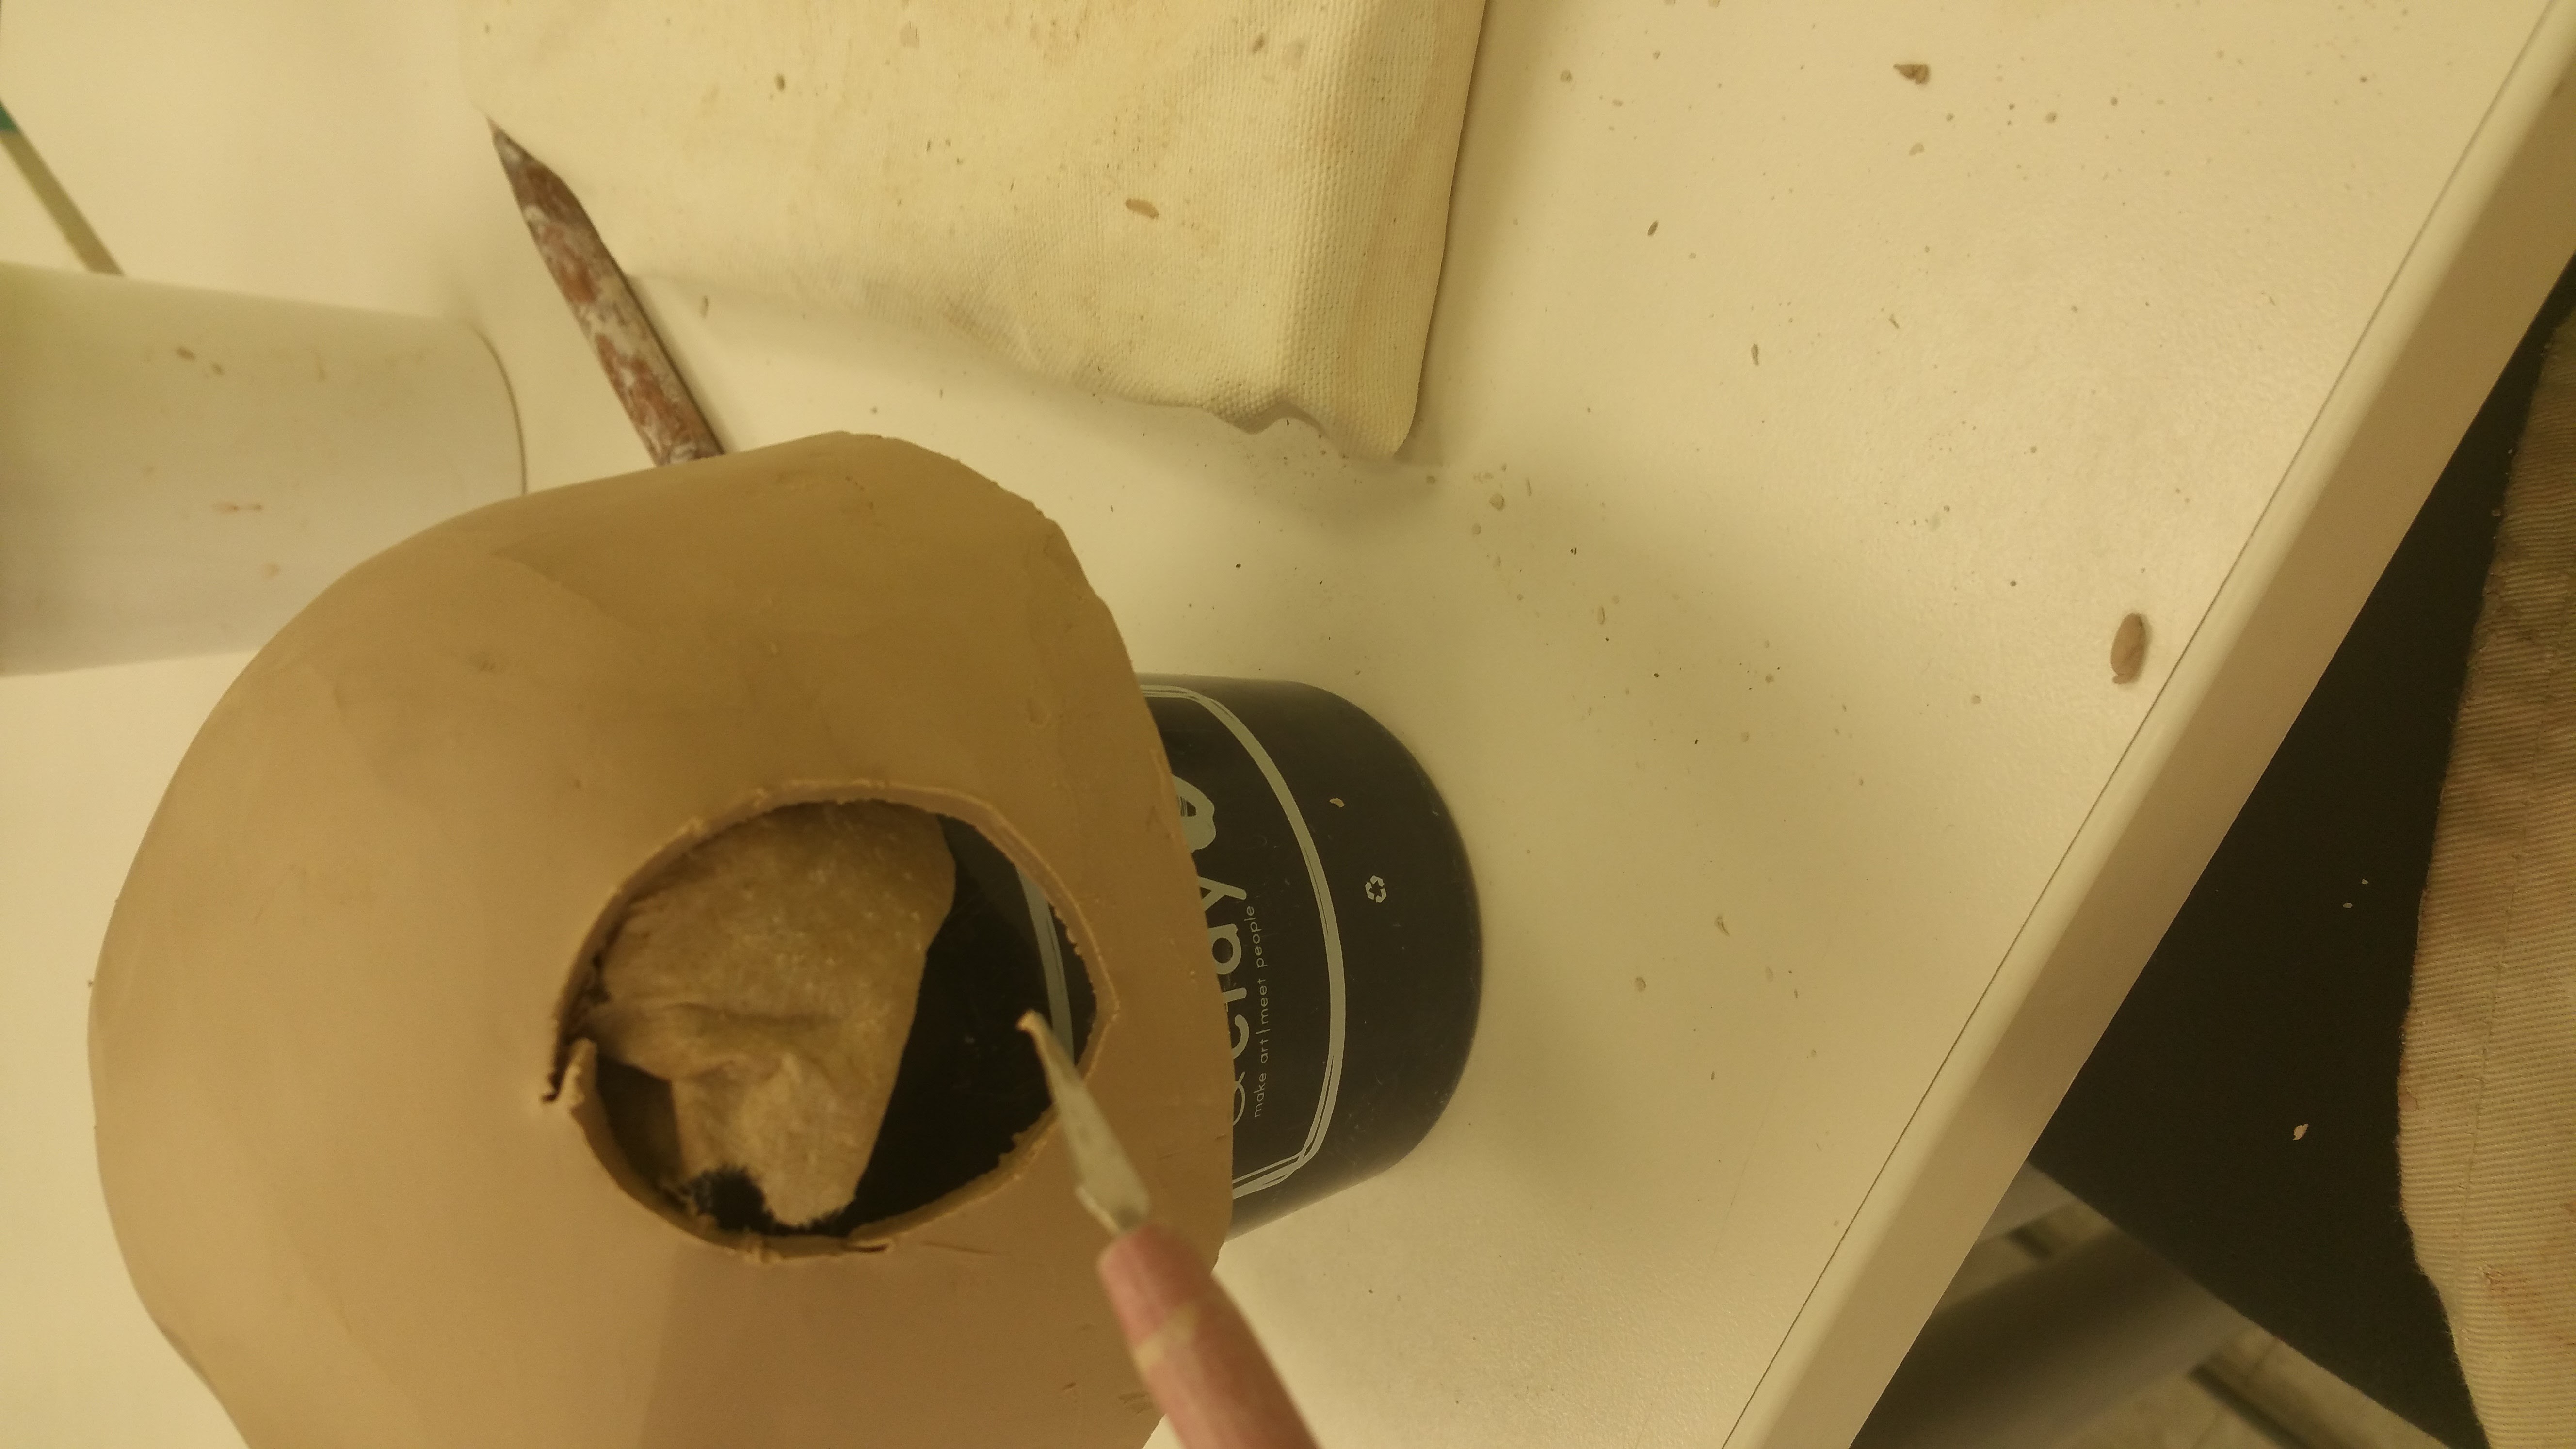
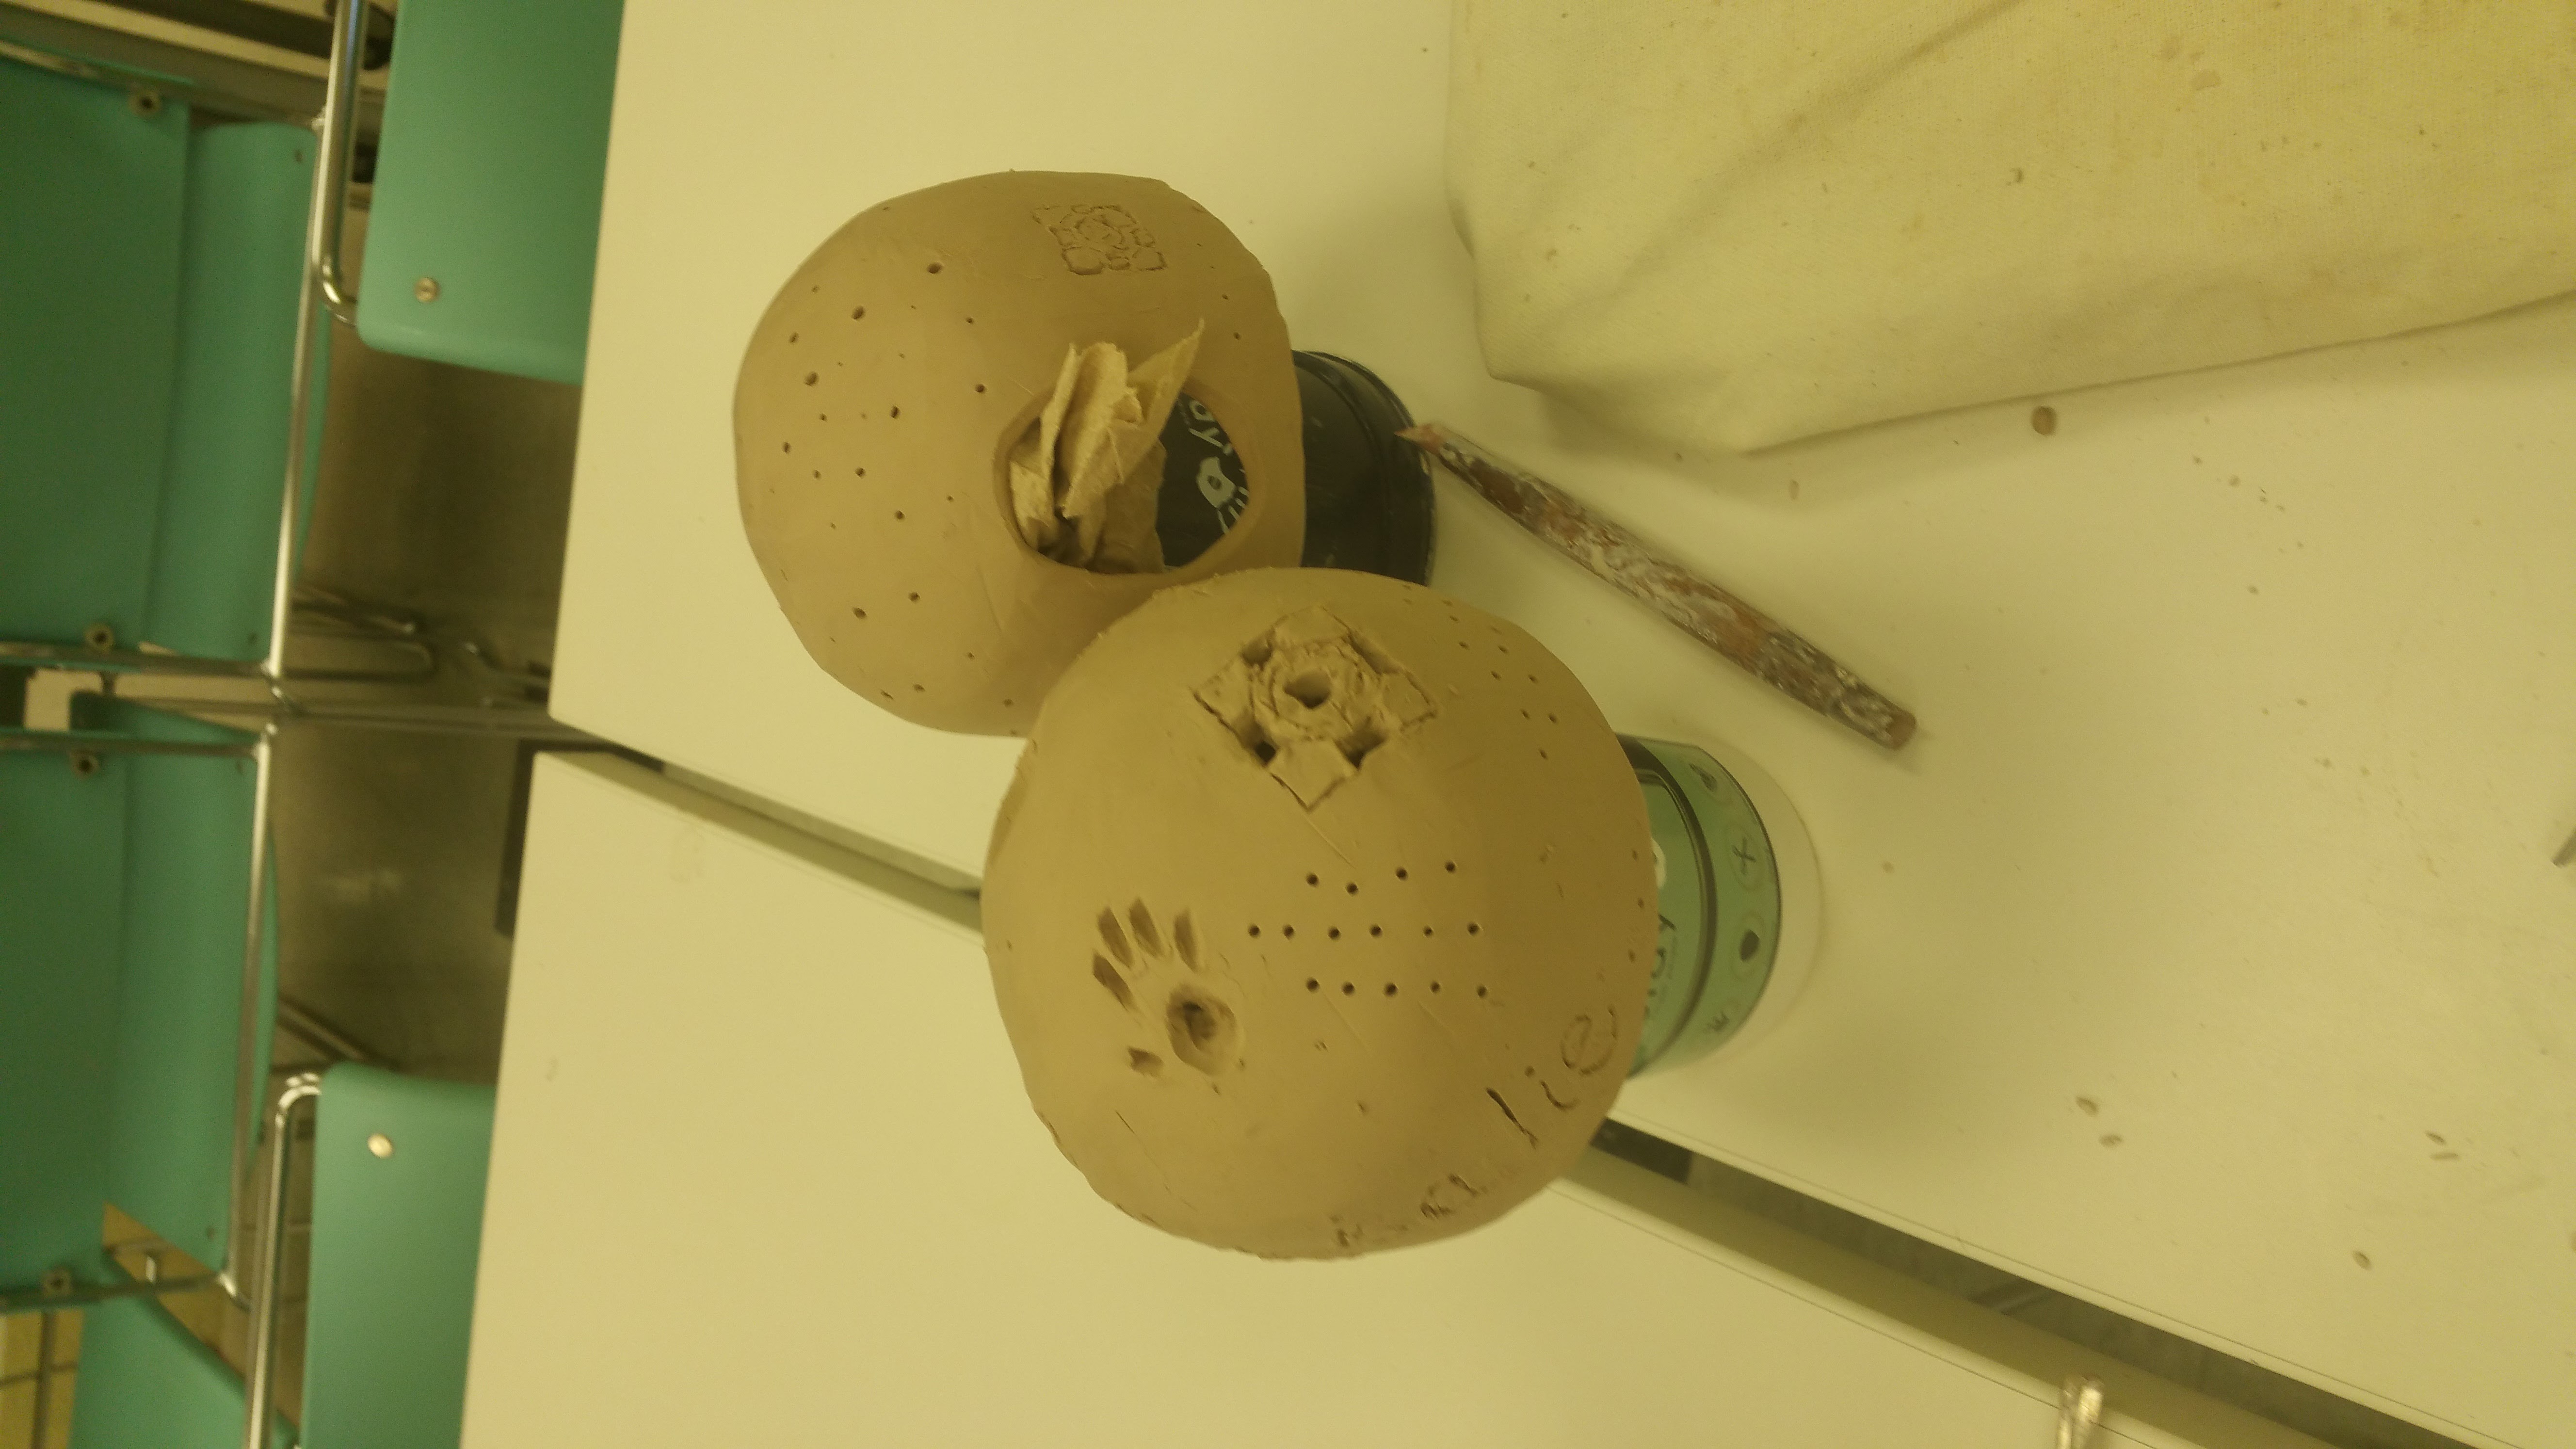
- Making forms with Clay (Making an interactive lamp form prototype)
- Intro to Arduino
- Going further with Arduino: Intro to Processing, Some more Sensors(accelerometer capacitive sensing)
The activities themselves can be found here:
https://drive.google.com/drive/folders/0BwLVd0W-_5qwdFZ1NmhrOE1xV00
Here is a short video demonstrating my work journey:
What context does your project stand in and What problems does it address?
Physical Computing lies at the intersection of the Physical and the Digital
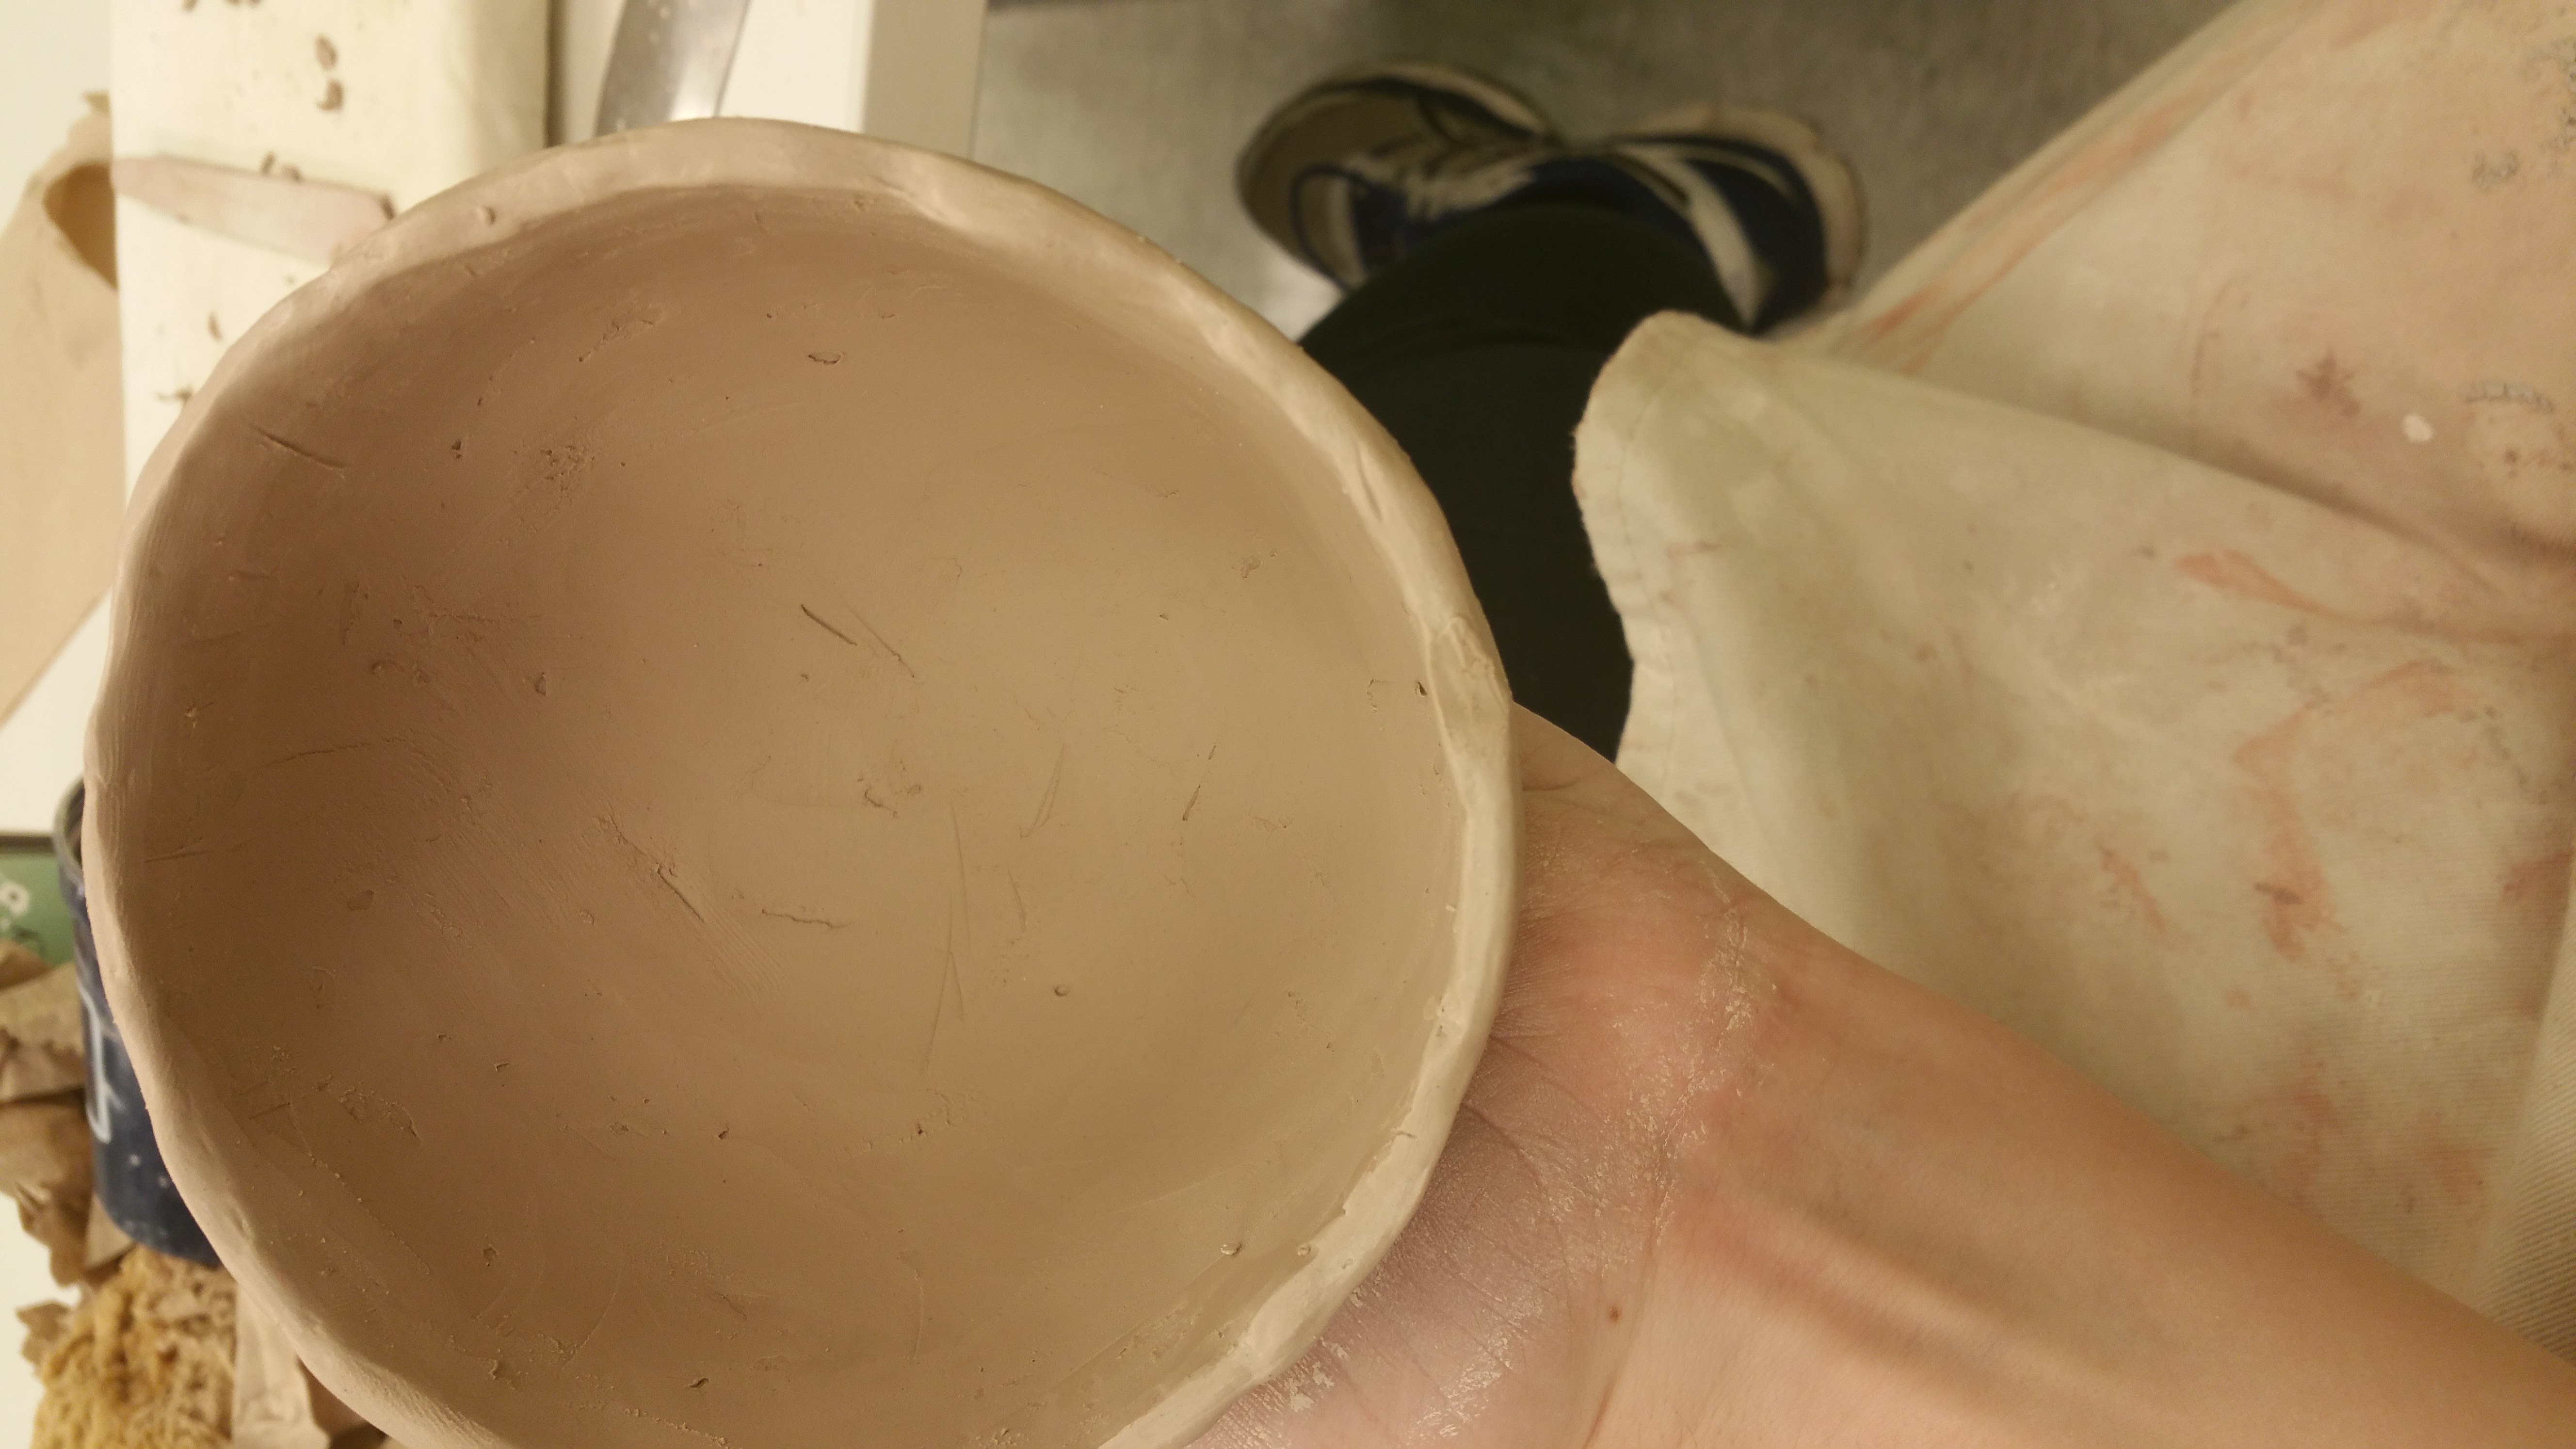
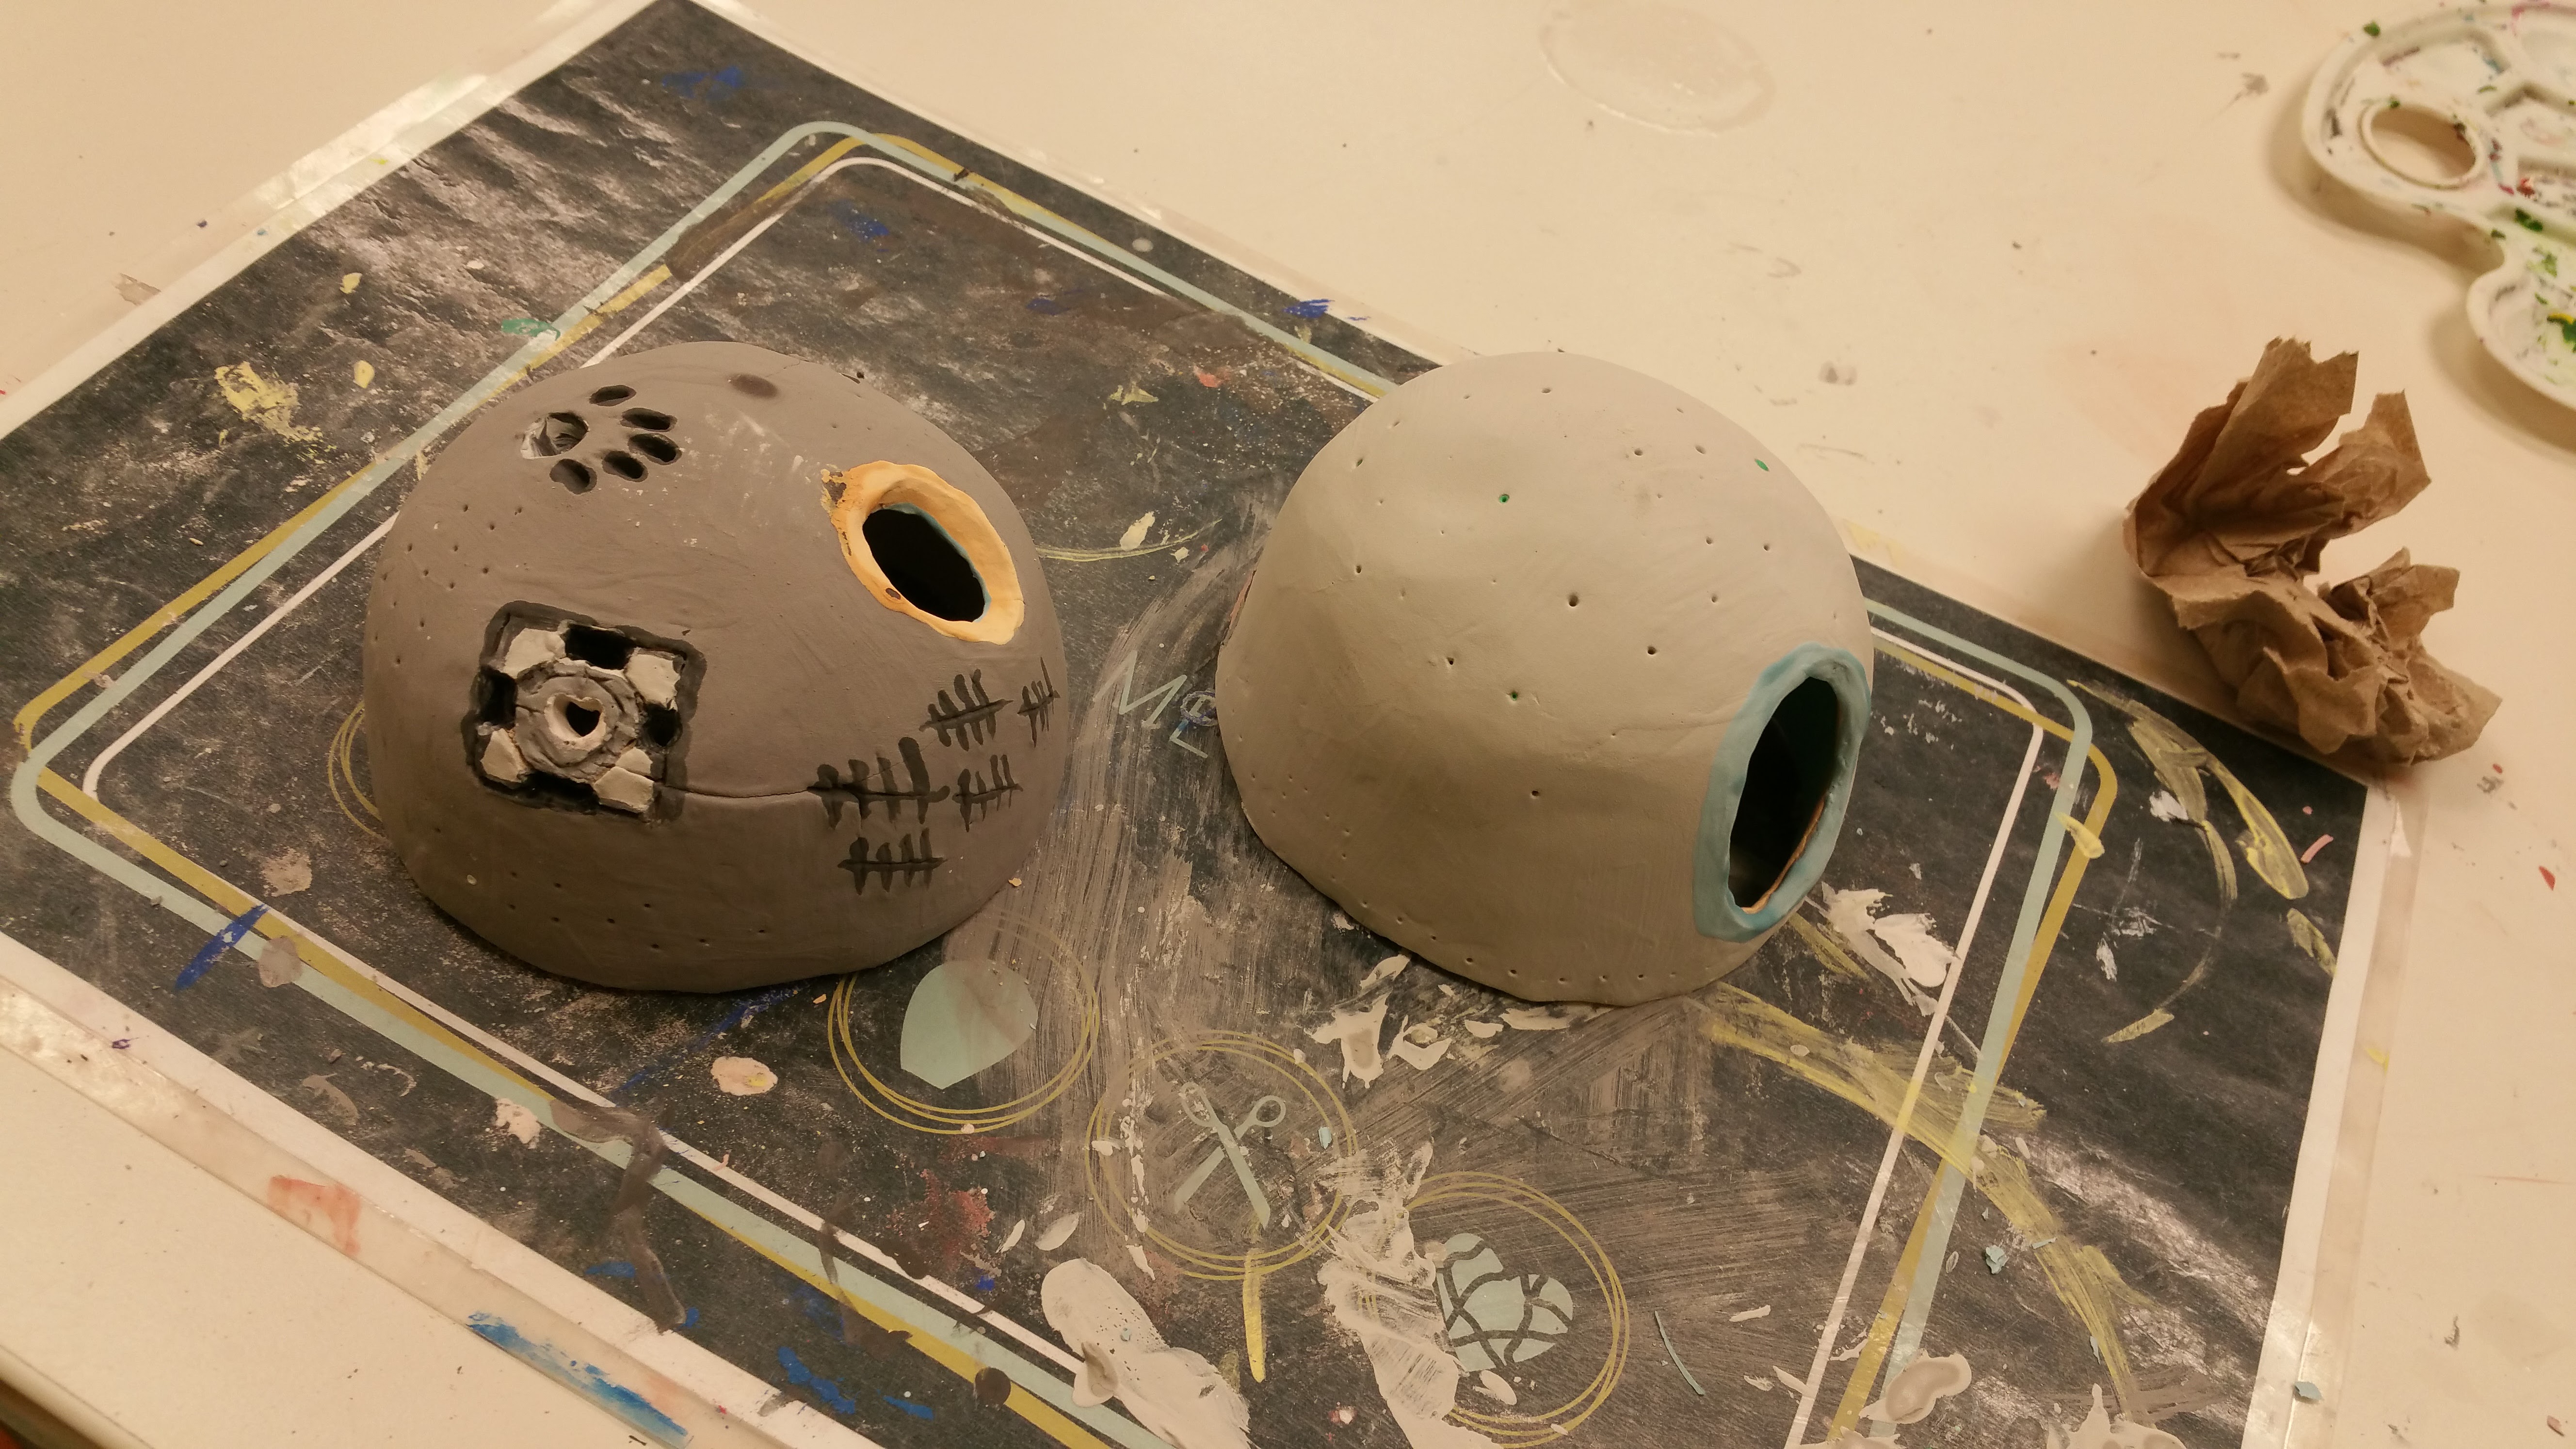
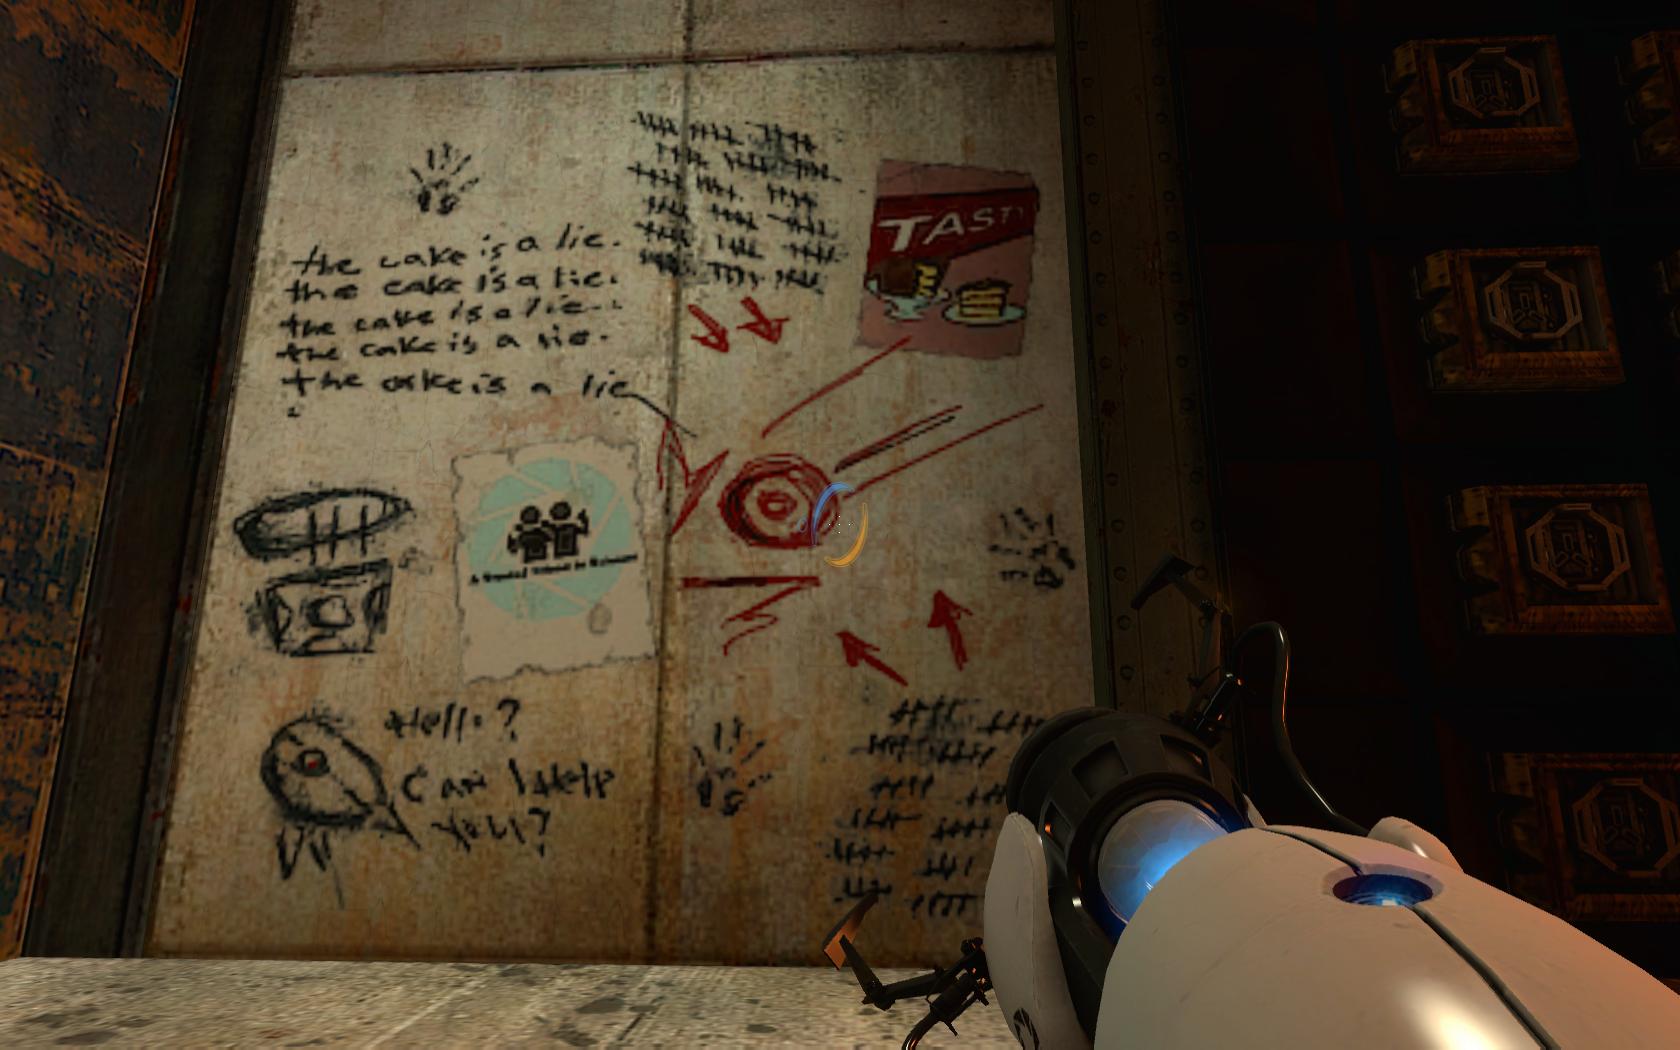
My intervention explores using clay as the form-giver to physical computing projects. The problem it is trying to address is that of learning physical computing as a beginner. The material it uses are simple and easily available. A lot of projects in the maker community require skills such as 3d modelling, printing, sewing etc. (although there are plenty of examples with simpler crafts as well). My project puts focus on using Clay to solve this problem.
Clay can be used to give shape and form to and to materialize the imagination and stories of students.
Another, digital intervention is documenting the steps of the activities using digital multimedia. As my overarching goal is to teach, I am using the digital medium for its strength: replication(was able to borrow from existing sources that teach this and link to them),distribution(shareable resource) outreach.
What questions does it ask?
How can physical artifacts created with clay breathe life into electronic components such as sensors and actuators?
How to design a set of activities that is easy to follow and engaging for students?
Does using clay give confidence to people that it is a material they can work with?
How do students Remix and Transform the activities to make projects which are meaningful to them?
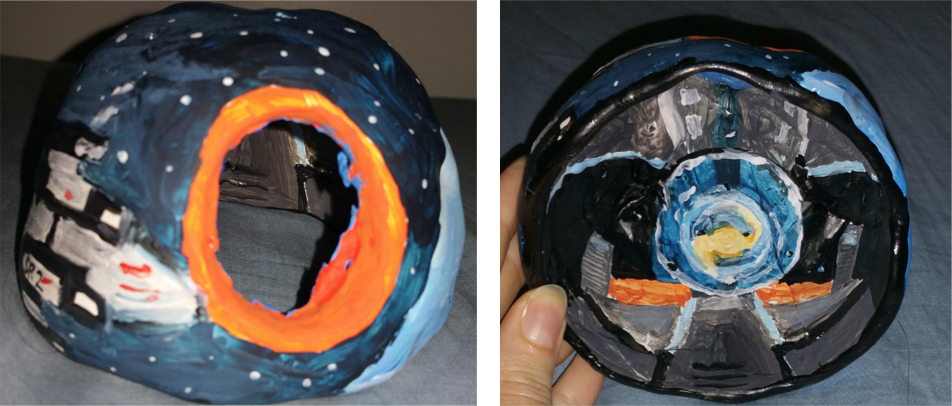
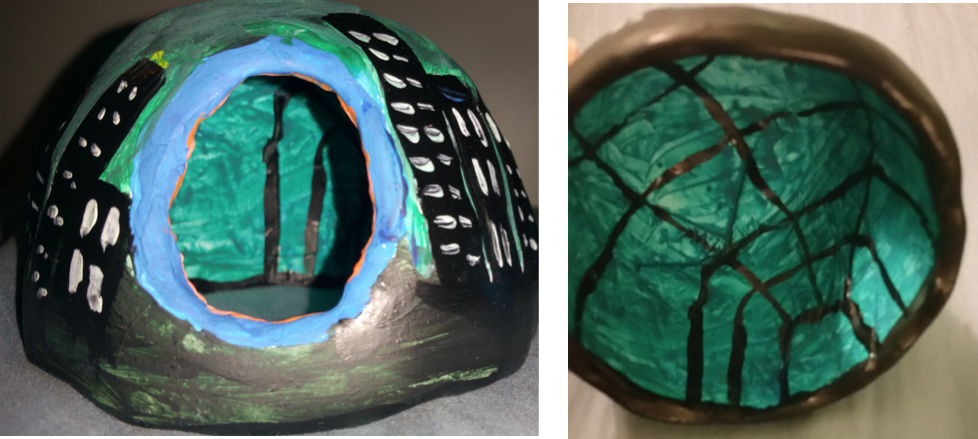
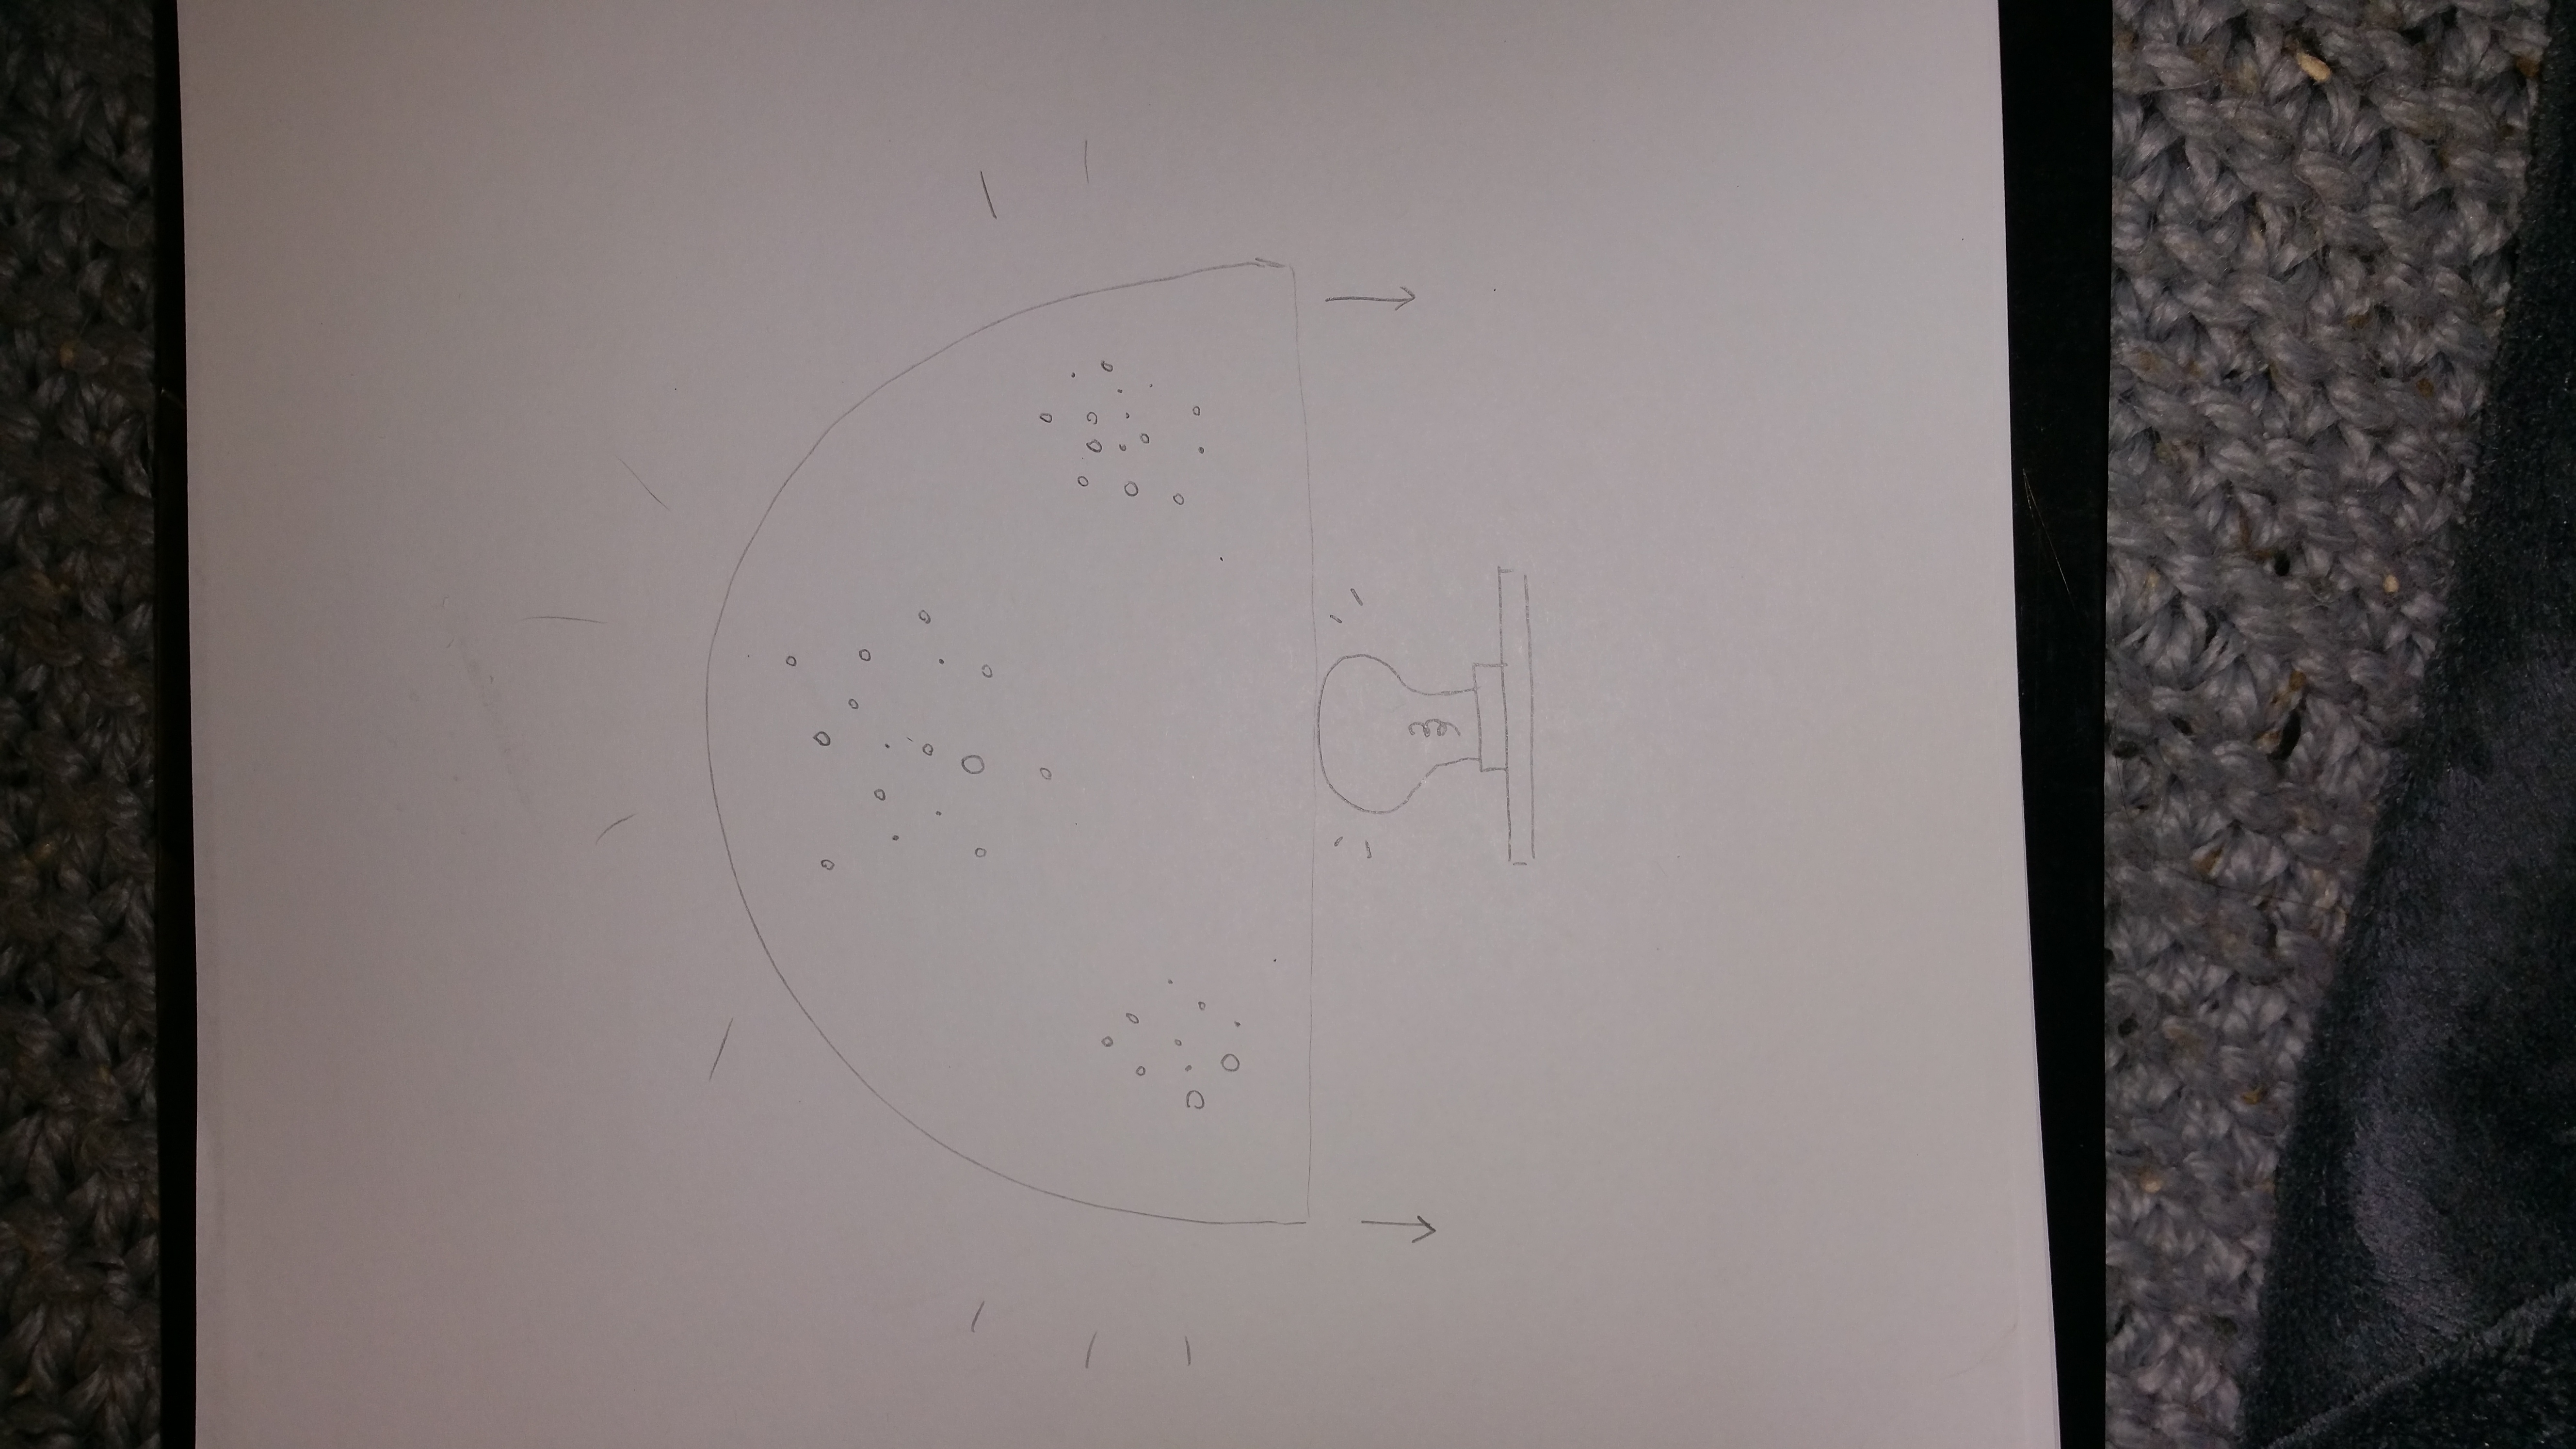
The many forms an interactive lamp could take.

touch sensitive lamp

Based on Diyas, lamps which are important in the Hindu culture (https://en.wikipedia.org/wiki/Diya_(lamp)
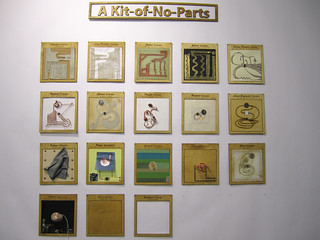
Which of our readings does it relate?
The project is related to the Crafting Technology Reading[1] as well as the the Kit of No parts [2]. I also referred to a lot of blogs and websites in trying to compile my lesson plan:
Pencil CIrcuits:https://www.youtube.com/watch?v=BwKQ9Idq9FM
What did it achieve?
My project was able to create a set of activities that introduced clay as a form-giver in physical computing activities. I was also able to document my steps in the form of a Step by step recipe.
What did it not achieve?
While I did come up with a lesson plan I could not think of a way to make certain exercises simple enough to be presented to students eg. the accelerometer activity with the bell or the touch sensitive lamp.
This would probably require a Participatory design activity with kids and teachers to see how best to present this information.
References:
[1] Buechley, Leah, and Hannah Perner-Wilson. “Crafting technology: Reimagining the processes, materials, and cultures of electronics.” ACM Transactions on Computer-Human Interaction (TOCHI)19.3 (2012): 21.
[2] Perner-Wilson, Hannah, Leah Buechley, and Mika Satomi. “Handcrafting textile interfaces from a kit-of-no-parts.” Proceedings of the fifth international conference on Tangible, embedded, and embodied interaction. ACM, 2011.