Portal Interactive Lamp: Prototype
November 3rd, 2015 By hannahjgbPrototyping Hannah Glazebrook
Original Concept
Physical implementation of a digital skybox.
Goal
I originally wanted to create a lamp that, when used, depicts the feeling of home and nostalgia in video games.
Proposal Feedback Received
A skybox may not be the way to best depict the game nostalgia. Instead, try to focus on images or colors that depict the game’s palette, and present them with an interesting way. Rather than cutting out random shapes in the clay lampshade, make sure that all changes to the form (cutouts, etc) have real meaning in the game depiction.
New Concept
Utilizing the gameplay element in Portal, bring that visual component into a lamp that works as a “Portal” to other games. In Portal, players can cast Portals on various walls, and use them to travel through space to another location. It would be interesting to create lamps that utilize this gameplay element of portal to “transport” the user to another location by allowing them to look through the Portal into another world. I want to be able to use the lamp to bring people into the worlds they enjoy, and have some control and interactivity.
Feedback from Prototype Presentation
Bring more digital into the product.
Make a dome that is reflective on the inside, with a Portal persona on the outside. Use multicolored LEDs to change the inside of the dome to reflect the colors from different game palettes, evoking the color “feel” of the games, rather than physically painting the environment on the inside.
Images
Original Concept:
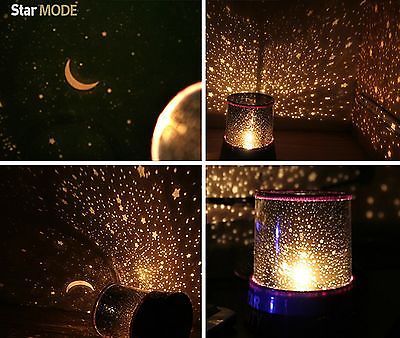
(image source: https://s-media-cache-ak0.pinimg.com/736x/dc/61/62/dc61626efb13d9055534f0c89755c169.jpg)
First Prototype: Interactive Lamp
For this part, I built a lamp using a coil technique and carved it to build in shapes and texture. I then built the lamp part by using Arduino and multicolored LEDs. When you turn the potentiometer, the color inside the lamp changes.

Second Prototype: Image Analysis with Affinity Designer
For this prototype, I found several images from the video games I love personally, and analyzed them using Affinity Designer to get the RGB values. I then used that “palette” to test glazes to see whether I could get accurate glaze coloring.
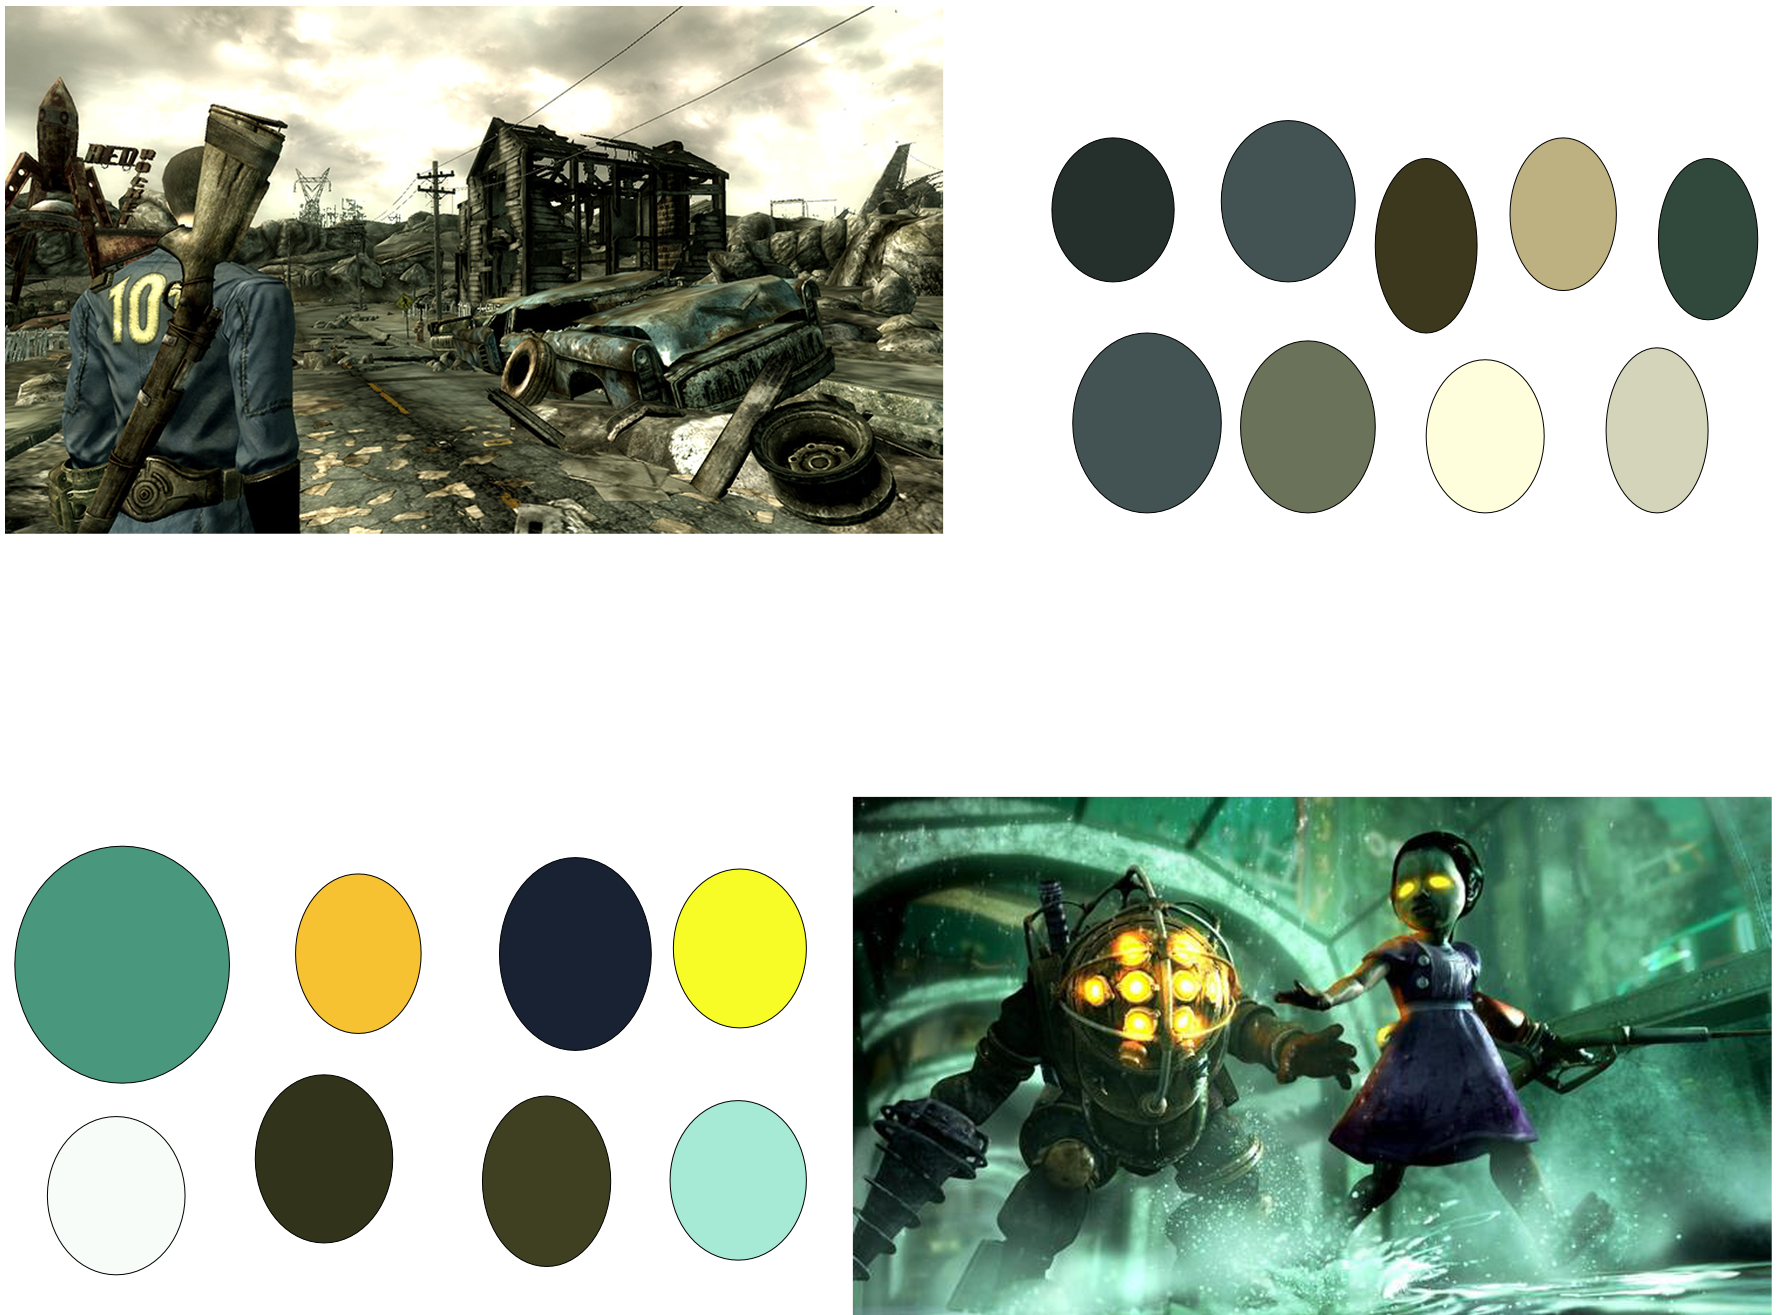
Top: Fallout 3 Bottom: Bioshock
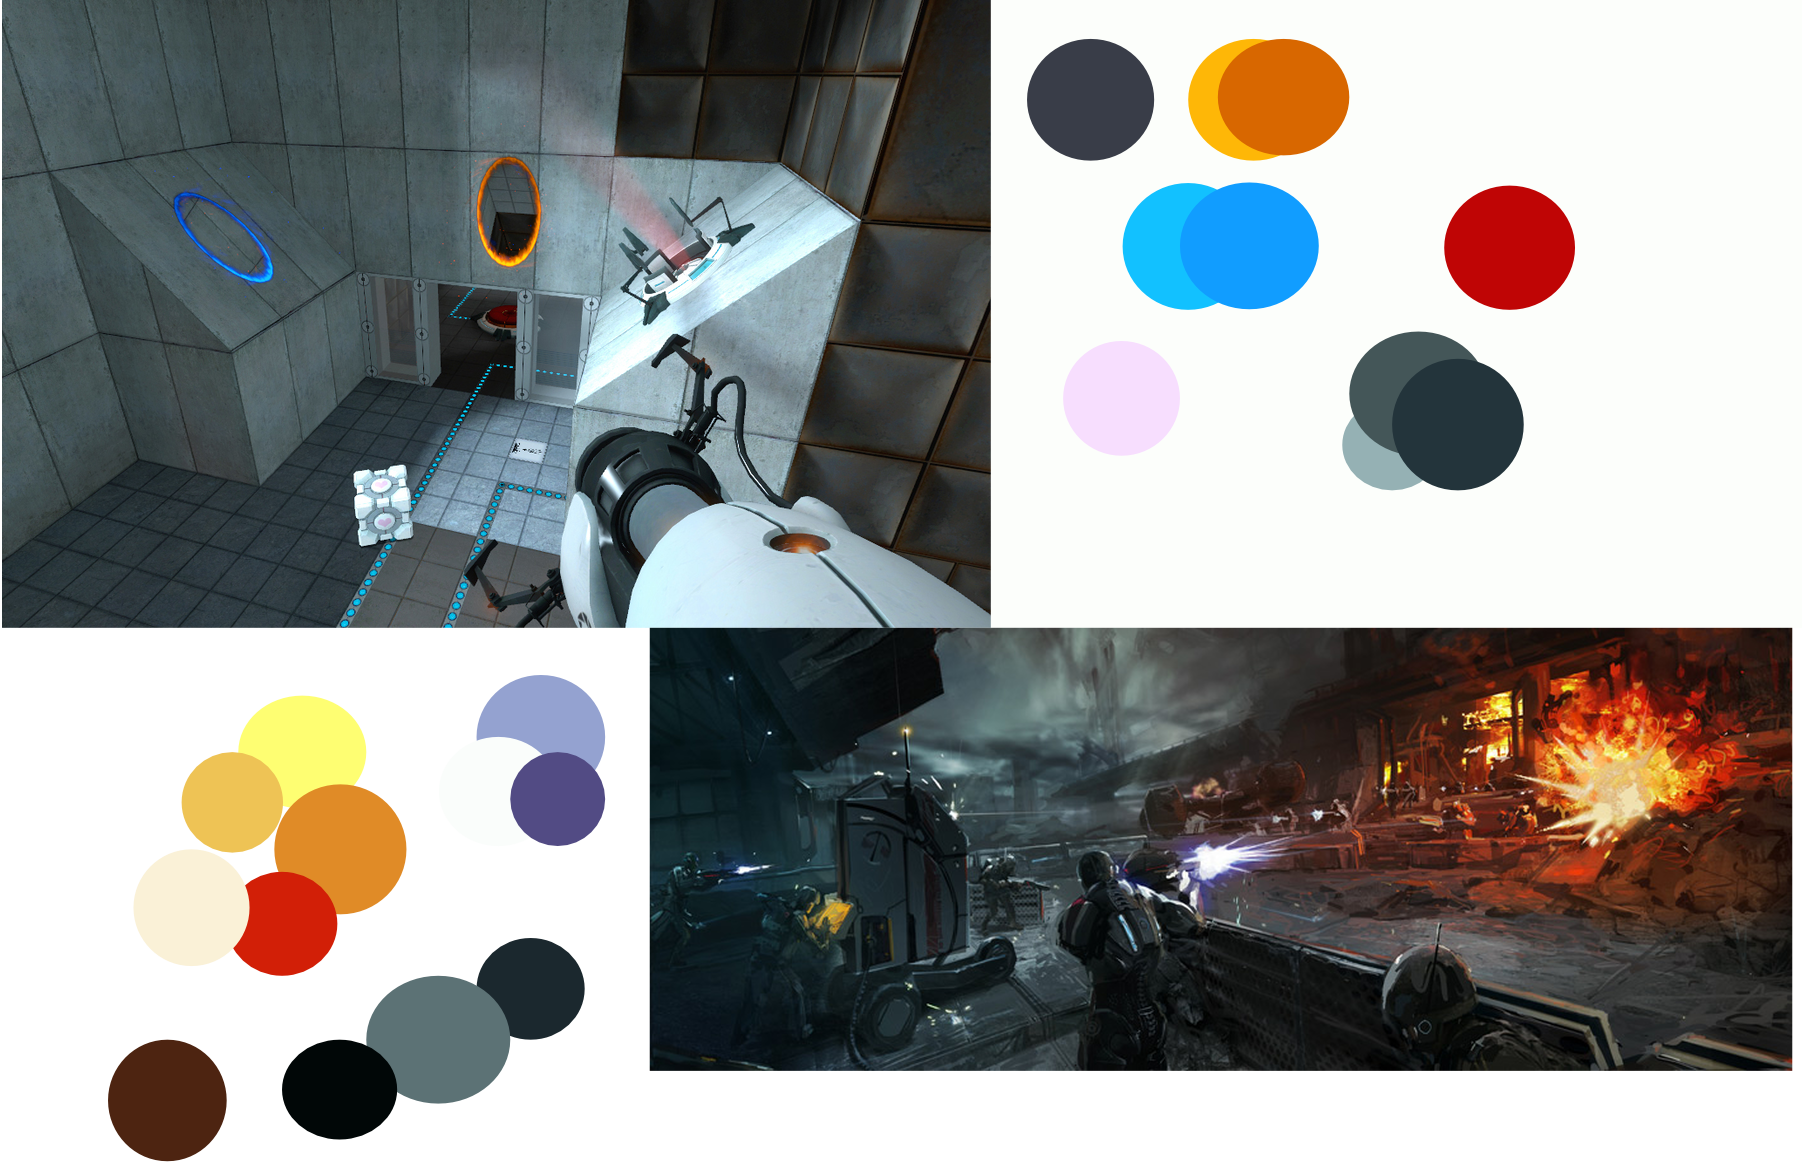
Top: Portal Bottom: Mass Effect 3
Second Prototype: Testing Glaze to match the palette

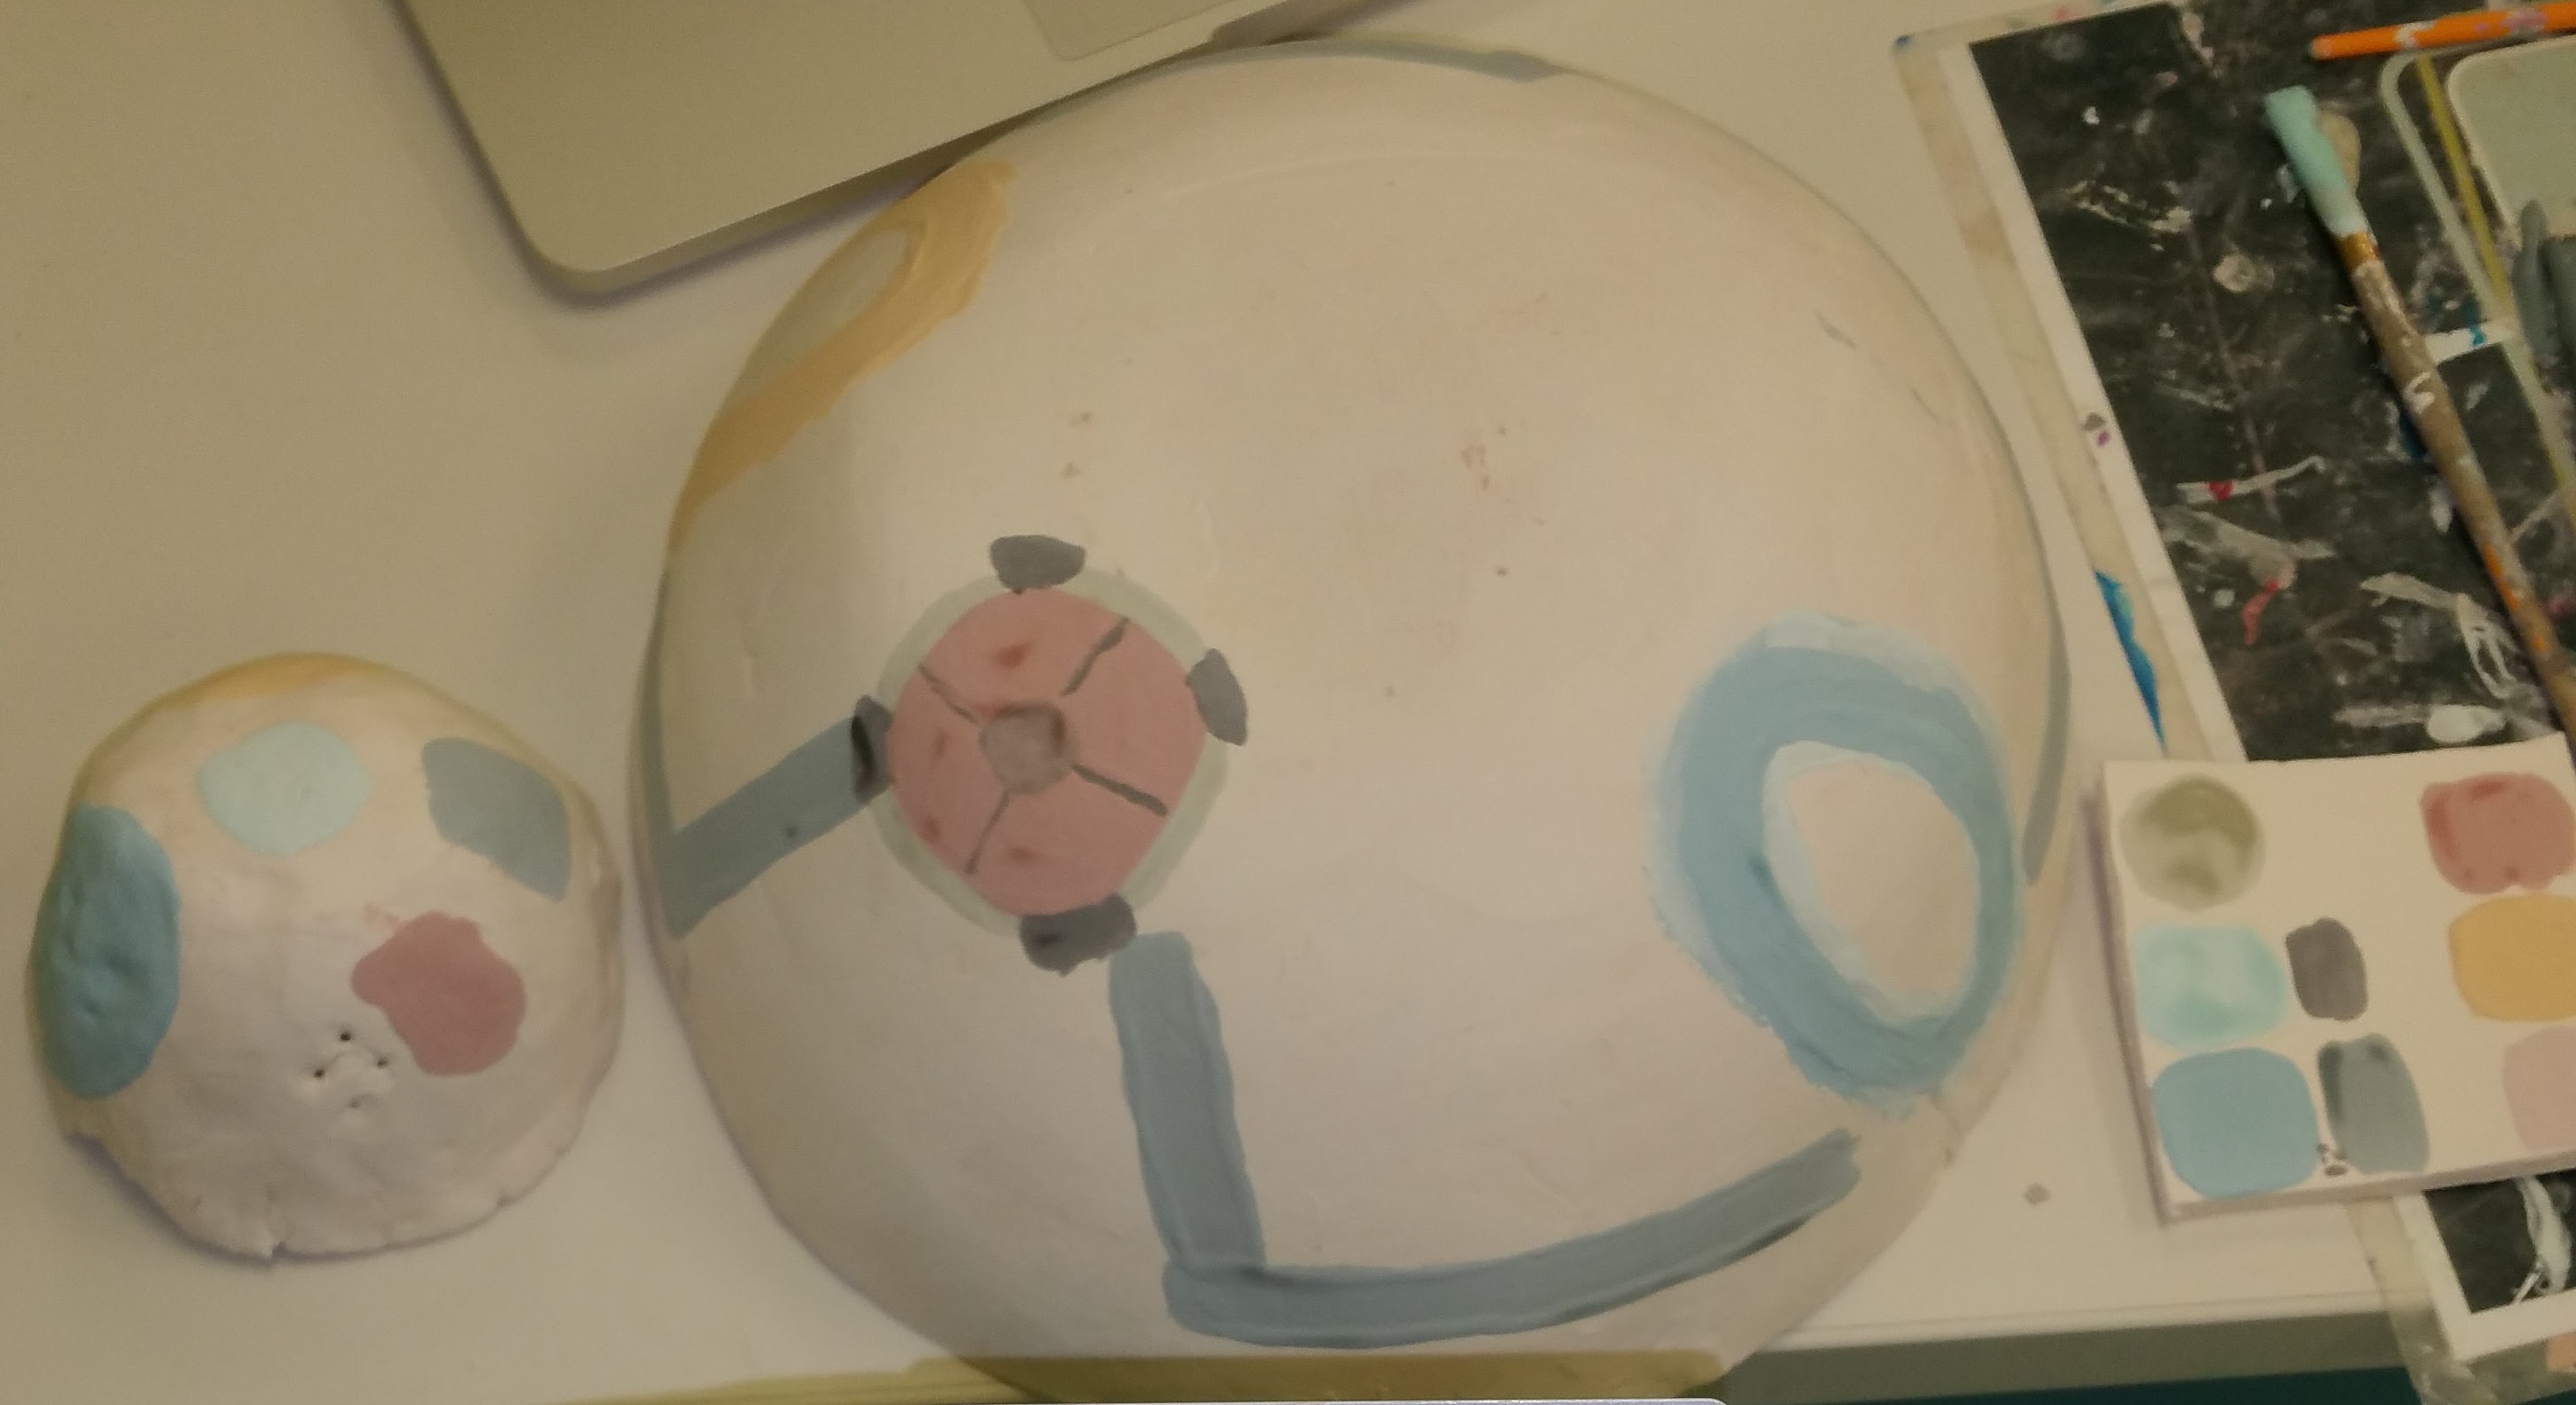
Third Prototypes: Modeling Epoxy and Acrylic Paint
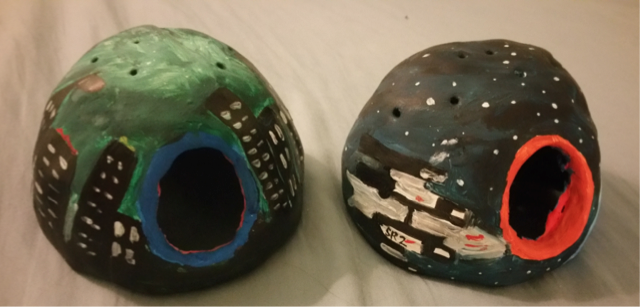
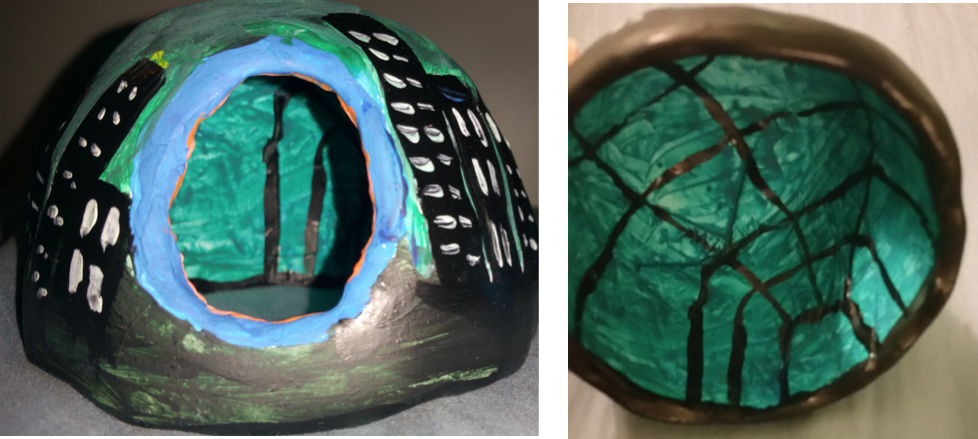
For these prototypes, I used a modeling epoxy to make the domes by molding them to the shape of a wine tumbler, and painted the interior and exterior of the domes to match images selected from the games. For these, I have a Bioshock dome (left) and a Mass Effect dome. When looking through the portal on each, you can see the inside of the image. For the Bioshock dome, the exterior is Rapture (the underground city) and the inside is a walkway inside the city. For Mass Effect, the exterior of the dome is the Normandy SR-2 in orbit around a planet, and the inside of the dome is the bridge of the Normandy.
Domes with a portal. The interior is different from the exterior, representing passing through the portal to a different location in the world.
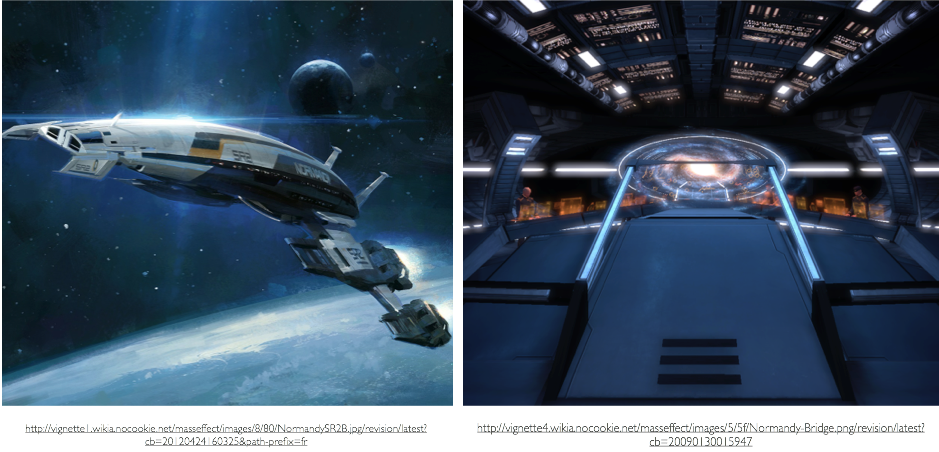
Mass Effect Inspiration
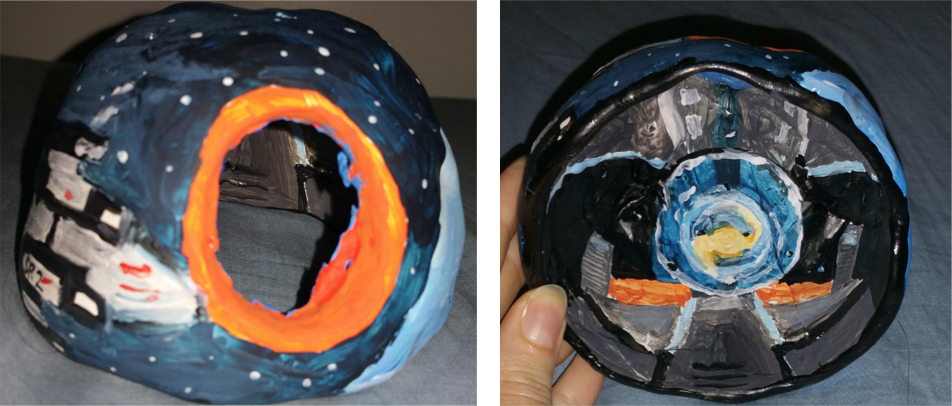
Mass Effect Execution
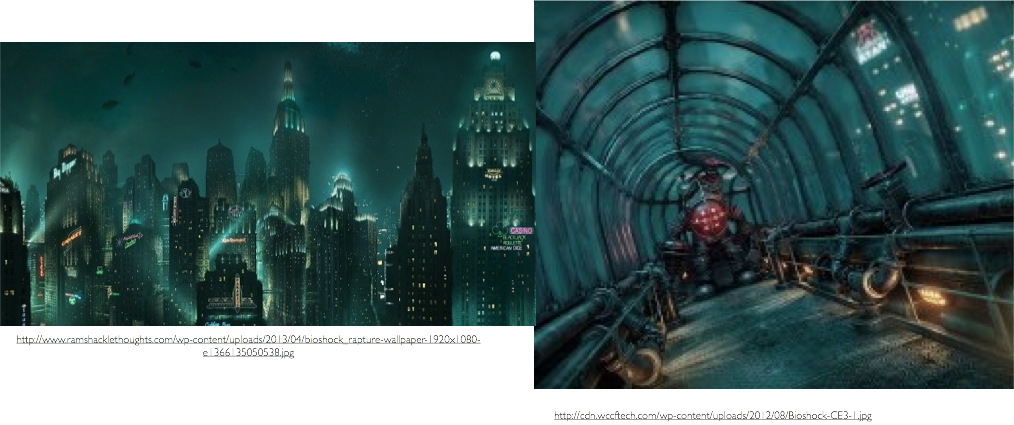
Bioshock Inspiration
Bioshock Execution
Challenges and Potential Solutions:
Executing the shape of the domes is challenging without slip-casting. I could make pinch or coil pots and carve them, or try and use slip molding or press molding in a mold that I 3D print.